Winter Wonderland Christmas Cake Tutorial
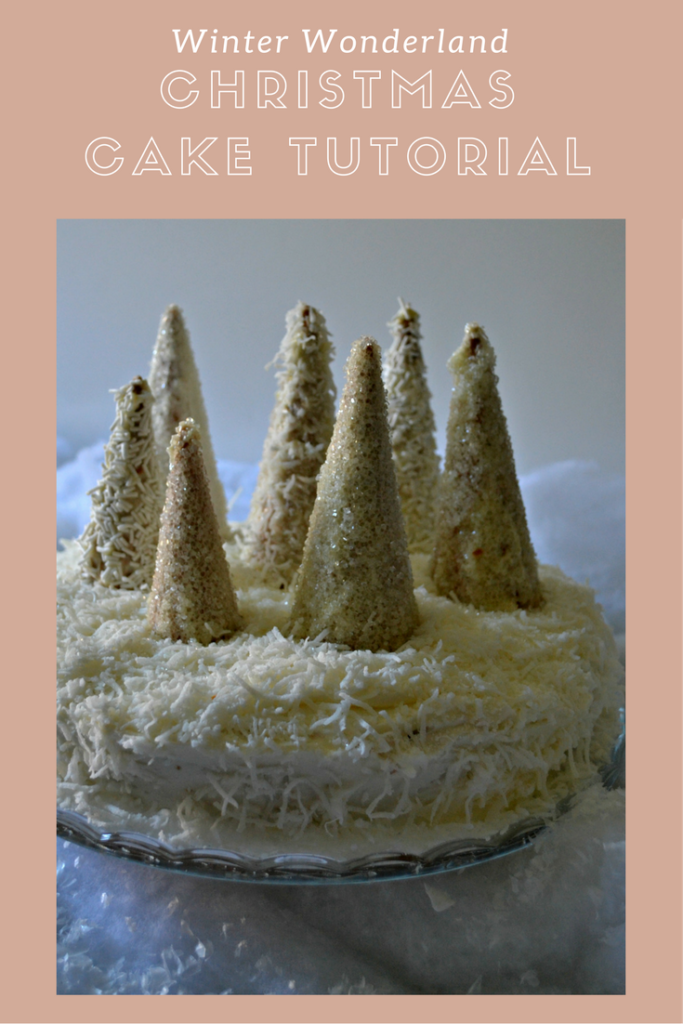
I am dreaming of white Christmas! When you live in Canada, in the snow belt and you have a green Christmas it can be a little depressing. When I decided to participate in the Handmade Holiday’s Blog Hop Food Edition, I decided to share a bit of my vision of a winter wonderland with all of you. Today I am sharing my tutorial for this Winter Wonderland Christmas Cake!
Plus, today is the last day for the Handmade Holiday Blog Hop. For extra inspiration you will want to hop through all the links to other bloggers sharing their handmade holiday food idea. Oh, and don’t forget to enter below for your chance to win one of 11 prizes valued at $50 each!
If you missed yesterdays post, you can check out my holiday table centrepiece, plus links to all the other handmade holiday home decor bloggers here!
First lets make this beautiful winter wonderland Christmas Cake. It really is super easy, yet would look spectacular on any holiday dessert buffet.
For this Christmas Cake you will need:
- 1 boxed white cake mix prepared as per package directions
- 1 batch of white icing (recipe below)
- 6 to 8 sugar cones
- a 1o” round cake pan (affiliate link)
- course sugar
- white non-perils
- sweetened shredded coconut
- Offset spatula (affiliate link)
- Pastry brush or unused small paintbrush
- white melting chocolate
I first saw a similar winter wonderland christmas cake several years ago in a BHG Christmas special magazine, but it wasn’t a round cake, but instead a 9 x 13″. Since everyone in our family wants a “corner piece”, I decided round was the best option. I also prefer the round shape over the rectangle!
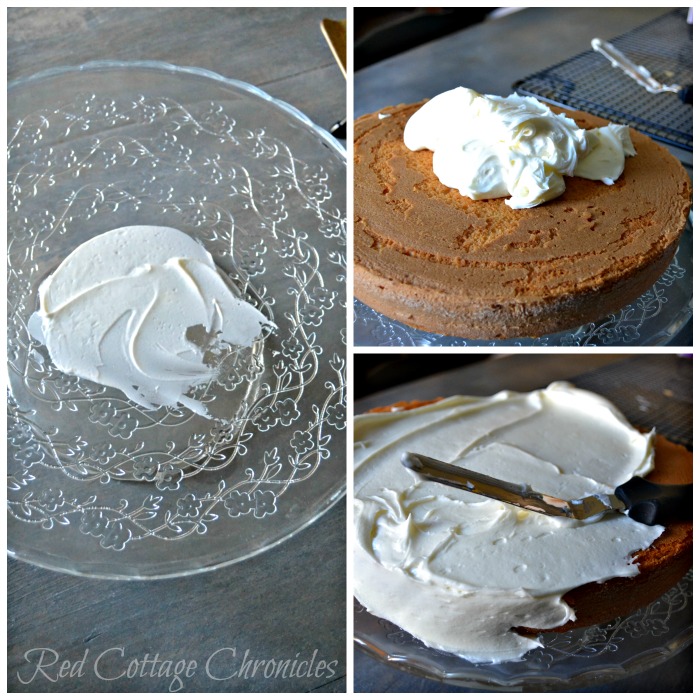
On your favourite cake plate add a dab of icing and spread it around a bit. Place the prepared cake on the centre of the cake plate. Spread the frosting on in swirly motion using the off set spatula.
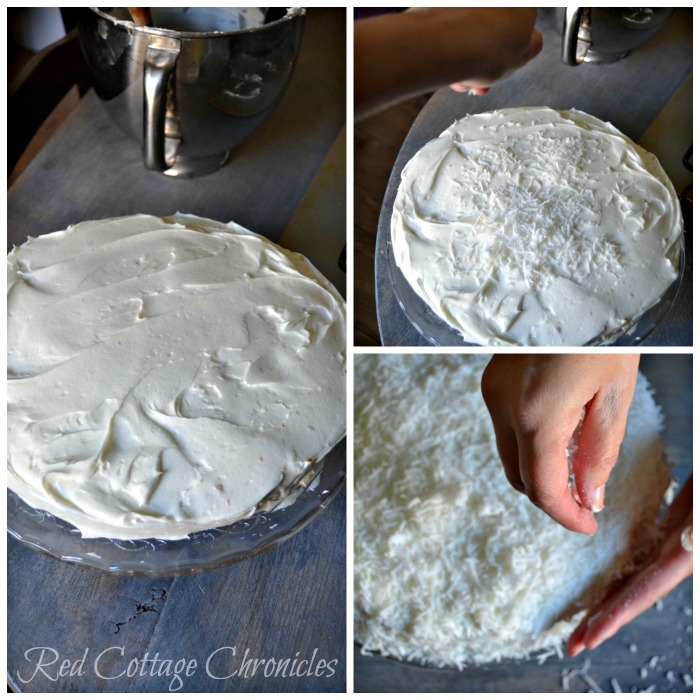
Sprinkle coconut generously on the entire cake, using your hand to press it gently along the sides.
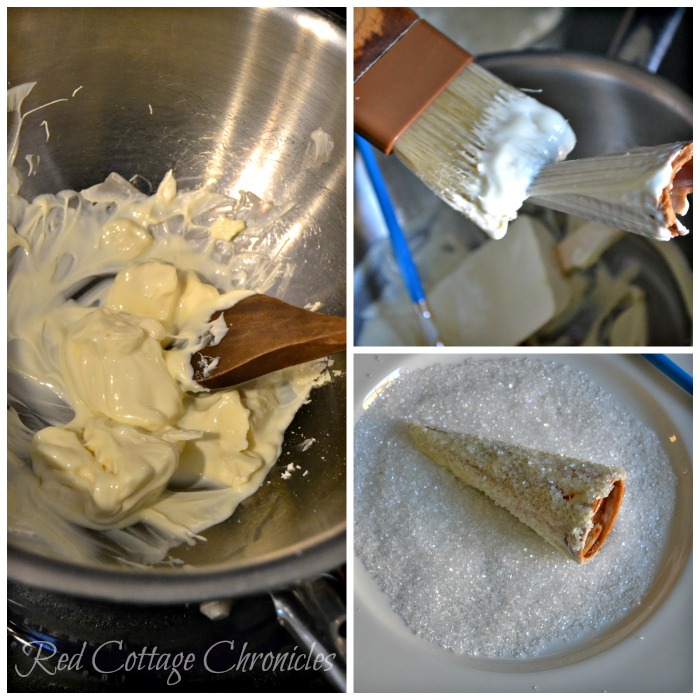
Carefully melt the chocolate over double boiler or in the microwave. I find the chocolate melts much smoother when you use a double boiler. On three separate plates spread out the course sugar, the white sprinkles, and some of the coconut. Using a clean pastry or paint brush brush the sugar cones generously with the chocolate one at a time and then roll to cover completely with either of the 3 toppings. Repeat until all the cones are coated with chocolate and topping.
I did 7 cones in total, 5 the original size and 2 I carefully broke away a bit of the rims to make them shorter!
Place them onto your prepared cake, pressing gently into place.
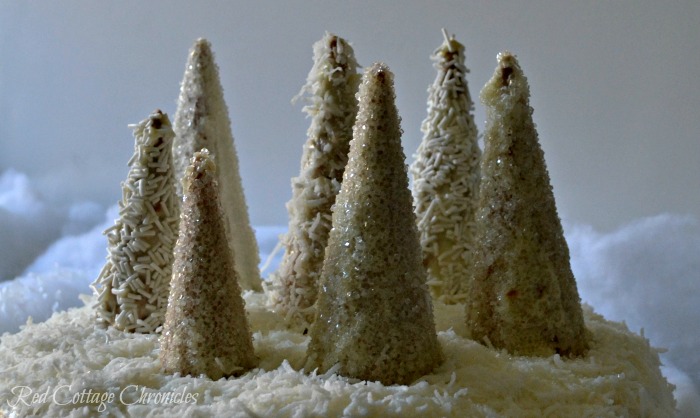
Not only is it pretty, but it was delicious as well! Of course the entire thing is edible and everyone gets a corner piece!
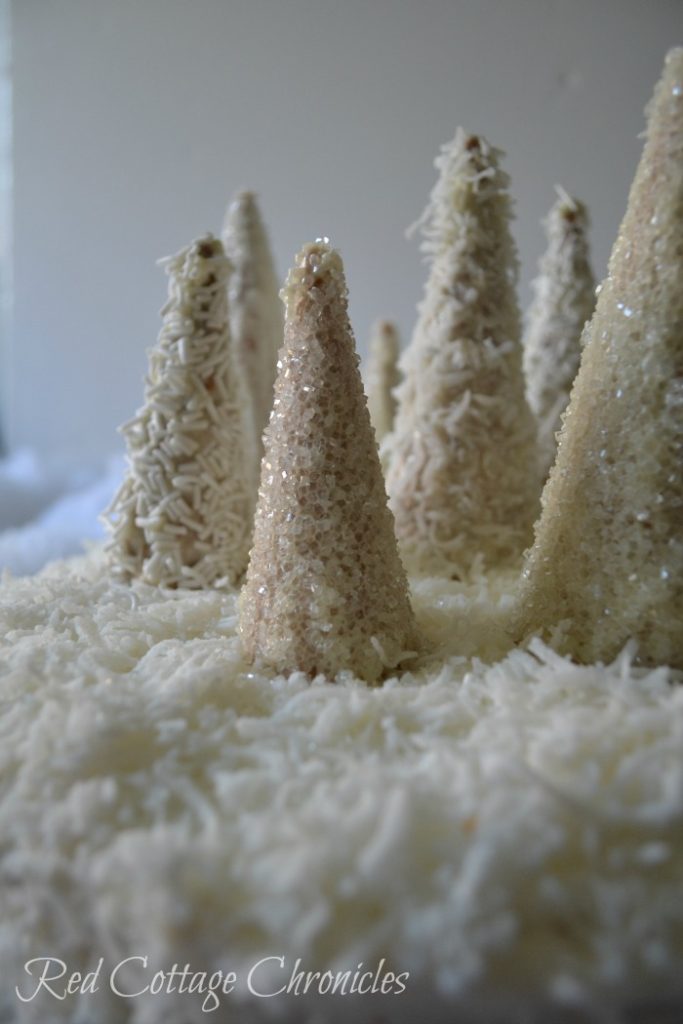
If I don’t get my White Christmas I will be disappointed but at least I can bring a bit of a Winter Wonderland inside!
Don’t forget to visit all the other talented bloggers in the Homemade Holidays blog hop today!
Now that you are full of inspiration
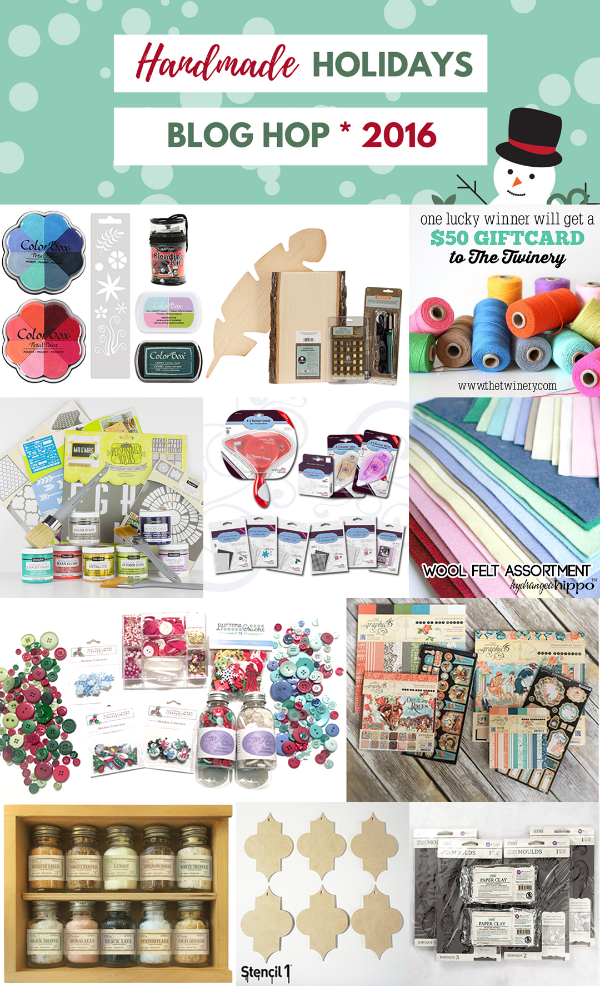
Thanks to all the generous sponsors who have provided prizes for the Handmade Holiday Blog Hop Giveaway!


What a neat idea using cones to make the trees! I’m going to try this. Pinned!
Beautiful!
What a pretty cake! And in Canada could also be made after the holidays for after a skating or snowmobiling party!
So very true Super Mom! Great idea 🙂
Fabulous–love the trees on top.
What a gorgeous cake!!!
Thank you Sarah!