
Sweet Marie Bars
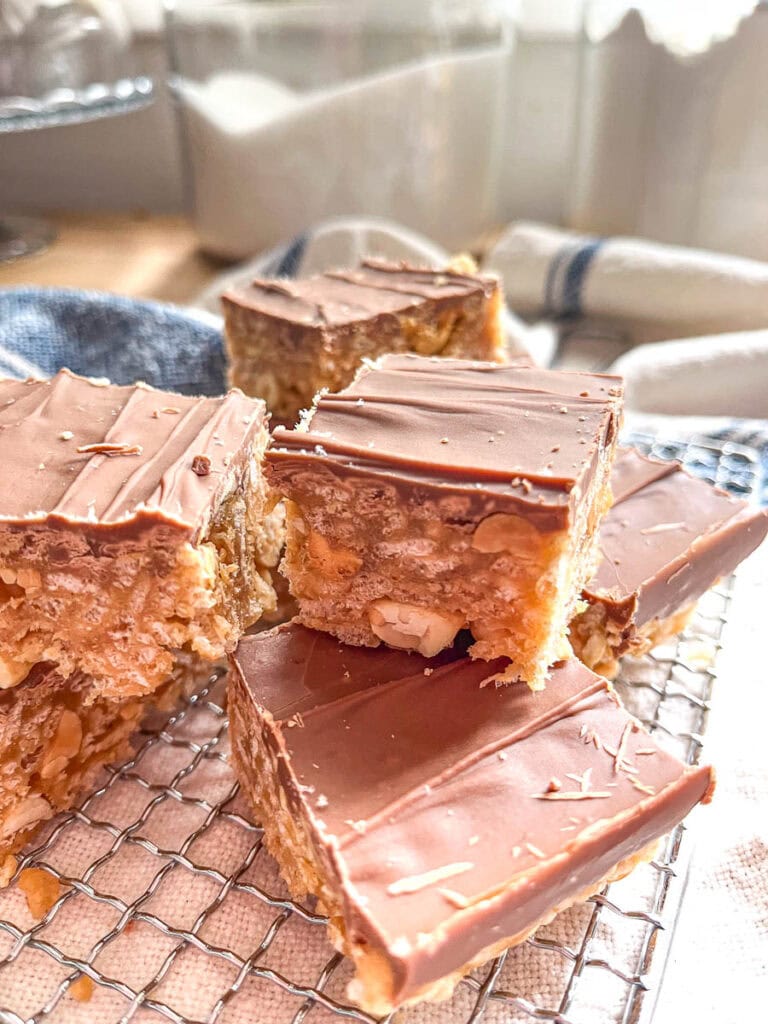
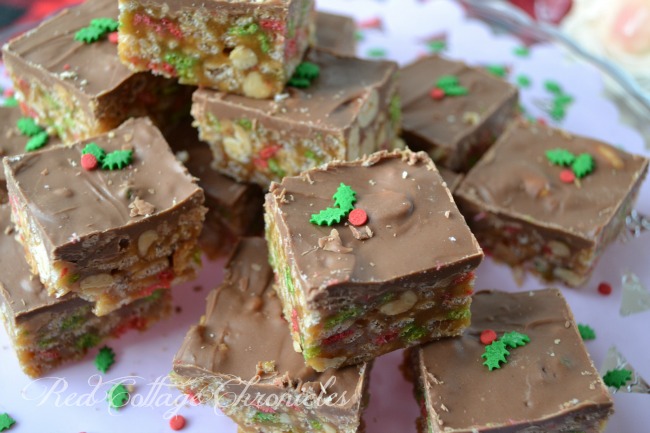
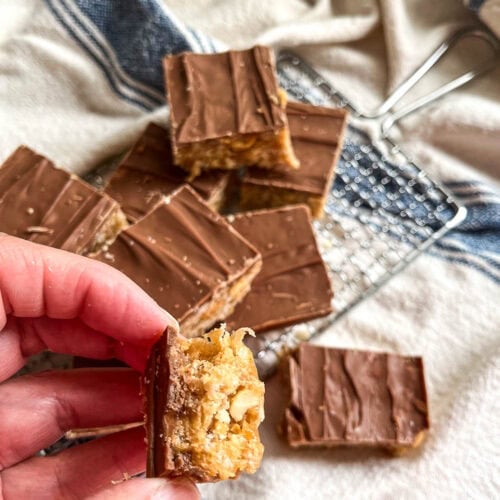
Sweet Marie bars have been showing up on Canadian bake sale tables and holiday cookie trays for generations, and once you make them yourself you will understand exactly why. Reminiscent of the classic Sweet Marie candy bar, the base is a chewy sweet peanut butter crispy cereal mixture. The topping is a smooth, fudgy layer of melted chocolate and butterscotch chips. Simple ingredients, no oven needed, and the whole thing comes together in about 20 minutes.
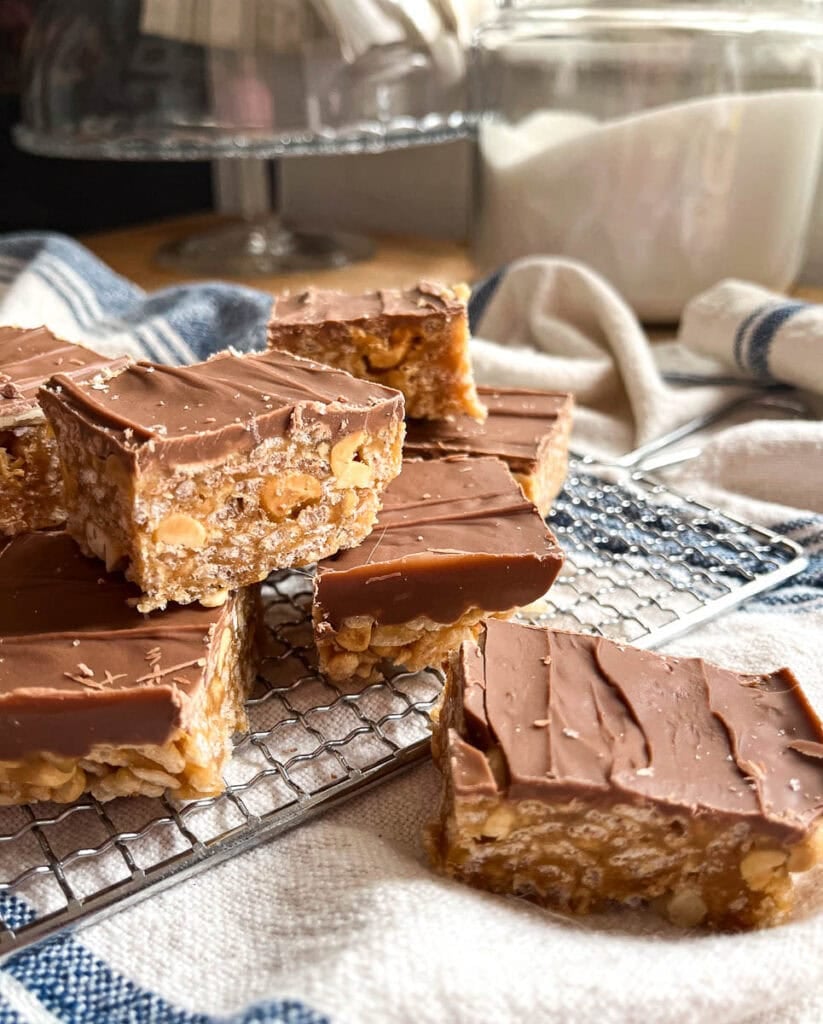
I love the old-fashioned feeling of this recipe. It feels familiar even if you’re making it for the very first time. I have seen versions of it handwritten on index cards tucked into old recipe boxes (my mom’s and Nana’s included!), printed in church cookbooks, and passed between friends without a second thought. But, what I love most is how little effort these take for how much delicious, chewy joy they bring.
If you enjoy easy no-bake sweets like this one, my caramel chocolate squares are worth adding to your list too – simple, reliable, and always a huge hit.
Why You’ll Love This Recipe
- no oven required – just a stovetop and a bit of fridge time
- feeds a crowd – cut into up to 40 small pieces from one 9 x 13 pan
- simple pantry ingredients you may already have on hand
- the chocolate butterscotch topping sets firm and slices cleanly
- beginner-friendly with no special equipment needed
- one pot, one bowl, easy clean-up
Ingredient Notes
Golden corn syrup – this is what holds the base together and gives Sweet Marie bars that lovely, chewy texture. Don’t swap it out for another liquid sweetener as the result won’t be the same.
Creamy peanut butter – use a standard peanut butter like Kraft or Jif rather than natural peanut butter. Natural peanut butter tends to be too oily and the base may not set properly.
Salted peanuts – the salt in the peanuts is the perfect balance for all that sweetness beautifully and adds a lovely crunch throughout every bite.
Butterscotch chips – I think this is what gives Sweet Marie squares their signature flavour. That warm, buttery butterscotch in the topping is what people keep coming back for, and it is what sets these apart from a standard chocolate Rice Krispie bar.
Chocolate chips – paired with the butterscotch, they create a topping that is rich, and fudgey. Real milk or dark chocolate chips melt far better than compound chocolate and are worth using here.
How to Make Sweet Marie Bars
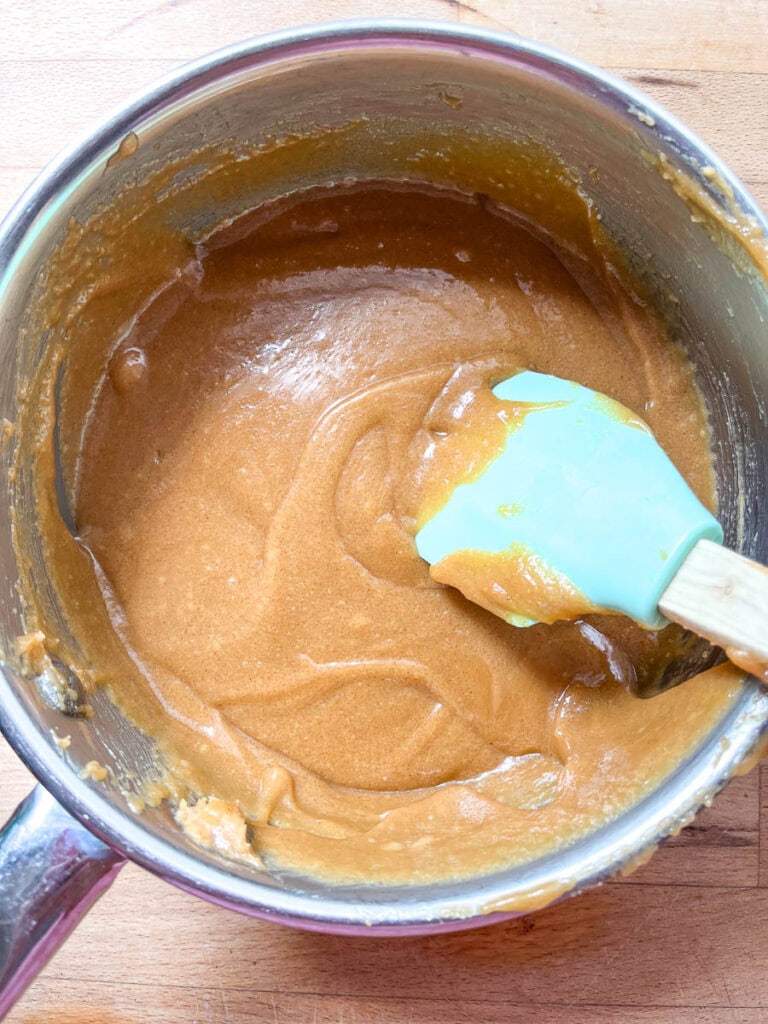
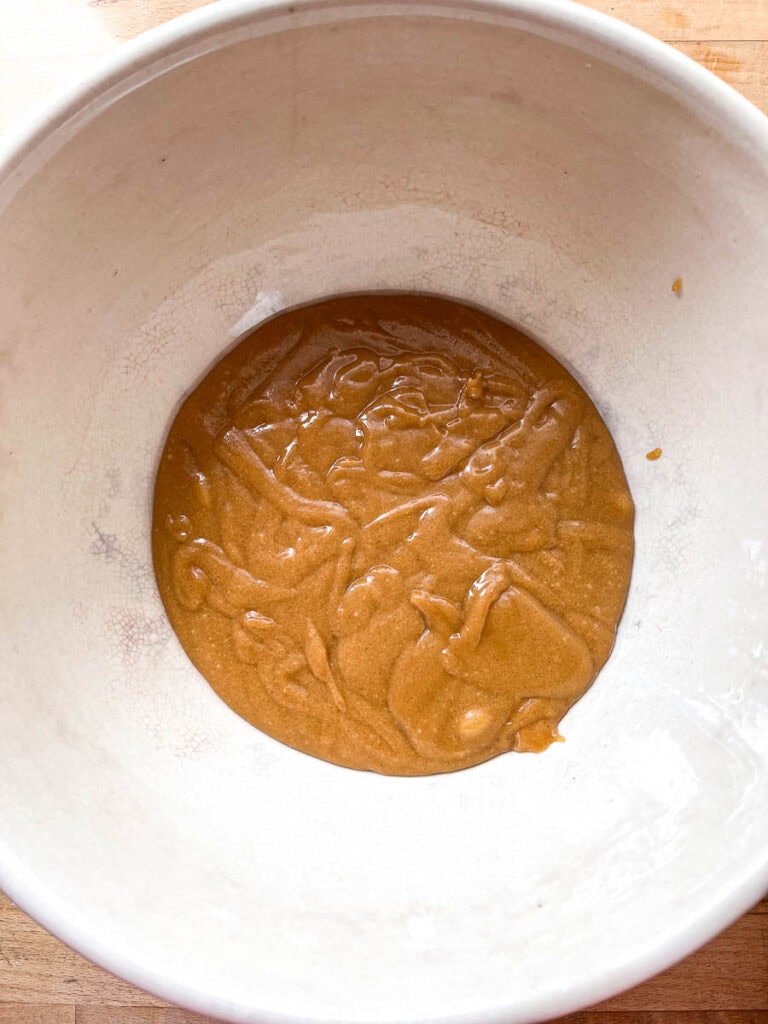
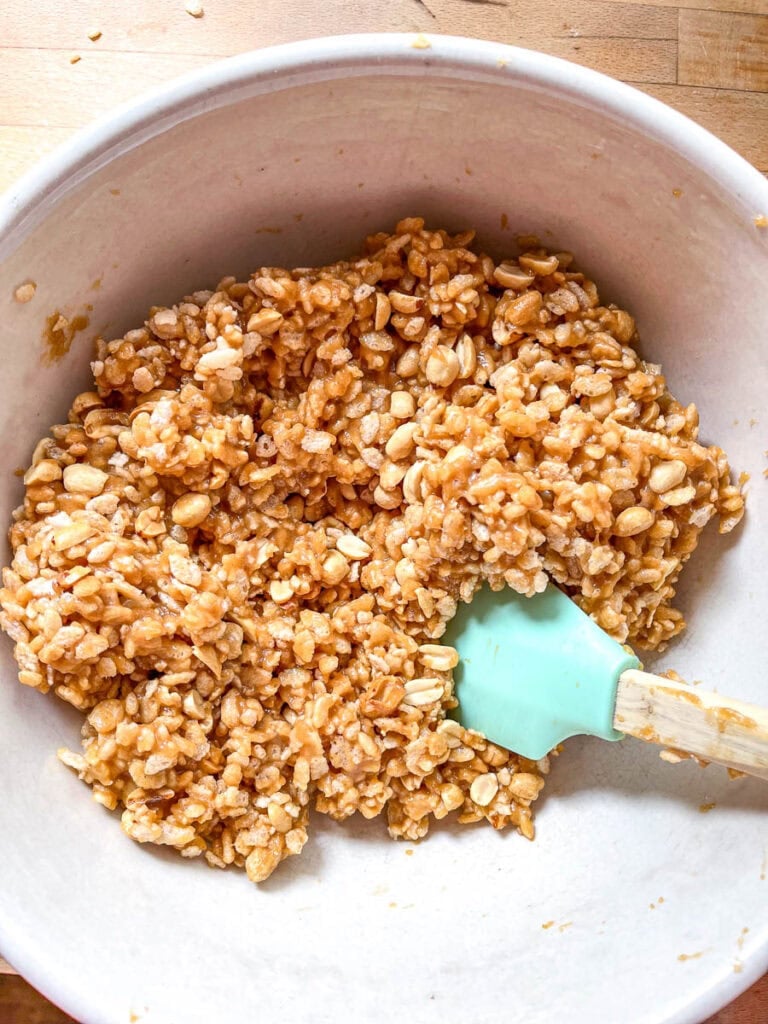
Make the base – combine brown sugar, corn syrup and peanut butter in a medium saucepan. Heat over medium, stirring often, just until smooth and creamy. Do not boil.
Fold in the crunch – transfer the warm mixture to a large mixing bowl. Add the salted peanuts and Rice Krispies and fold in gently with a spatula until everything is evenly coated and combined.
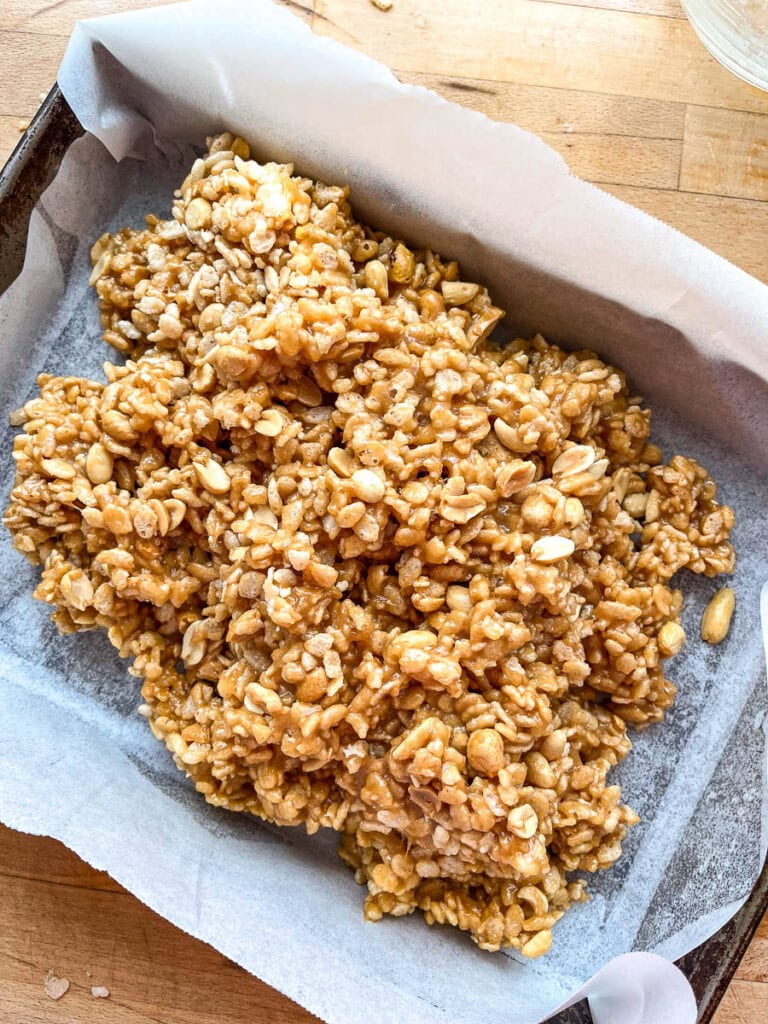
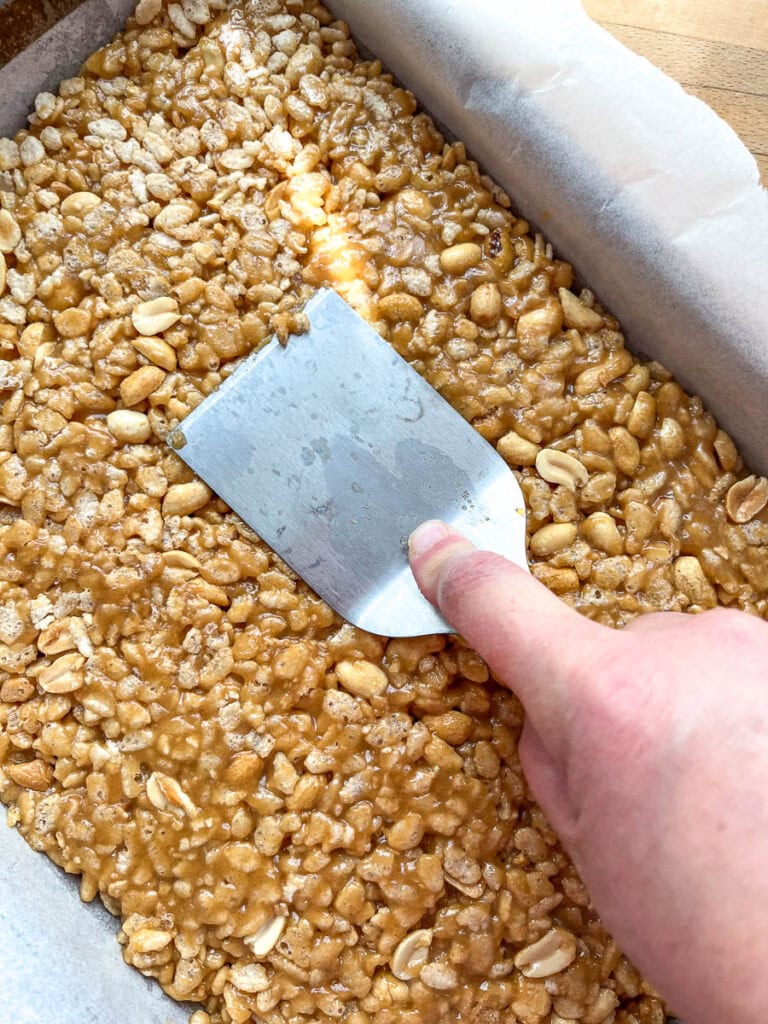
Press into the pan – transfer mixture to the prepared pan, press down firmly with the back of a spatula or with clean hands. Set aside.
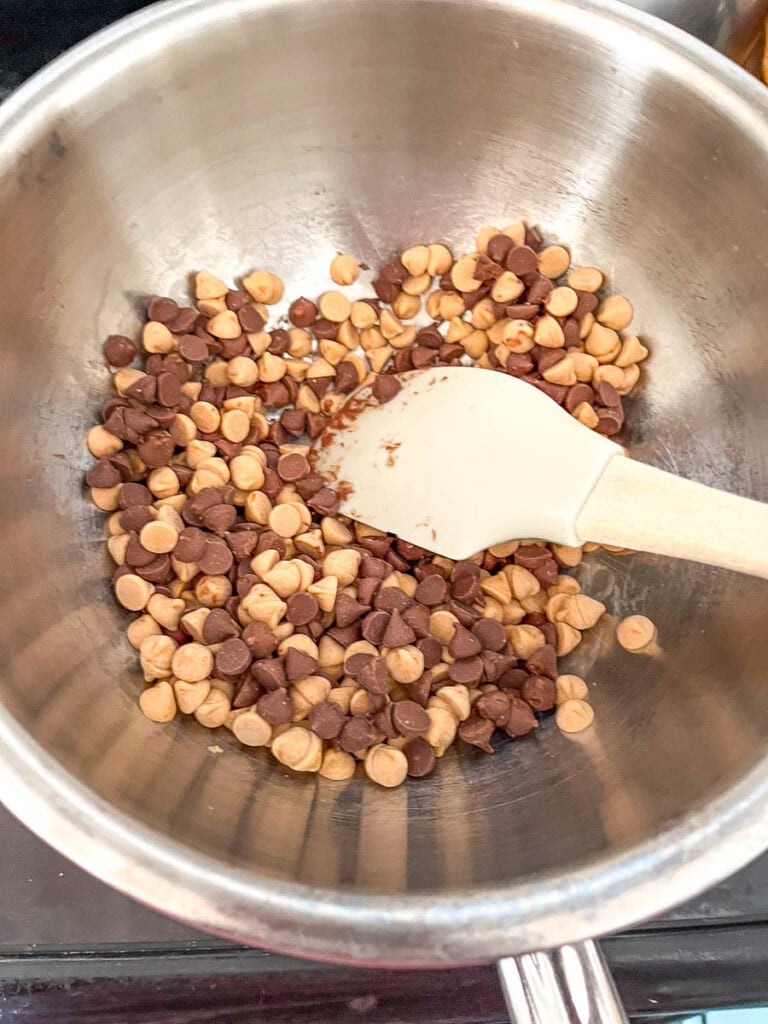
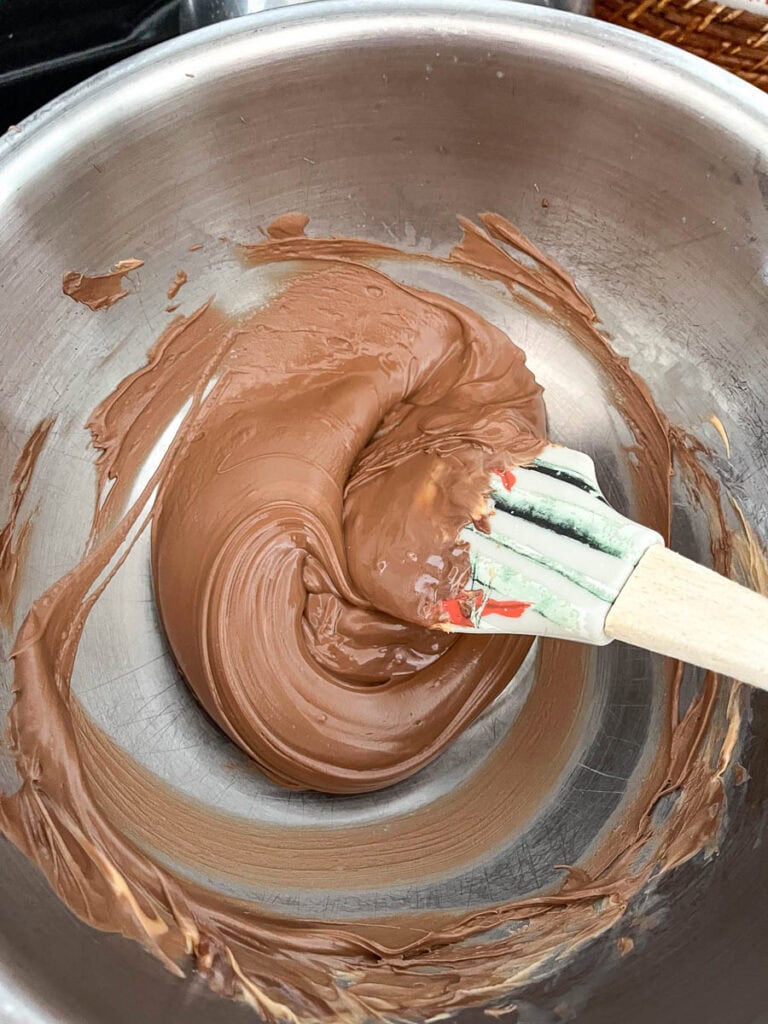
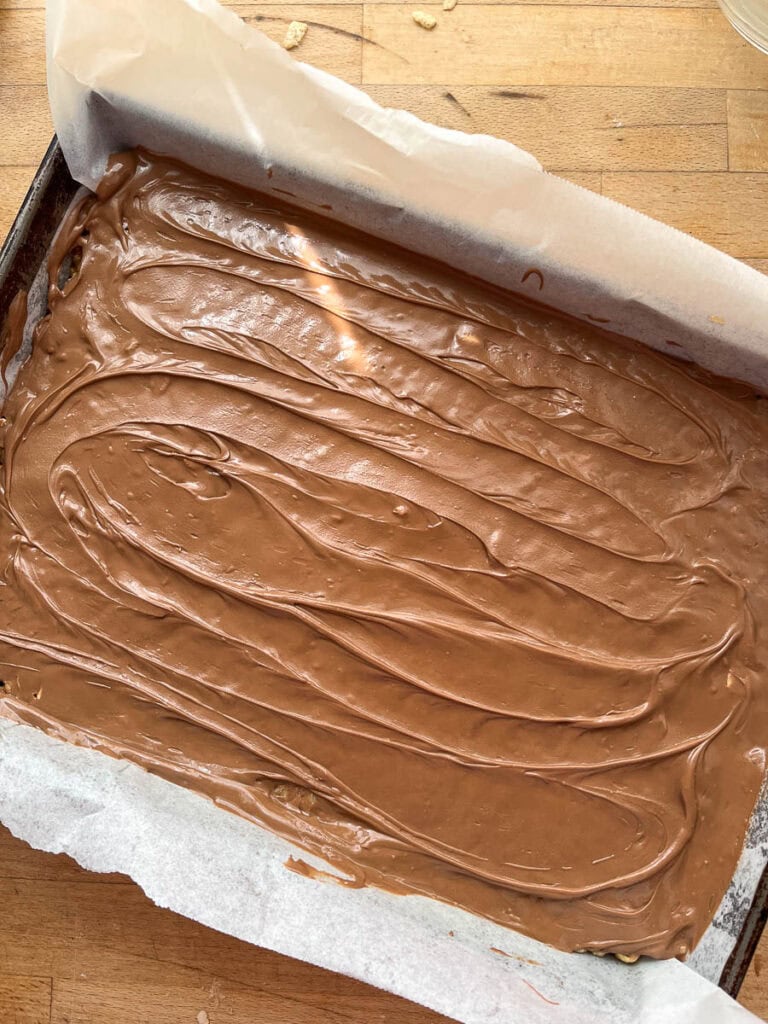
Make the topping – combine the chocolate and butterscotch chips in a double boiler over low heat and stir until completely melted and smooth. Spread evenly over the base to cover it completely.
Tips for the Best Sweet Marie Bars
don’t boil the peanut butter mixture – keep the heat at medium/low and stir constantly. Boiling can cause the sugar to crystallize and the texture of the base will suffer.
press the base down firmly – use a spatula or clean hands to pack it evenly into the pan. A well pressed base holds together beautifully when sliced.
melt the topping low and slow – patience here gives the smoothest finish. Rushing it can cause the chocolate to seize and turn grainy. Use a double boiler by placing a bowl suspended over a simmering pot of water. I don’t recommend melting the chips in the microwave.
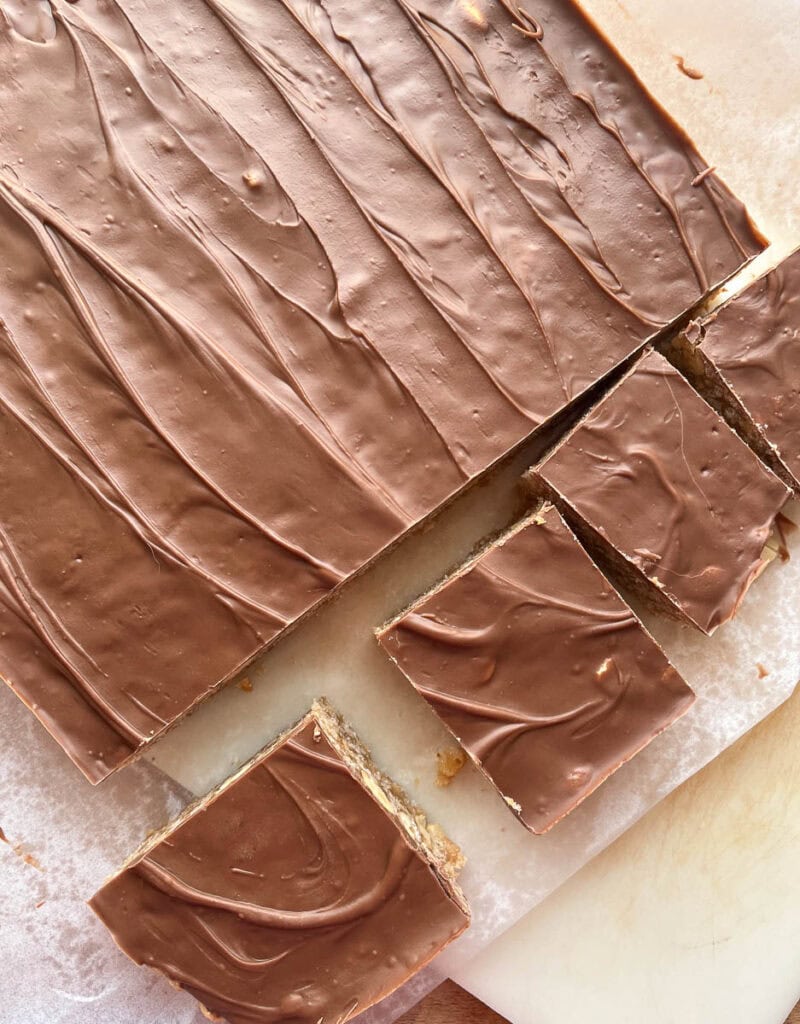
let the pan sit at room temperature before slicing – remove it from the fridge about 20 minutes before you cut. Slicing straight from the cold can crack the topping right through.
use a sharp knife and wipe between cuts – for clean, neat squares, wipe the blade with a warm damp cloth between each slice. It makes a noticeable difference.
line your pan with parchment – leave a little overhang on two sides so you can lift the whole slab out before slicing. It makes the whole process much easier and keeps your pan clean.
Browsing for more cozy baking inspiration? The cookie, squares, and bar recipes section of the blog is the perfect place to visit.
Variations and Substitutions
These bars are delicious just as they are, but here are a few easy ways to make them your own:
- use all chocolate chips and skip the butterscotch for a straight chocolate topping
- stir a half cup of shredded sweetened coconut into the base along with the peanuts for extra texture
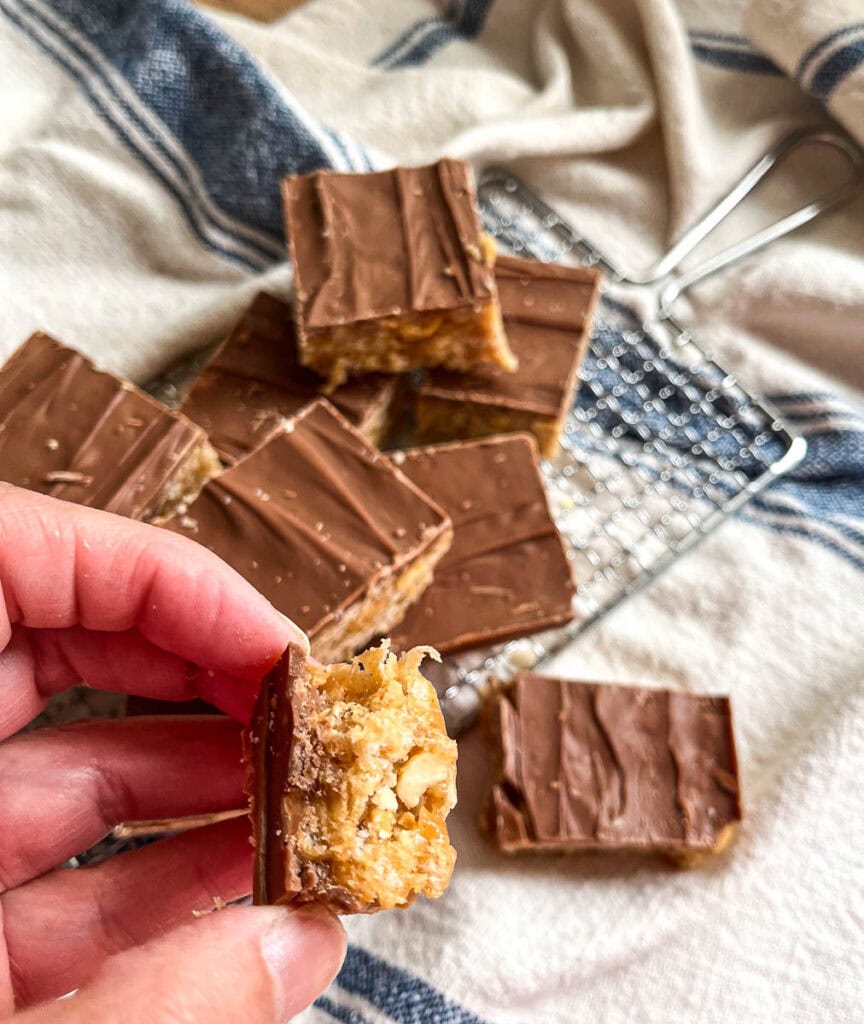
- sprinkle a pinch of flaky sea salt over the chocolate topping just before it sets for a lovely sweet and salty contrast
- use holiday Rice Krispies and garnish with candy holly for a festive treat, or
- drizzle a little melted white chocolate over the set topping for a pretty touch on a holiday cookie tray
Serving Suggestions
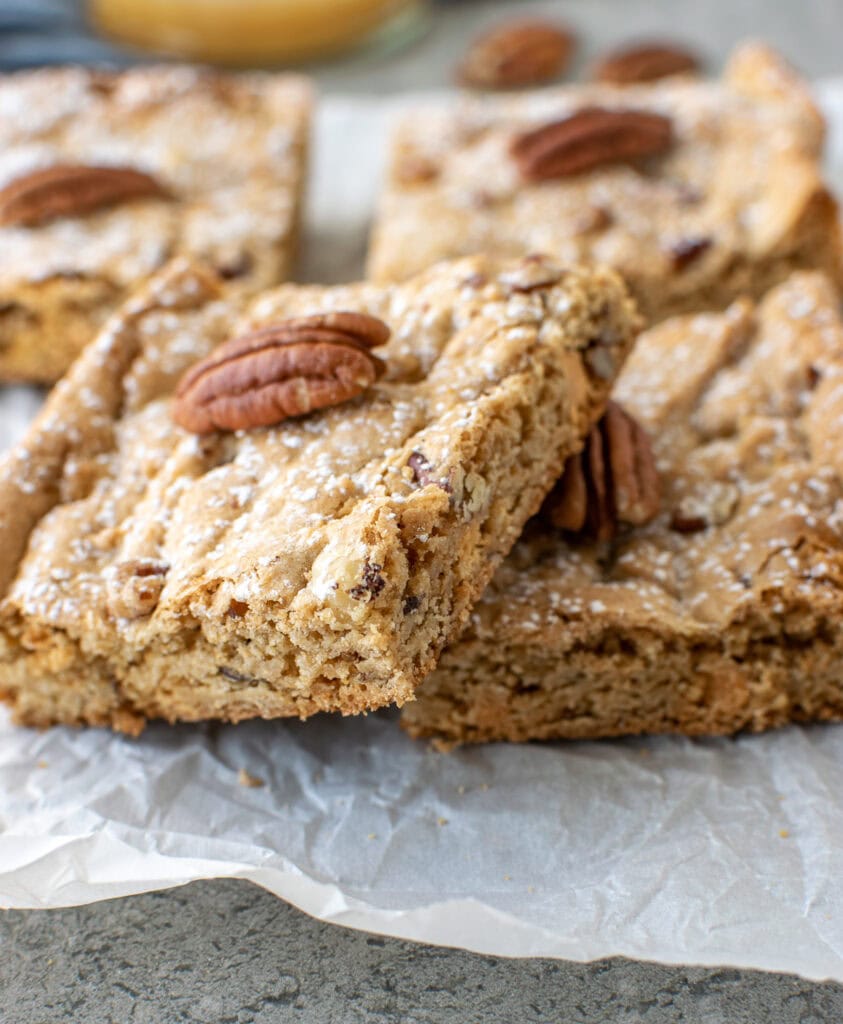
Sweet Marie bars are right at home on a holiday baking tray nestled alongside other squares and cookies, or simply piled on a pretty plate and set out with a pot of tea. They travel beautifully when kept cool with an ice pack, which makes them a natural choice for potlucks and bake sales. Serve them at room temperature for the best chewy texture and flavour. My pecan blondie bar recipe would make a wonderful addition alongside these if you are putting together a bigger tray for sharing.
How to Store
Store Sweet Marie bars in an airtight container lined with parchment, and with parchment paper between layers to prevent sticking. They keep well at room temperature for up to 3 days, or in the refrigerator for up to one week.
To freeze, arrange squares in a single layer on a lined baking sheet until firm, then transfer to an airtight freezer-safe container with parchment between each layer. They freeze beautifully for up to 2 months. Thaw at room temperature for about 30 minutes before serving.
More Squares & Bars You’ll Love
Sweet Marie Bars
Ingredients
- 1 cup brown sugar lightly packed
- 1 cup golden corn syrup
- 1 cup creamy peanut butter
- 1 cup salted peanuts
- 4 cups Holiday Rice Krispies Cereal
- 1 cup chocolate chips
- 1 cup butterscotch chips
Instructions
- Line a 9 x 13 baking pan with parchment paper or non-stick spray and set aside.
- Combine brown sugar, corn syrup and peanut butter in a saucepan. Melt over medium heat, stirring often until smooth and creamy. DO NOT BOIL.
- Transfer melted mixture to a large mixing bowl. Add the peanuts and Rice Krispies and gently fold in with a spatula until well combined.
- Press mixture evenly into the prepared pan and set aside.
- In a double boiler combine the chocolate and butterscotch chips and heat until melted. Spread over the Krispie mixture in the pan to cover completely.
- Refrigerate until chocolate topping hardens. Remove from fridge about 20 minutes before slicing with a sharp knife into either 48 generous sized squares. Or, you can cut them small and yield about 70
Notes




In the picture there is something red in the bar but don’t see anything listed in the recipe. I looking forward to trying this treat.
Hi Jennifer! I used the Holiday Rice Krispies that have red and green as well as the regular krispie rice pieces! I do make them other times of the year with regular Rice Krispies too!
These look super yummy! But is there anyway to make these without peanuts and peanut butter? Maybe some type of substitution? Sadly I have many family members who are allergic but I love this idea!
Thank you for your comment! I would just omit the peanuts and use a PB alternate such as Wowbutter!
Perfect! Thank you 🙂
My goodness, I miss Sweet Marie chocolate bars. They were my favourite. Can’t wait to try your recipe.
Thank you Paula! I hope you enjoy them as much as we do!
Coffee Crisp!!!!!! That was the bar I always got when I visited my Grandma every summer! Still crazy about them! This sounds great – and so festive with the Holiday Krispies. Thanks for another fabulous recipe!
Oh yes! Coffee Crisp is a favourite!
Be nice if this recipe was printable. 🙂
So sorry Lori! That was a glitch on my part. It is now printable!