Test Tube Pallet Spice Rack
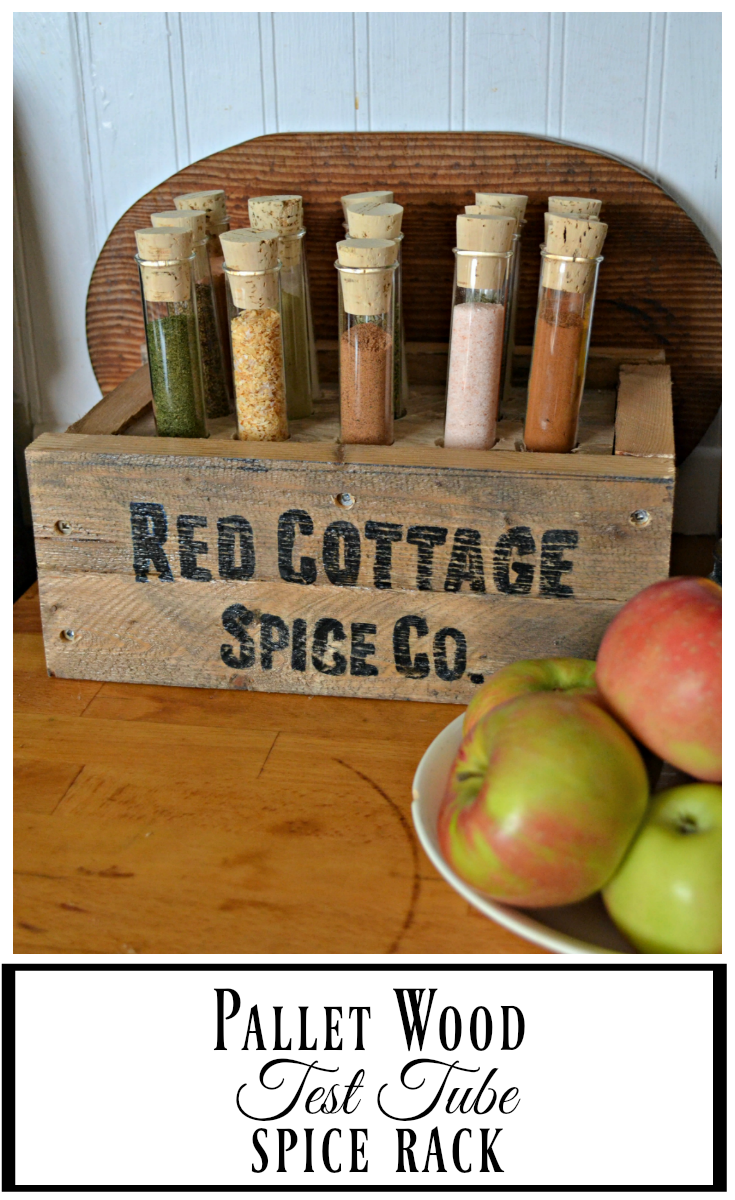
I can’t believe it has taken me this long to take on a project using an old pallet! At Tim’s workplace they put out pallets for the taking every day. I can only explain that I have been waiting for just the right project!
What better way to start working with pallets than joining the Pallet Challenge Blog Hop, which kicks off Pallets Aplenty week on Remodelaholic.com! An entire week of pallet project inspiration and tutorials. You won’t want to miss a single day. Plus add your own pallet project to the Pallets Aplenty link party!
Ever since I saw a test tube spice rack from Dean & Deluca I just knew I had to have one. It has to be the best way to store spices I have ever seen. All nice and organized in one place.
I am probably the worst person I know when it comes to keeping my spices organized. Oh, I always start out with good intentions and have one spice cupboard, but they never end up where they belong again. I end up buying the same spice 3 times because I can never find them.
There were two things that were holding me back from purchasing the D & D spice rack. The first of course was the price. Holy Hannah! Over $100 for a spice rack where there is a good chance I would break at least one of those test tubes in the first month.
The second thing that kept me from pressing “add to cart” was the overall look. I like more of a rustic look, and the steel rack just wasn’t doing it for me.
That is when the light bulb went off. I could finally put an old pallet to really good use. It is already rough and rustic, and I could have one by the end of the day.
When I started searching the world wide web for pallet spice racks, I didn’t see anything that really fit with what I had in mind. I really just wanted it to look like an old box. Like a little vintage crate.
I put my exceptional art skills to work and drew a sketch for Tim so he had an idea of what I was thinking of. He assured me it could be done, but probably would look better than my sketch. Go figure!
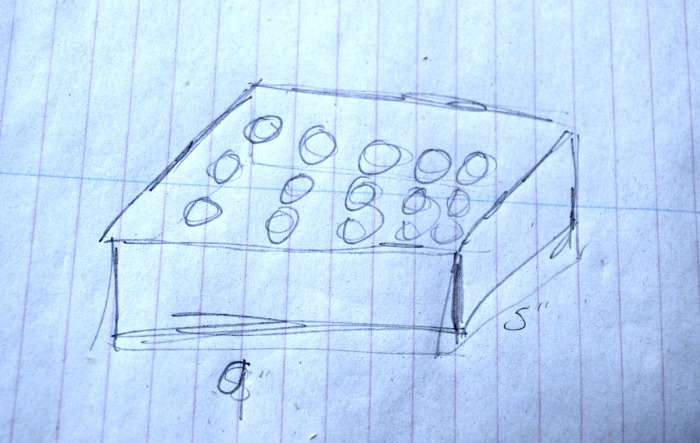
I was so engrossed in the project that I forgot to take pictures along the way, but it really is just as basic as building a box.
What you will need:
- pallet boards to equal 4 1/2″ wide (see how we did this below)*
- table saw or skill saw
- chop saw
- wood glue
- 1″ wood screws
- power screw driver & 1 inch butterfly drill bit
- sandpaper
- 15 1″ x 8″ test tubes plus corks (I got mine locally, but they are available here)
REMEMBER TO ALWAYS FOLLOW ALL SAFETY RULES WHEN USING ANY POWER TOOLS AND EQUIPMENT!
*Since the pallet boards weren’t wide enough to equal the height of the box that I wanted, we used 4 boards, gluing two boards edge to edge to create two 7-1/2″ boards. (You can eliminate this step if you have a pallet that has boards equal or wider than the total height you want your finished box to be).
We used our handy clamps to hold the boards in place while they dried overnight.
I wanted the “seam” where the two boards joined to be in the middle all the way around. The total height of our box is 4 1/2 inches. Using a table saw we trimmed 1-1/2″ inches off each side of the board to create boards that were 4 1/2″ wide.
Now we had two 4 1/2″ wide boards long enough to cut all the pieces we needed. Using our chop saw we cut the pieces as follows:
- two sides at 10″
- two ends at 5 1/2″
- one piece 5 1/2″ inches by 9″ to create the test tube holder
You will also need 2 small pieces of 1/4″ plywood cut as follows:
- one piece cut to 5 1/2 inches by 9 inches
- one piece cut to 6 inches by 9 1/2 inches
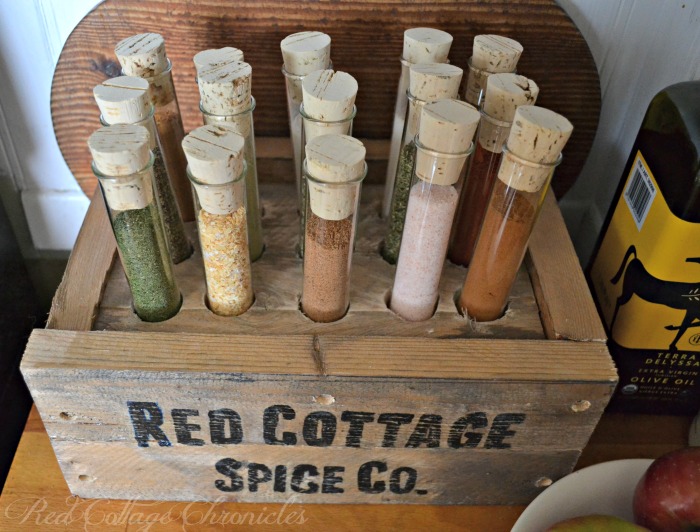
To create the test tube holder, we glued the piece of 1/4 inch plywood cut 5 1/2″ by 9″ to the bottom of the pallet wood piece. We did this to add strength and prevent the board from coming apart as we needed to drill straight through the seam in the middle.
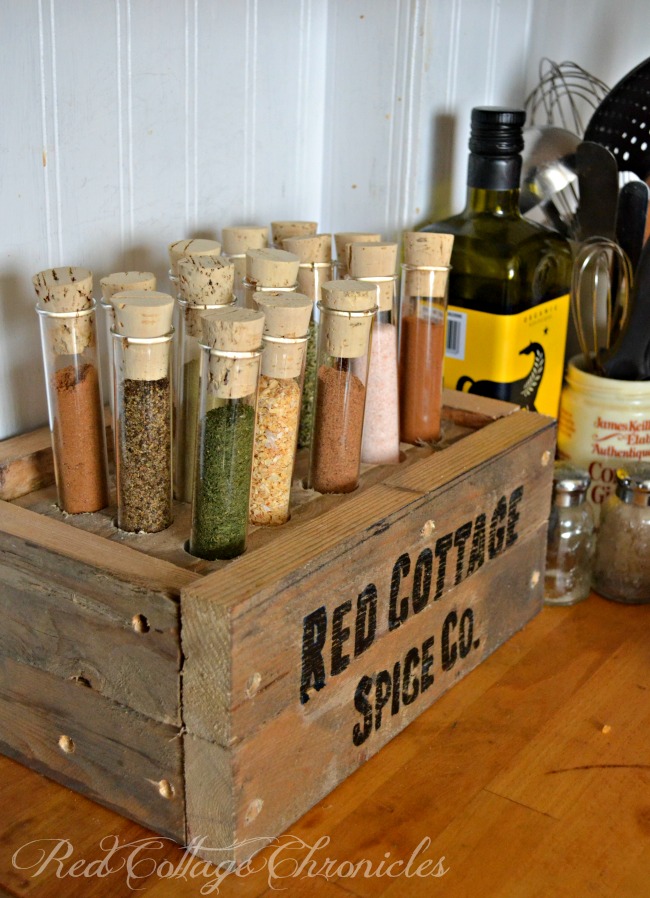
We then mapped out the placement of the test tubes. Using a 1″ butterfly bit we drilled three rows of five 1″ holes straight through the pallet wood/plywood. I then sanded the edges with 120 grit sandpaper.
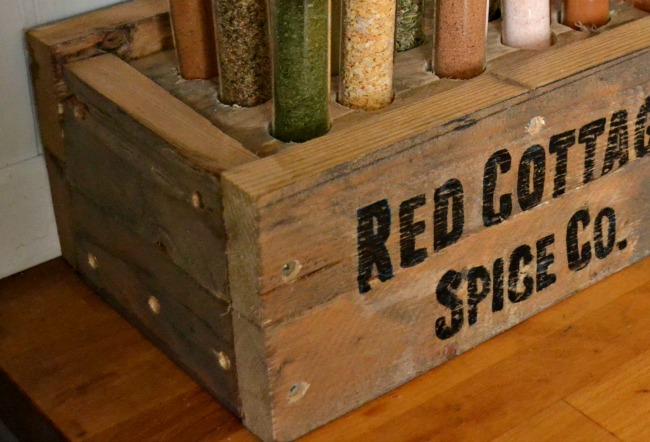
To assemble the pallet spice rack:
- we used 1″ wood screws to attach one end piece onto the test tube holder piece, positioning the test tube holder about a half inch below the top edge
- next attach one side piece so that it covers the end of the end piece (see photo above)
- follow with the 2nd side piece and finally fit the last end piece into place
- We counter sunk each screw and dabbed it with a vinegar steel wool solution, which will age the screws with time
- glue the final piece of plywood to the bottom of the box.
We brushed the raw cut edges with a mixture of steel wool and vinegar to age the wood. We did the same thing when we built this buffet table and love how that turned out.
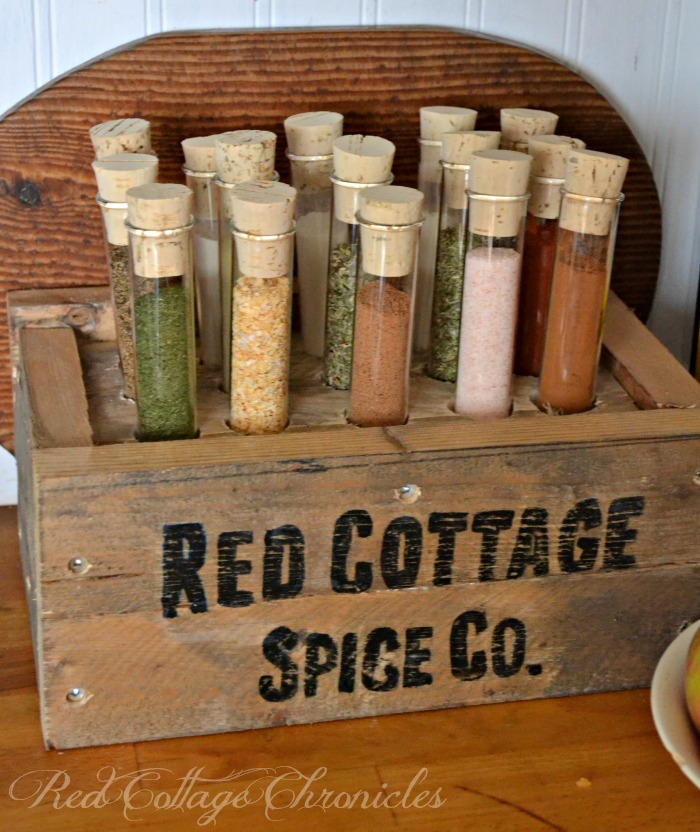
Finally, and this is optional, I personalized it by adding “Red Cottage Spice Co” using black craft paint from the dollar store.
I used Picmonkey.com to get the font and size I wanted and printed it out on plain white paper then coloured all over the back of the letters with white seamstress pencil. Next I placed it against the wood and traced out the letters, which left the white outline of the letter, and painted them in with the black paint. A light sanding of the letters to rough them up a bit, and finally a finish coat of Varathane to protect the whole piece.
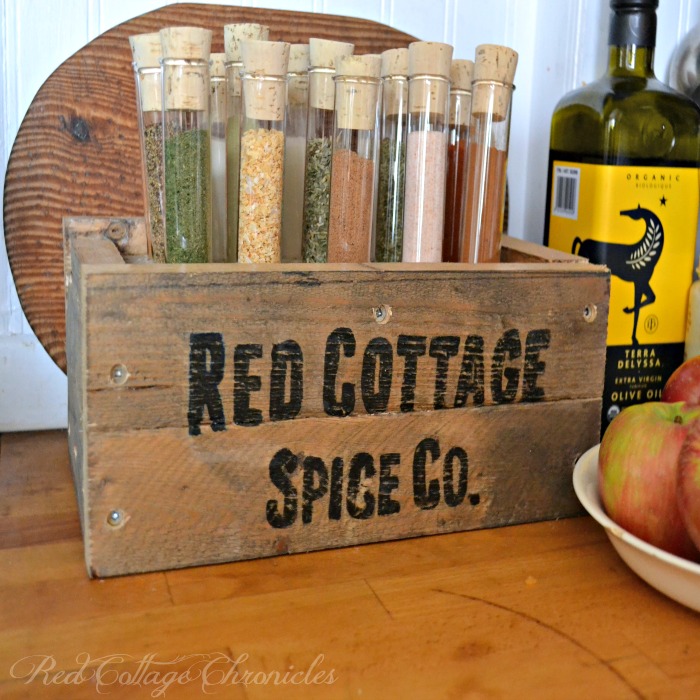
And there you have it. A rustic, yet practical pallet spice rack that makes it easy to organize your spices. Each tube holds several teaspoons of spice, which I got from our local bulk food store.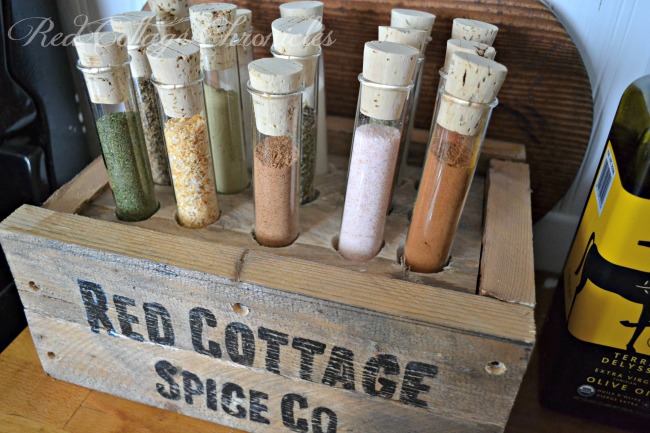
You will want to label them of course. I plan to pick up some 1″ round labels from the stationary store and design a little label to stick on top of each cork.
I love how it looks on my counter and is always within easy reach. It makes it easy for everyone who cooks to find (and put back) just the right spice!
You won’t want to miss all the pallet projects this week. Scroll down for links to 8 more fun pallet projects!
Until next time…

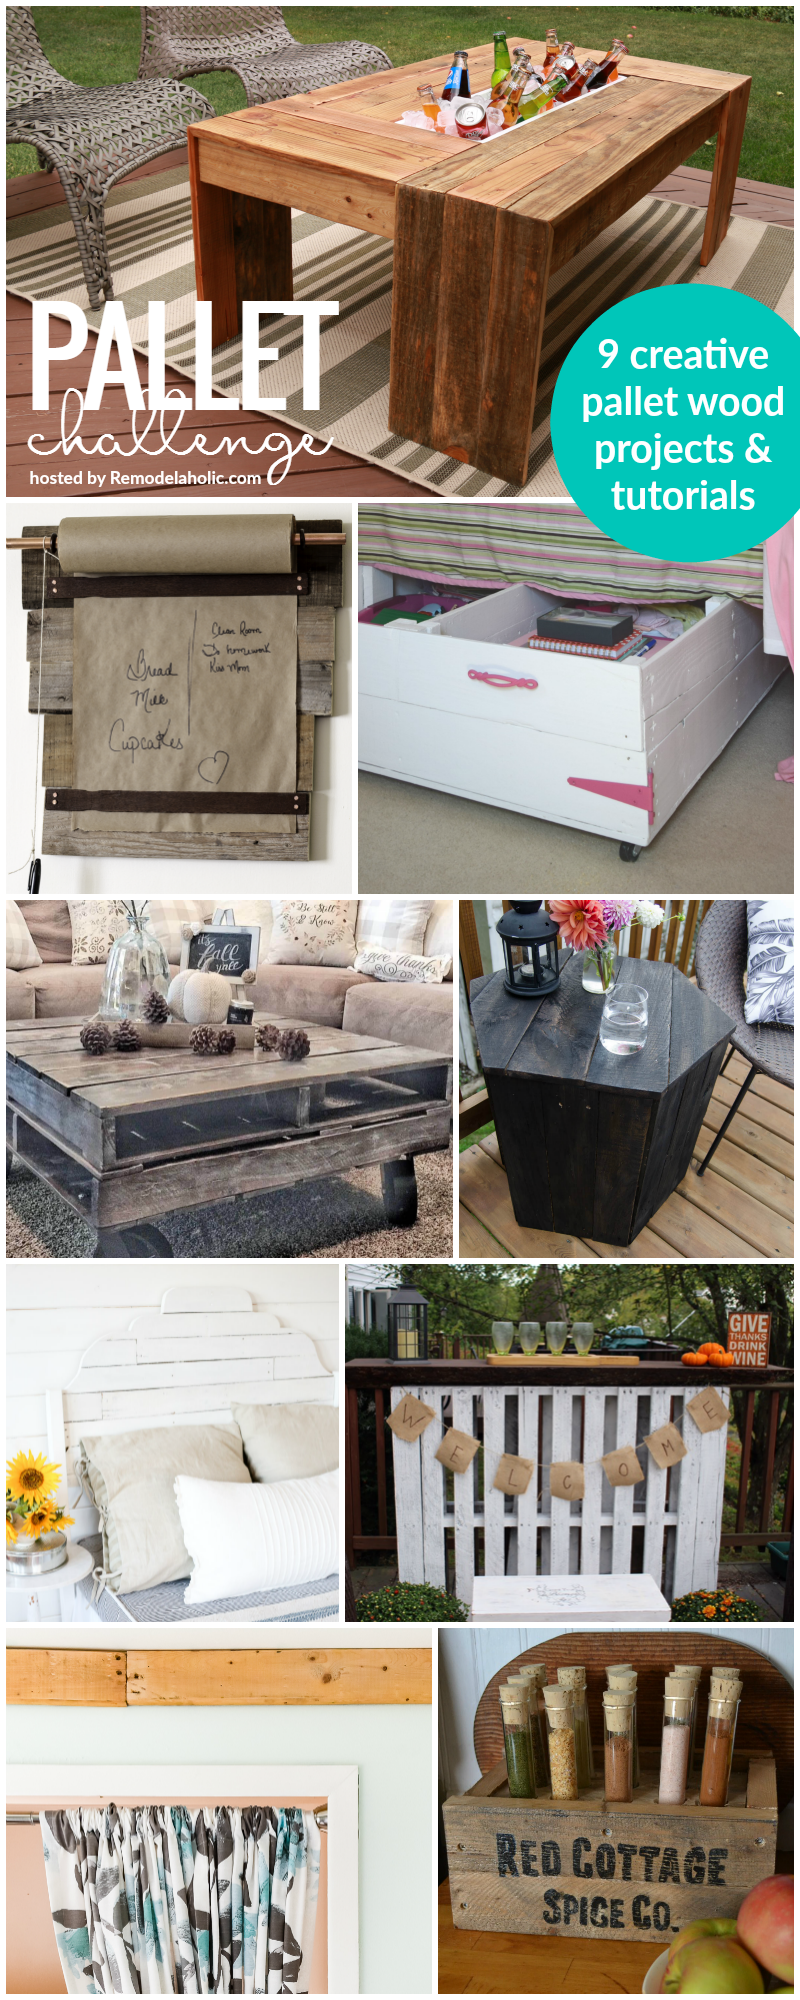
outdoor coffee table with drink cooler | Remodelaholic
paper roll pallet memo board | Cupcakes and Crinoline
under bed toy storage | Our House Now a Home
stacked pallet coffee table | AD Aesthetic
hexagon side table | Lemon Thistle
scalloped headboard | This Mama’s Dance
outdoor pallet bar | Our Crafty Mom
rustic pallet wood crown molding | The Weathered Fox


Could you tell me where you bought the test tubes locally as we live in the same city? 🙂 Thanks
Oh, fun!! I got mine at a place called Indigo Instruments in Waterloo. They are Canadian company (therefore no exchange or duty charges!) that ship Canada wide, but you can also arrange to pick them up if you want! They were $2 each tube and I think .30 or .40 cents for each cork. (I ordered extra corks!)
Nice DIY test tube pallet spice rack. I have another pallet project ideas. I will build an indoor koi pond and make the pallet as a frame