Sparkly Snowflake Ornament Tutorial
I just love everything about Christmas. Being a blogger at Christmas time makes it extra special. I have met so many lovely ladies through blogging and it always fun collaborating with them on different projects and blog hops.
This is one I really look forward to…….
Welcome to the 2017 Ornament Exchange & Blog Hop! This year, there are 47 amazing bloggers participating in the exchange. The rules of the challenge were simple: be partnered with a fellow blogger, create a handmade ornament for $15 or under, create a tutorial, and ship the ornament off to a new home!
This year I was partnered with Beverly from Across the Blvd who has not one, but three Christmas trees! Oh, how I wish I had room in our little house for three trees! One of her trees has a coastal theme, one is traditional with burgundy, gold and cream, and the last one is what she described as a hodgepodge of ornaments collected over the years!
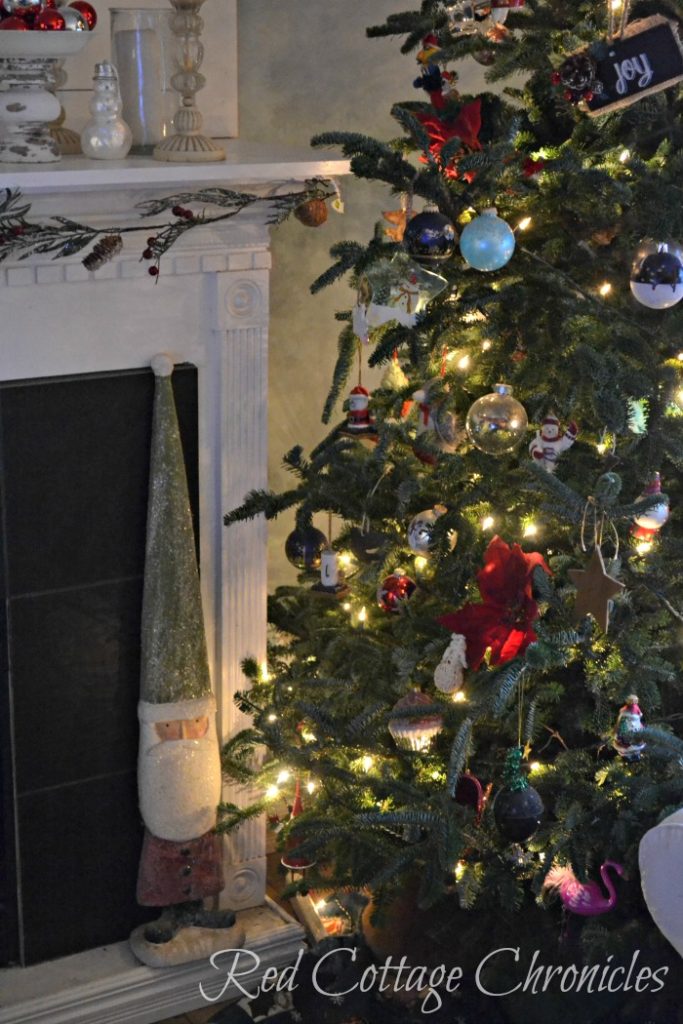
Our hodgepodge tree from last year!
I actually just received the ornament Beverly made yesterday, and I am cannot wait to check our her tutorial. I was beyond impressed and really want to see how she made it!
Since her hodgepodge tree speaks to my heart, I decided to make an ornament with that tree in mind! Since she is in the sunny south, and me in the cold north of Canada I decided to make her an ornament that reflects the sparkly snow that blankets our town every winter! Check out the tutorial below.

Meet the 2017 Ornament Exchange Hosts
Erlene ⋅ My Pinterventures Kim · Made In A Day Amanda · Domestically Creative
Shirley · Intelligent Domesticatons Michelle · Our Crafty Mom Beverly · Across the Blvd. Christene · Key to Inspiration Pili ⋅ My Sweet Things
Nicki · Sweet Parrish Place Megan · C’mon Get Crafty
Hilary · Raising Fairies and Knights Emily · Two Purple Couches
Tina · One Crafty Mess Marie · The Inspiration Vault Debra · Shoppe No. 5
Trisha · Rosewood and Grace Jeanie · Create and Babble Katrin ⋅ Kreativ K
Terri · Red Cottage Chronicles
Toni ⋅ Small Home Soul Ula ⋅ Lulu & Celeste Sue ⋅ A Purdy Little House
Pamela · Home On The Corner Lorelai ⋅ Life with Lorelai Cindy ⋅ DIY Beautify
Debbie ⋅ Tweak and Style Stephanie ⋅ Swoodson Says Chelc ⋅ Inside the Fox Den
Susan ⋅ Super Mom – No Cape! Molly ⋅ Just a Little Creativity
Roseann ⋅ This Autoimmune Life Angela ⋅ Simply Beautiful by Angela
Vicki and Jenn ⋅ 2 Bees in a Pod Joanne ⋅ Our Unschooling Journey
Tylynn ⋅ Bitterroot DIY Sam ⋅ Raggedy Bits Mary ⋅ The Boondocks Blog
Cyn ⋅ Creative Cynchronicity Dione ⋅ Clever Chameleon Quilting
Erica ⋅ Erica Ever After Chelsea ⋅ Love Paper Crafts Evija ⋅ From Evija with Love
Samantha ⋅ Little Bits of Home Hope ⋅ Hopes Crafty Niche Anne ⋅ Orange Bettie
Pam · P.S. I Love You Crafts
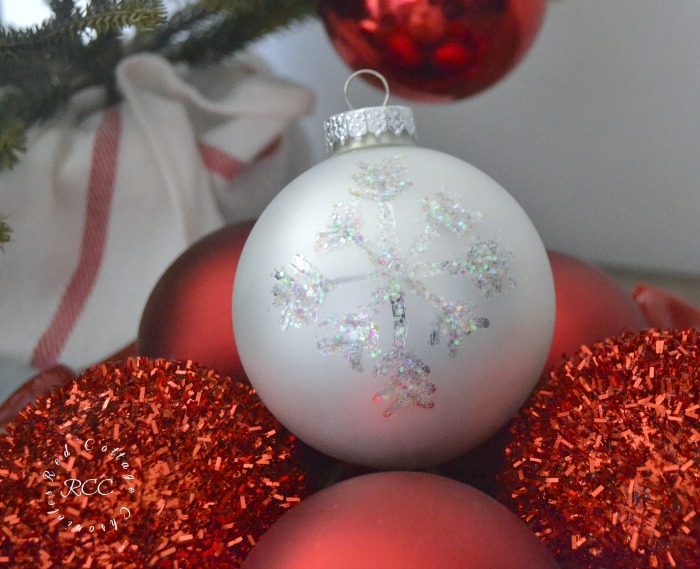
This DIY snowflake ornament is easy to create and really requires no artist ability. However the result is a pretty, custom ornament that is sure to add sparkle to any Christmas tree.
You will need……
- plain silver glass ornament
- iridescent glitter flakes
- silver Sharpie marker
- craft glue (that dries clear)
- paper towel
- a glass to hold the in place
- fine paint brush
- clear crystal beads
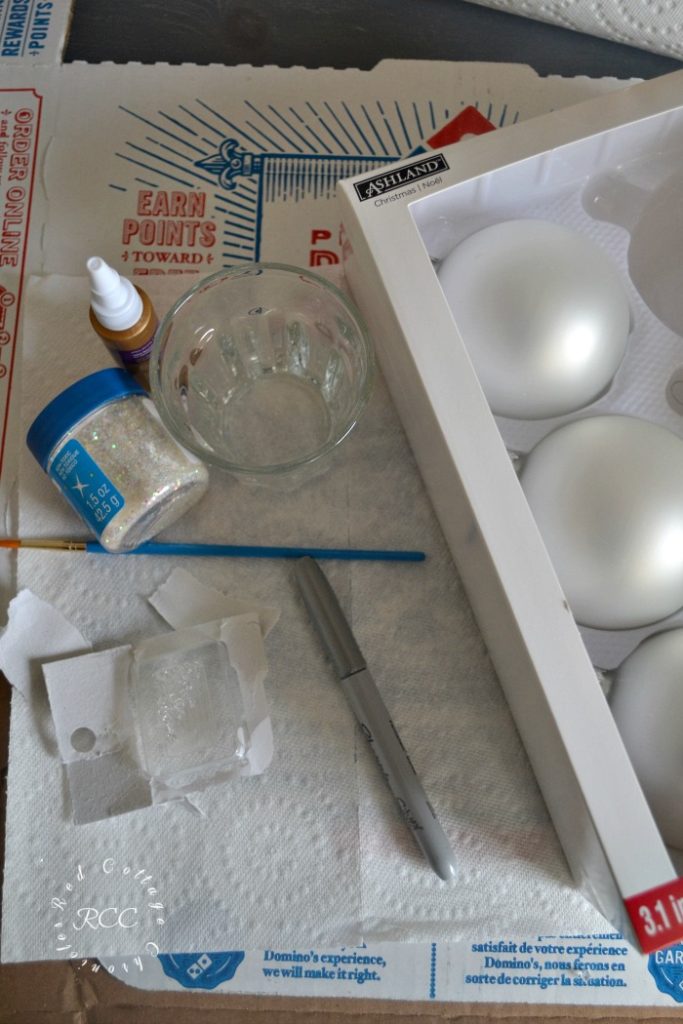
Begin by drawing a simple snowflake pattern on each side of the glass ball with the sharpie. Remember every snowflake is different, so don’t fuss about getting them perfect or exactly the same!
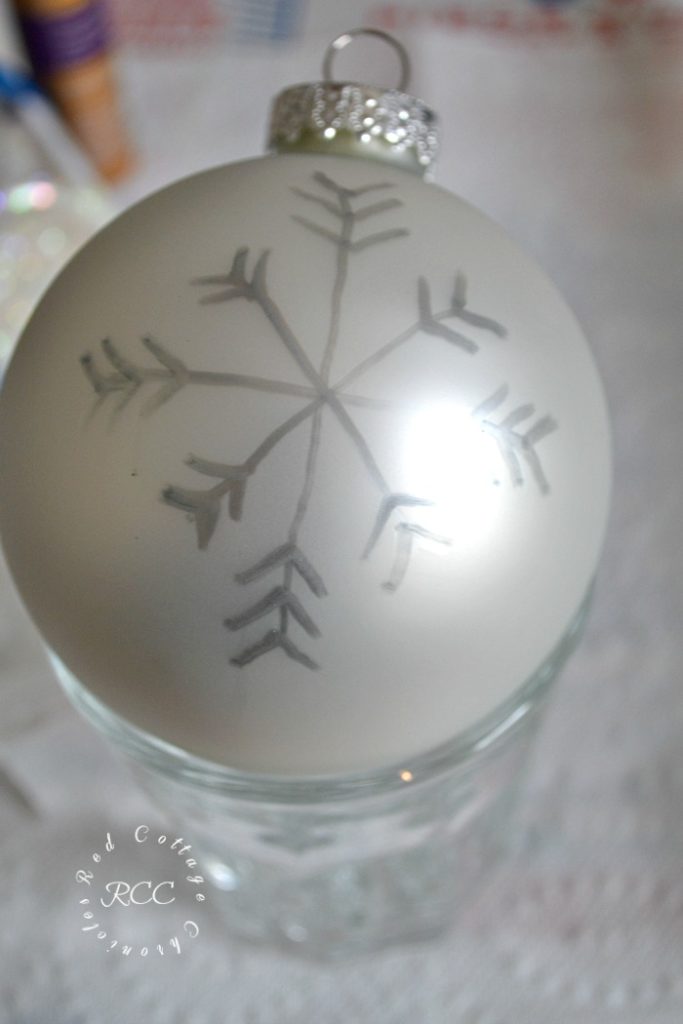
The next steps you will want to work on one side of the ornament at a time, moving to the second side only once the first side is completed.
Using a fine paint brush, trace the snowflake with the craft glue. Don’t be too heavy handed, but be sure there is enough to hold the glitter.
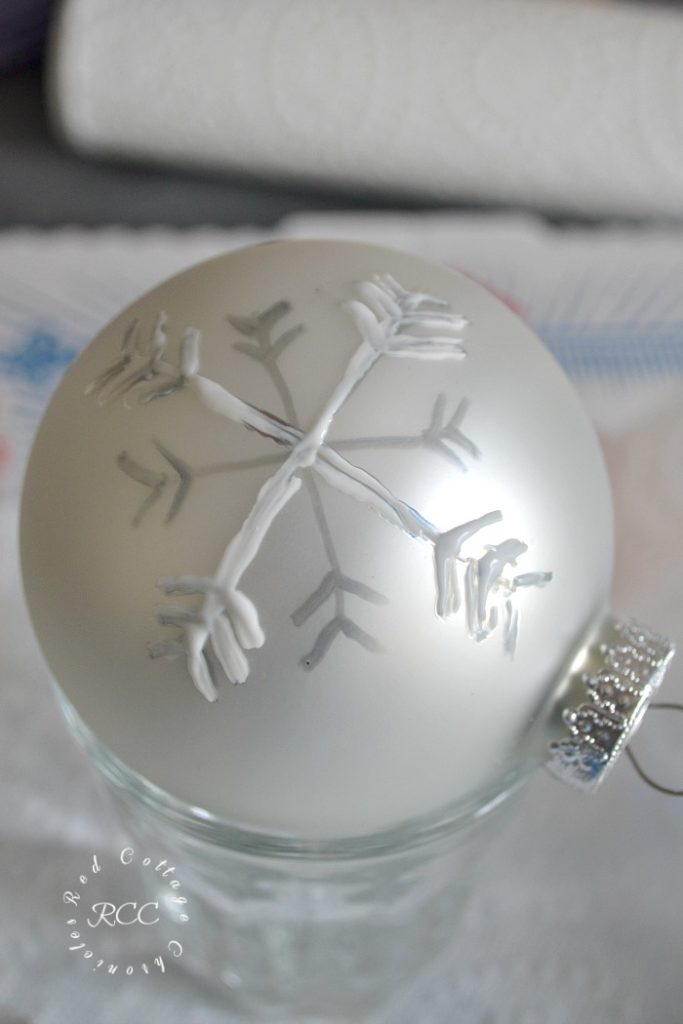
Liberally sprinkle the glitter over the entire glue coated snowflake pattern. Don’t be shy. Lots of glitter is good!
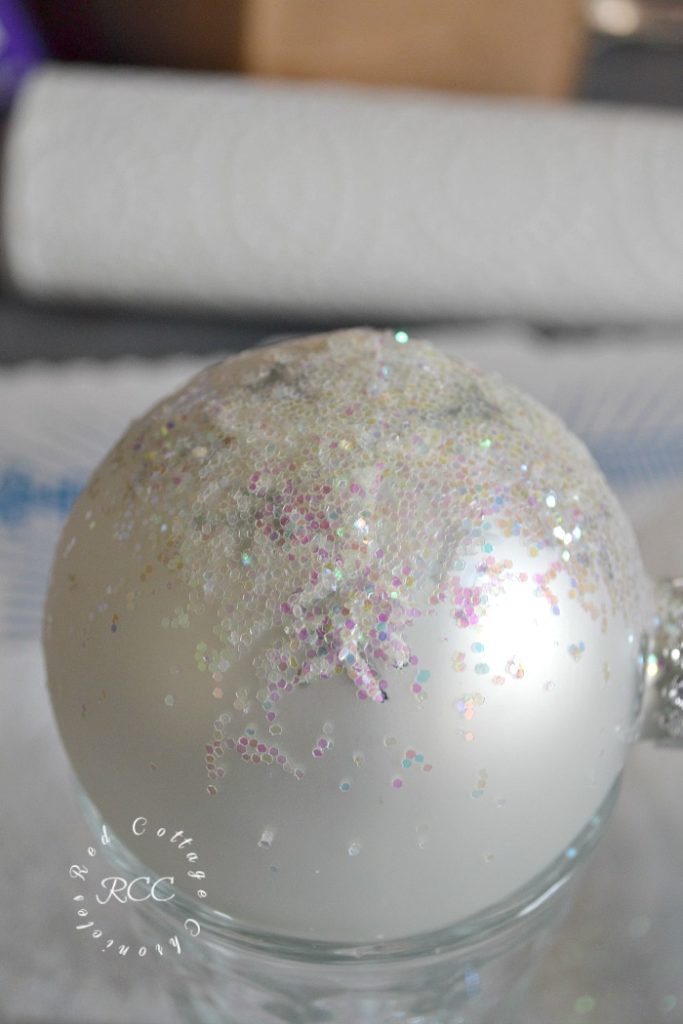
Pick up the ornament and gently shake off any excess glitter. Repeat with more glitter if required to ensure full coverage.
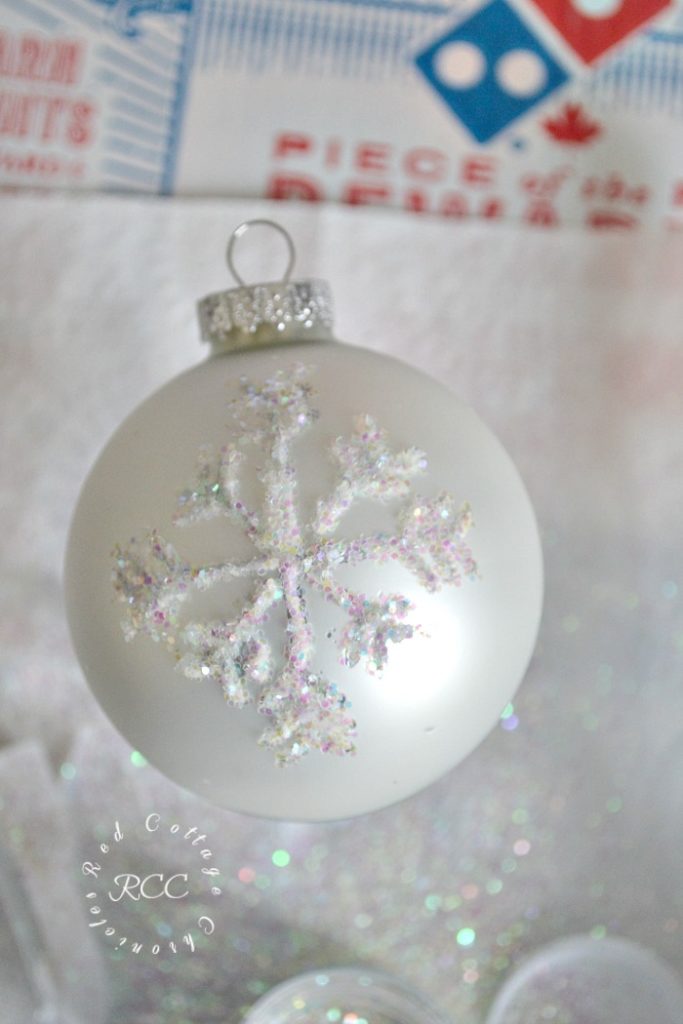
Allow the glue and glitter to dry completely over night. Brush off any excess glitter with a clean soft paint brush or make up brush, clearing any stray glitter that is not glued down.
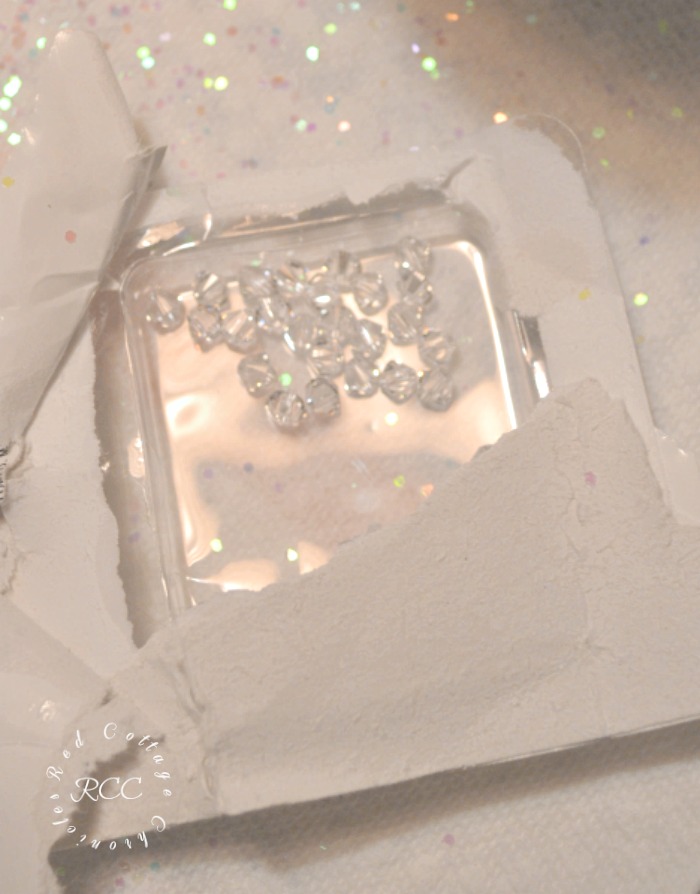
Add a dab of craft glue to the centre of the snowflake. Using tweezers carefully place one crystal bead on top of the glue, gently pressing into place. Allow to dry completely.
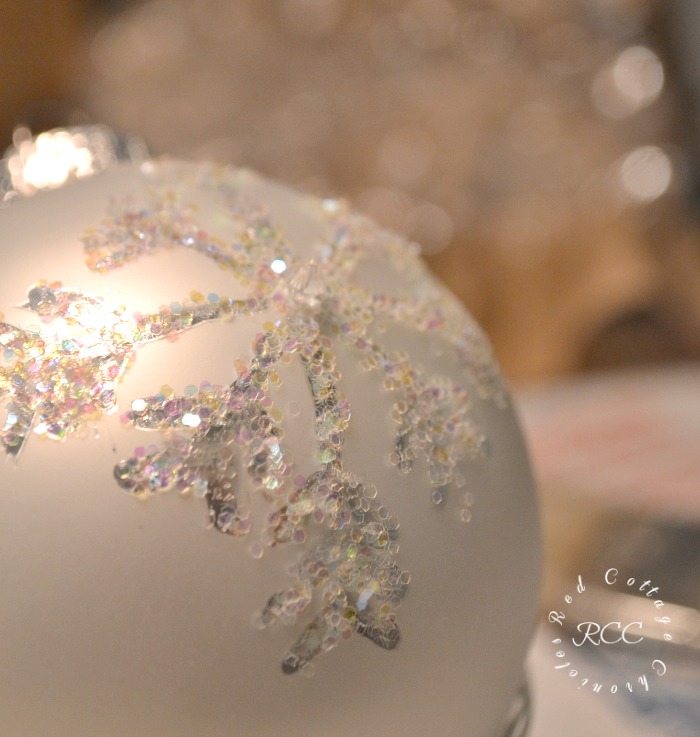
When this side is completely dry, turn the ornament over and repeat the steps on the other side!
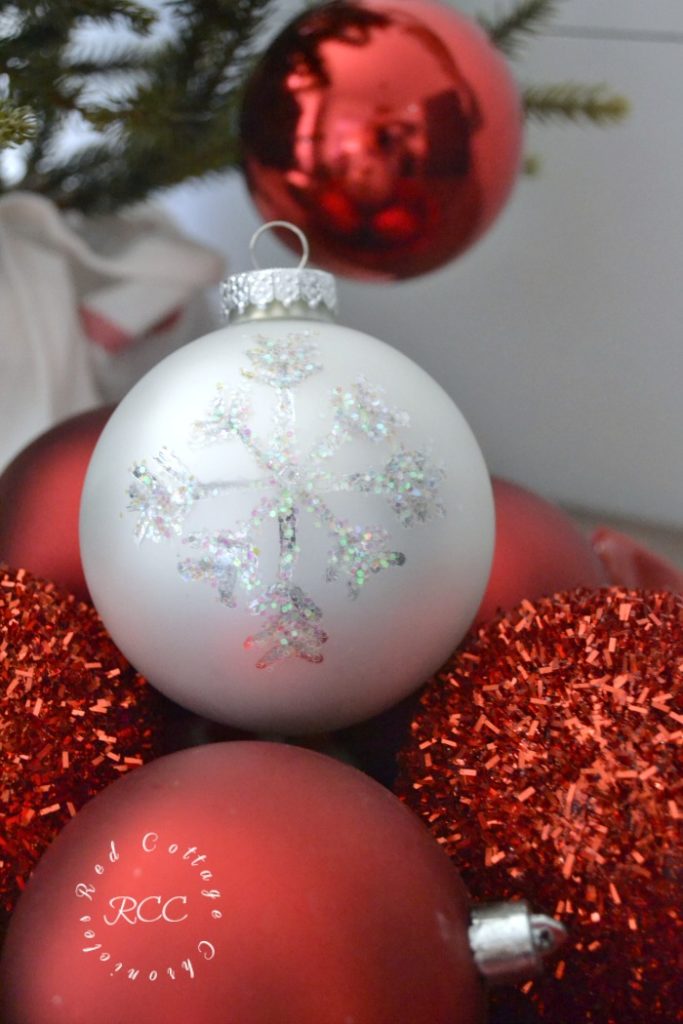
In the words of the Barefoot Contessa…..how easy is that! One Sparkly Snowflake Ornament on it’s way to the sunny south! I so hope you enjoy it Beverly!


A huge thank you to Erlene from My Pinterventures for pulling this blog hop together and keeping everything on track!
Again, it has been great fun participating in this years’ Christmas ornament blog hop and I am looking forward to perusing all the links below for even more DIY ornament inspiration! And, you can check out last year’s ornament and blog hop here!

FIND ALL 47 HANDMADE ORNAMENT TUTORIALS BELOW AND SHARE YOURS TOO! Use Hashtag #2017OrnamentExchange so we can see your creations on social media.


What a pretty sparkly ornament! You’re right, here in coastal South Carolina, we aren’t likely to see any snow. I’m a tad bit envious of all the winter wonderlands that those of you who have snow have for the holidays! I love including snowy ornaments on our tree. I can’t wait for this to arrive and to hang it on our tree. Thank you, Maureen! I’m delighted that you love the ornament I made for you. I hope you have a wonderful Christmas!
So pretty! I love glitter and beads on ornaments since they sparkle so nicely on the tree. Pinned.
Such a gorgeous ornament, I would be proud to display it on my tree, you did a great job! #2017OrnamentExchange
Beautiful! What great crafting inspiration on this post!
The ornament you created is so beautiful. I love the simplicity and the elegance of it.
The ornament you made for your partner is so pretty. And they’d make awesome hostess gifts for all your holiday parties!
I love how you could “production line” these and have enough to give to everyone at Christmas. Very nice, thank you.
Very pretty! I love the sparkles! It’s been great seeing everyone’s creative ideas!
At first I thought this was a sticker, but it’s hand done and I love it even more! I’m going to try this with my daughter, who love glitter. Thanks for sharing the tutorial on the #2017OrnamentExchange.
This is beautiful Maureen! If I close my eyes, I can picture a blanket of sparkling snow. At first glance, I thought you created this with vinyl or something similar, but I love that you drew it by hand.
Beautiful! Love the sparkle, of course, and so easy!
So sparkly and fancy!!
I love all the ideas I get from the ornament exchange each year!