One Room Challenge Basement Bedroom Reveal
Nothing makes six weeks go by faster than having a deadline! We started with some basement bedroom ideas on a budget, and we are very happy with how it turned out!
I am very happy to report that despite not posting every week (some weeks there was just nothing much to share), the room is complete, with the exception of a few touch-ups!

As mentioned, we have a couple of details to finish such as paint touch ups around the outlets and light switches since we literally got the electrical outlets changed hours ago! We also had to order a custom sized door and a light fixture for the closet area, neither of which have arrived yet.
First a quick look back at the before……click here to see the entire before post!
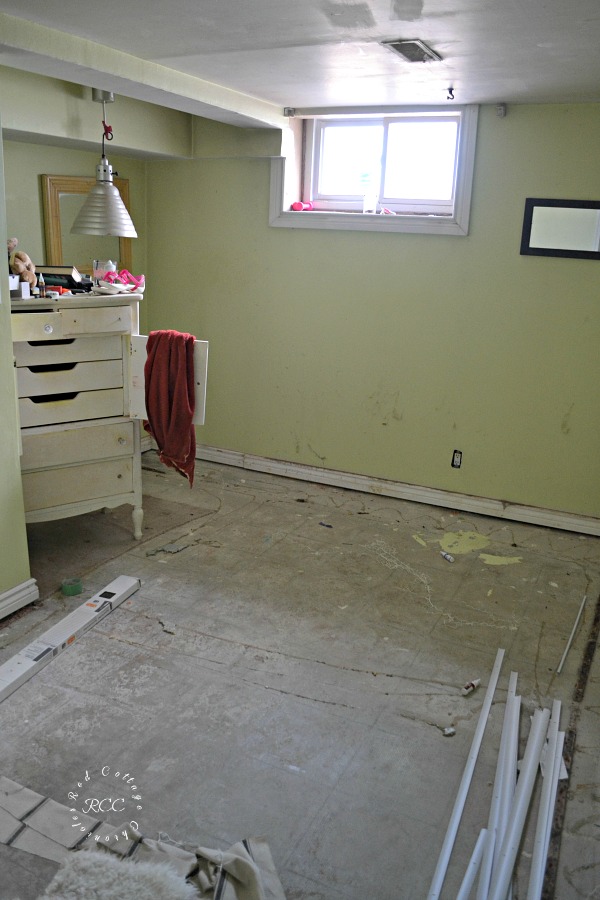
Small basement bedroom ideas on a budget
Our overall goal was to brighten up the space, while adding storage in the alcove which serves as an open closet without looking cluttered and messy. All on a very tight budget!
Here are some ideas we incorporated to spend as little money as possible, while completely making over the space:
- fresh coat of paint (a gallon of paint is inexpensive but packs a big punch for completely changing the look of a room
- choosing to use a reasonably priced luxury laminate plank flooring gave us a beautiful, durable flooring that will last for years
- Re-using and re-purposing furniture, or shop thrift stores or consignment shops
- Look for printable to create low-cost art work, and consider using mementos from travels or sentimental bits and bobs for decor
- stores like Ikea, Wayfair, Home Goods are great sources for area rugs and bedding
- get creative with storage (we purchased pipe from the hardware store to create a stylish closet/wardrobe area)
It most certainly is much brighter, crisp, and uncluttered.
Without further adieu….our One Room Challenge Bedroom Reveal!
A bright and cheerful small basement bedroom makeover
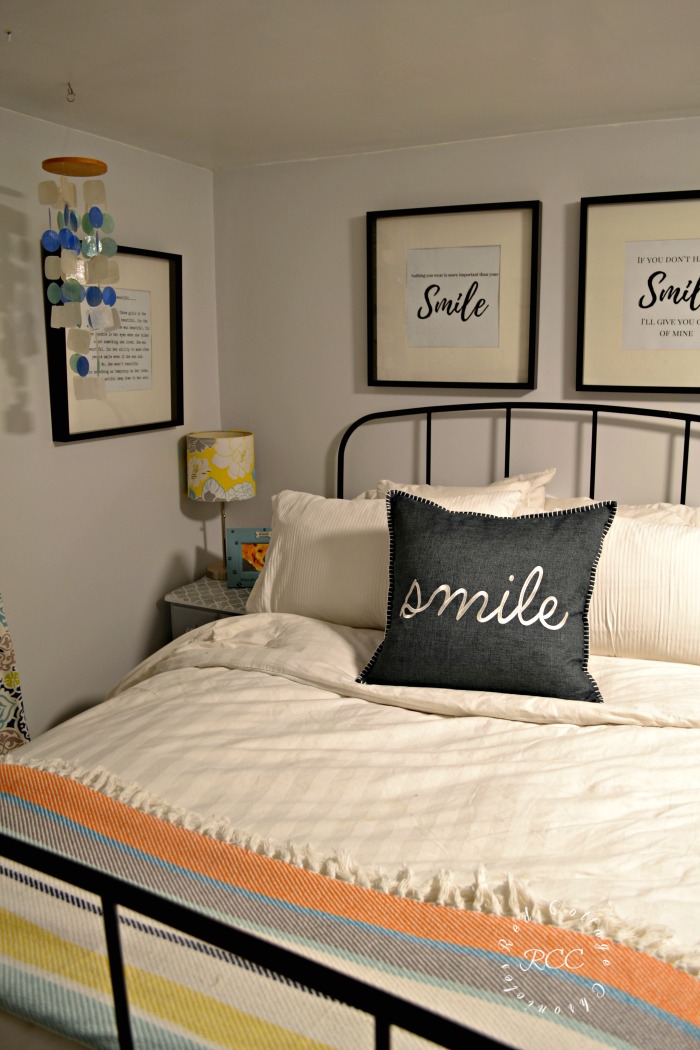
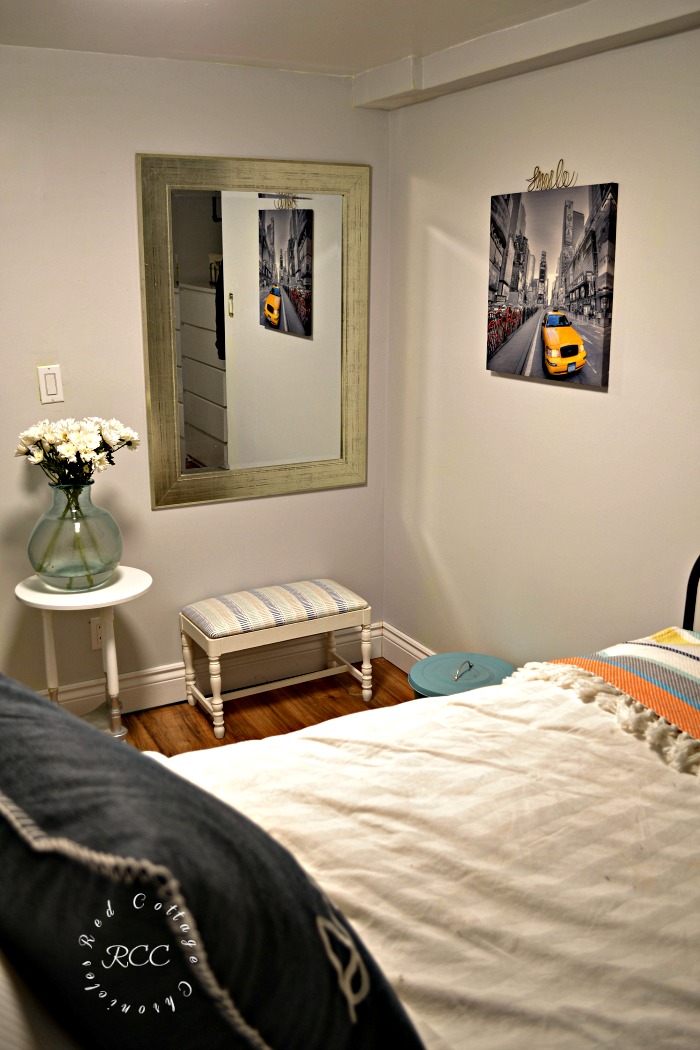
It is a teeny tiny room, but feels much larger than the pictures project. There is plenty of floor space to move about the room.
Designing for today, but keeping the future in mind
It is classically Samantha, but she plans to move out in the near future (please let the house prices come down!) and when she does it will become my office. We made the wall colour and flooring choices with that in mind.
Spoiler Alert!
She did end up finding a cute (and again tiny) little bungalow in her price range! You have to see the incredible transformation of her kitchen.
And speaking of floors, I cannot tell you how happy I am with our flooring choice. We purchased them from Costco and are from Golden Select. They have the look and feel of hand scraped hardwood but were an easy DIY installation.
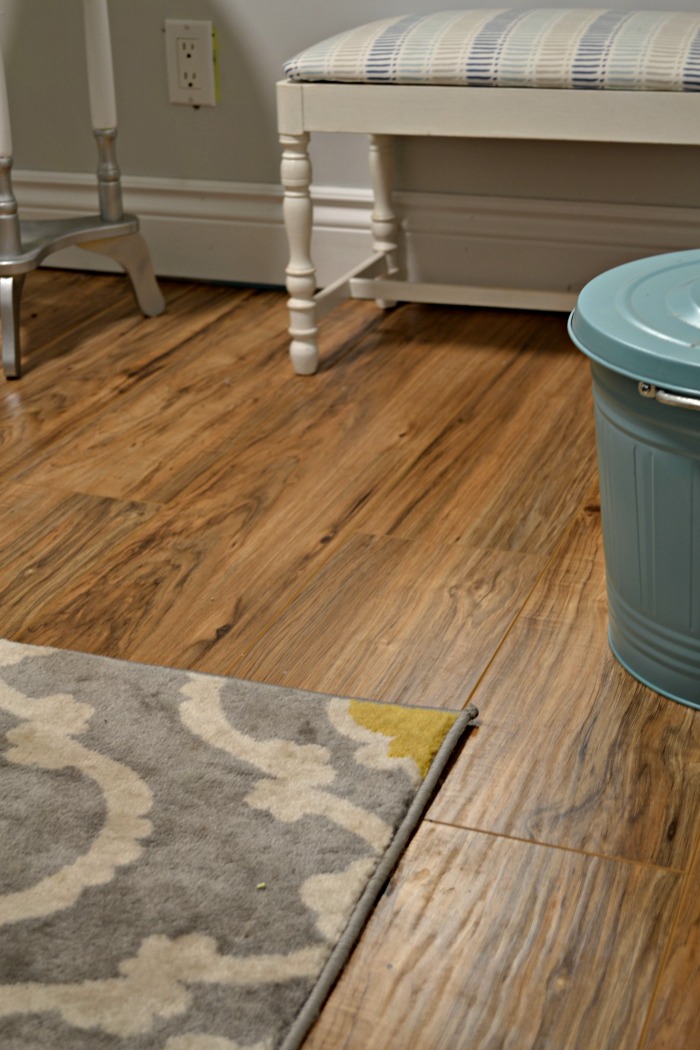
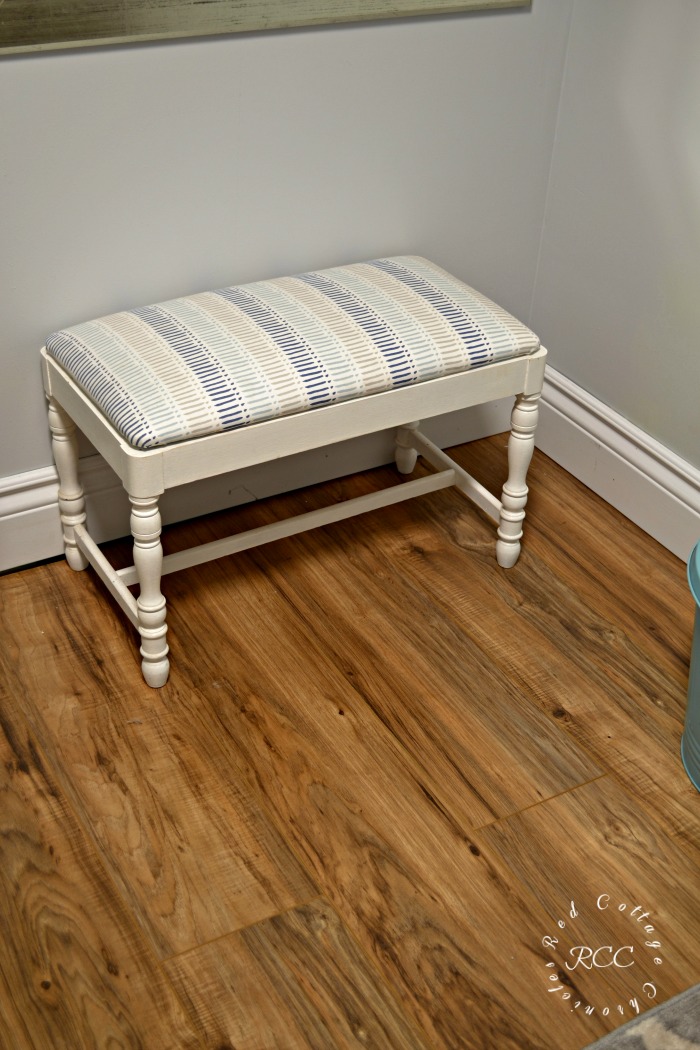
The floors have a very warm tone to them, and with the hints of weathered gray wood, they compliment the wall colour nicely.
Our older daughter left the cute little stool when she moved into her own place, so Sam just recovered it with some new fabric.
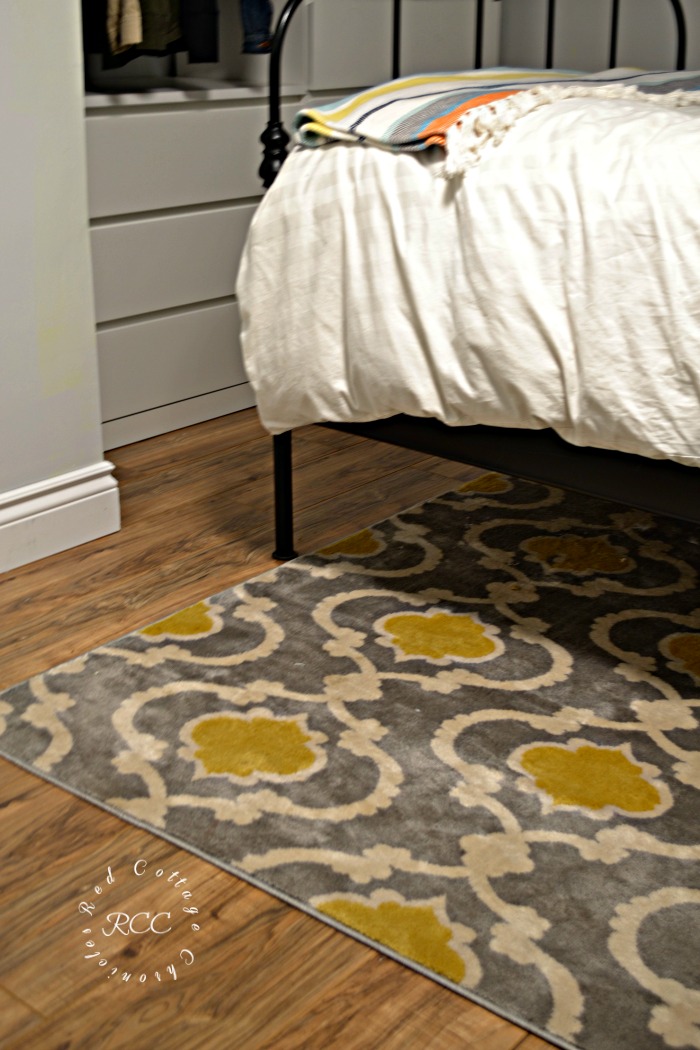
An area rug I bought at Wayfair was a bargain on sale, adds extra warmth when stepping out of bed!.
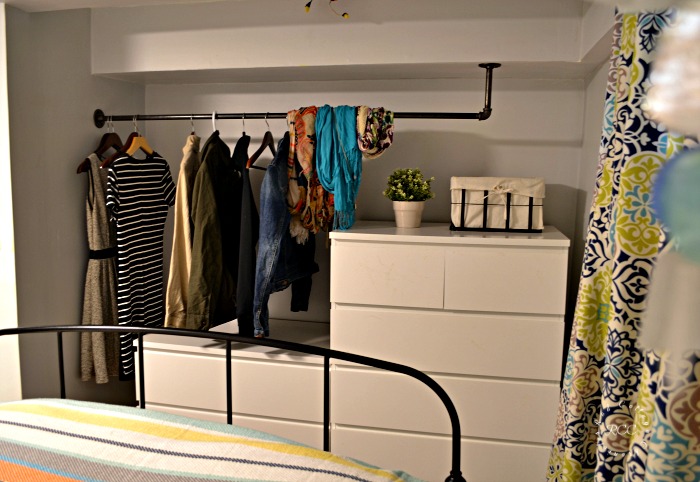
The closet turned out exactly as we hoped. You can see our inspiration photo in Week One. Samantha now has plenty of room to store all her clothes both in the drawers and on the bar.
Curtains that she made during her first sewing class a few years ago make it seem like the little basement window is bigger than it is. They go all the way from the ceiling to the floor.
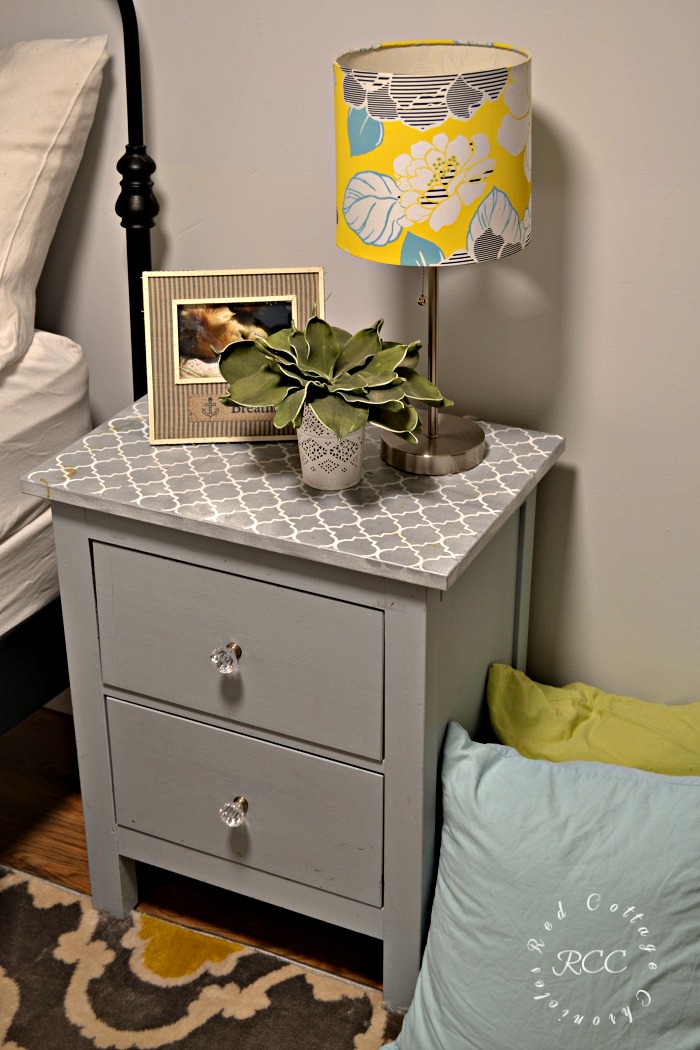
Her night tables have been around for a while. One is from Ikea and the other a yard sale find. She had painted them both dark gray, stenciled the tops and added crystal knobs a while ago. It turns out they match this room just fine, which helps with the budget!
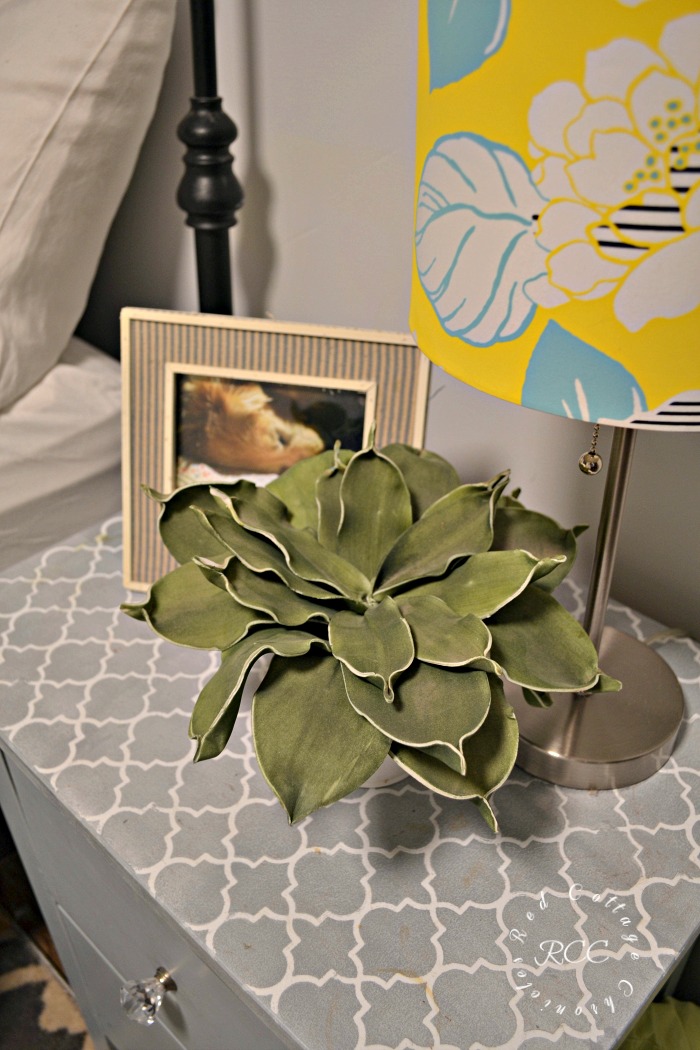
Note to self…..buy her some coasters!!
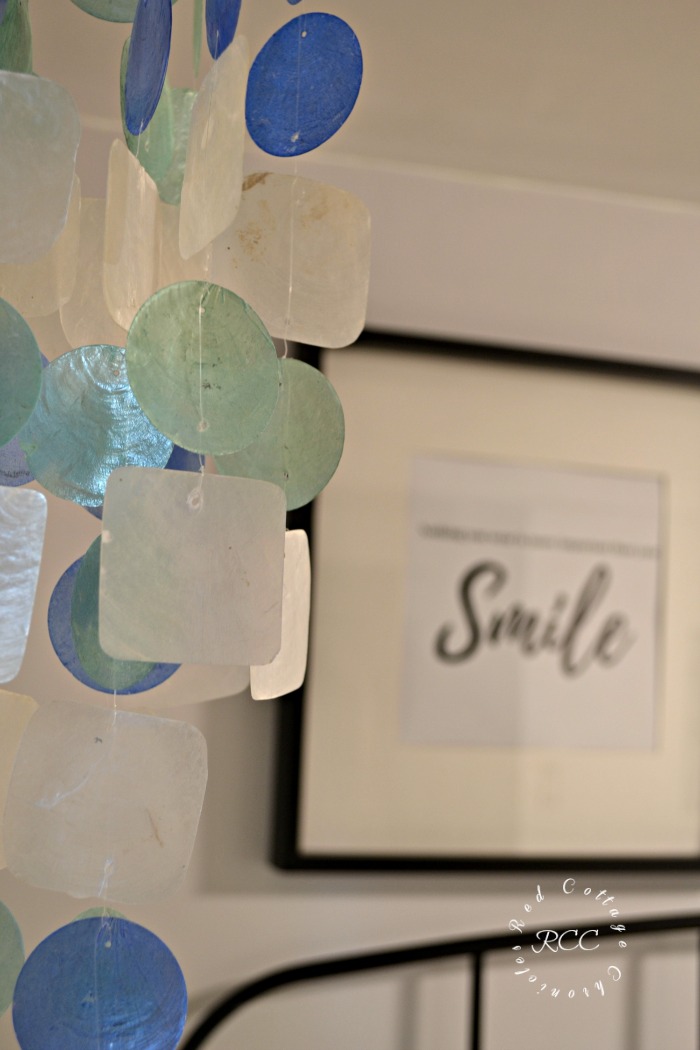
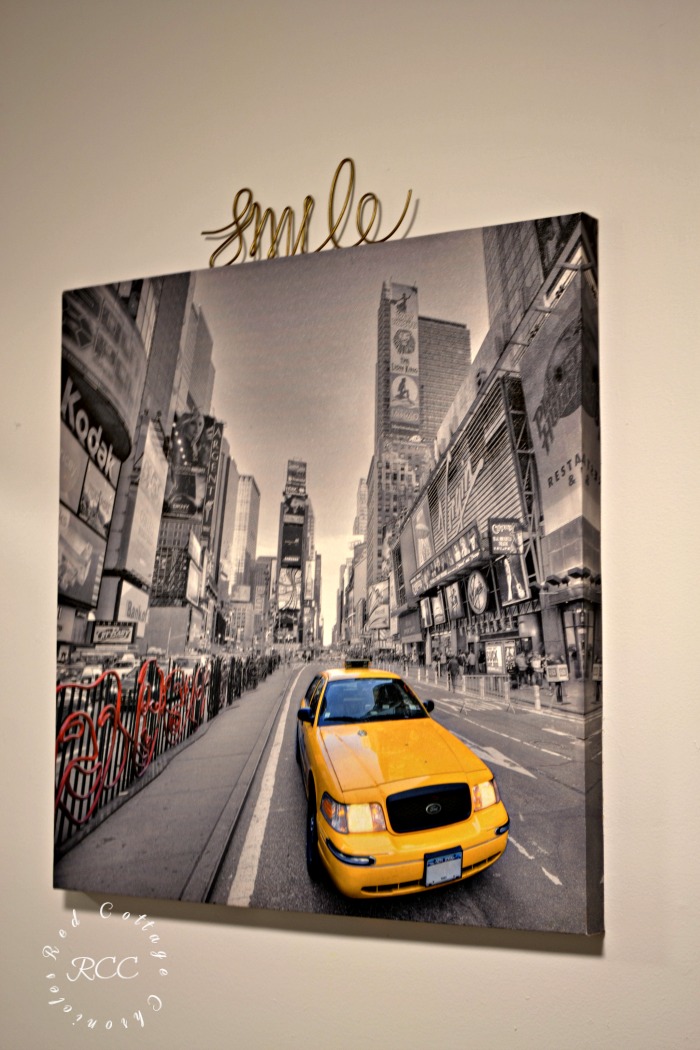
A few of her favorite mementos from our travels decorate the room. Like the shell wind chime she bought in Maine pictured above, and her New York City taxi print from one of our numerous trips to New York City several years ago.
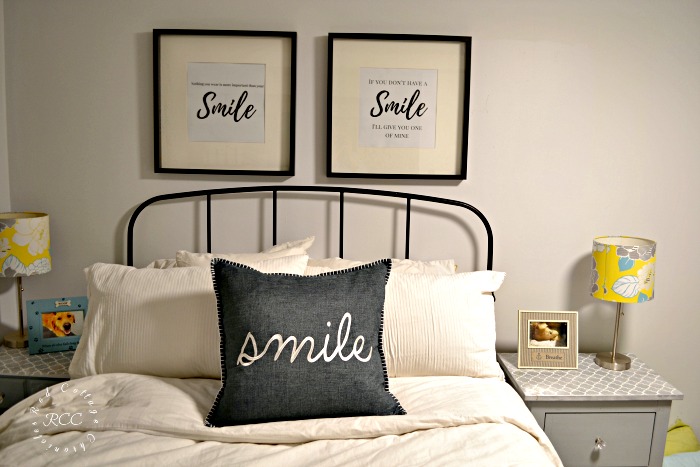
For the most part she already had almost everything that you see in the room with the exception of the throw and the Smile pillow. I created some printables to fill the Ikea picture frames she already had. I will feature a closer look at them, as well as how you can download them for yourself next week!
It was all I could do not to climb into her comfy bed while I was taking these photos. A feather bed tops the mattress. A fluffy duvet and crisp white bedding make a calm and cozy place to sleep. Exactly how she likes it!
I hope that I have shared some basement bedroom ideas on a budget that you can use in your own home. Not including the flooring which was gifted to us, I think we spent less than $150 total on this room. The cost of the flooring itself would have been around $250 had we purchased it ourselves.
Now that the bedroom is finished we can officially begin work on renovating our family room. Stay tuned!
Until next time….


Such a dramatic before and after! Turned out great!
Thank you Jessica!
Your floors are indeed amazing! I must check out this source. Love all the homey touches, too. This room just makes me “smile”….. LOL…. Congrats on a great makeover! ~~ Susie from The Chelsea Project
Thanks so much Susie! We plan to use the same flooring in our family room as well, as we love the quality and feel!
I love how the room turned out! That closet solution is so creative
Thank you Jessica! For less than $10 it looks pretty good and is functional so I am happy 🙂
What a transformation! Everything is so welcoming and cozy! I simply adore that closet solution, very clever!