One Room Challenge Week 2
Welcome to One Room Challenge Week 2 Link-Up!
It has been a very productive week here at the Red Cottage. Panic has already set in but there is no turning back now!!
If this is your first week visiting the link party, you can see the before photos here.
It was all about the floors this week. I don’t think I will rest until they are done. And while we have made great progress, the scariest part is yet to come. Committing to a stain color, and of course there is the task of applying six to eight coats of varethane!
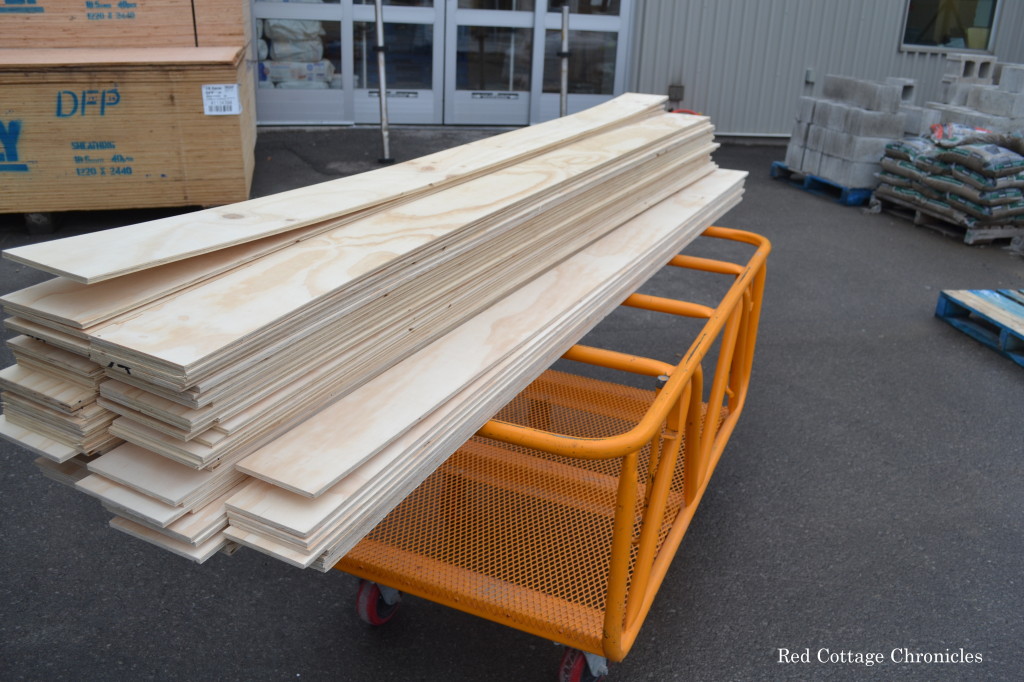
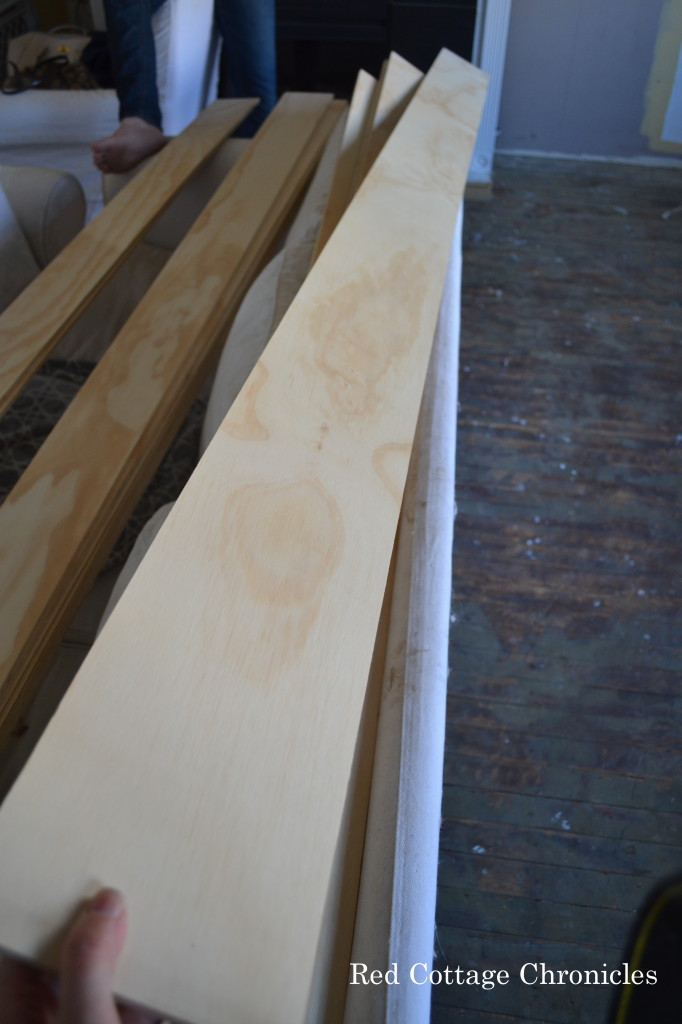
First task. Buy the plywood. Although it was a bit more costly, we went with good one side to eliminate the extra sanding required. When I factor in the cost of our time (and how little of it we have) it was the right choice for us. We had it cut to 6″ planks the home improvement store. Another time saving decision since we don’t have a table saw.
I was lucky to get a 15% off coupon the morning we were going to buy the lumber. Yeah!!
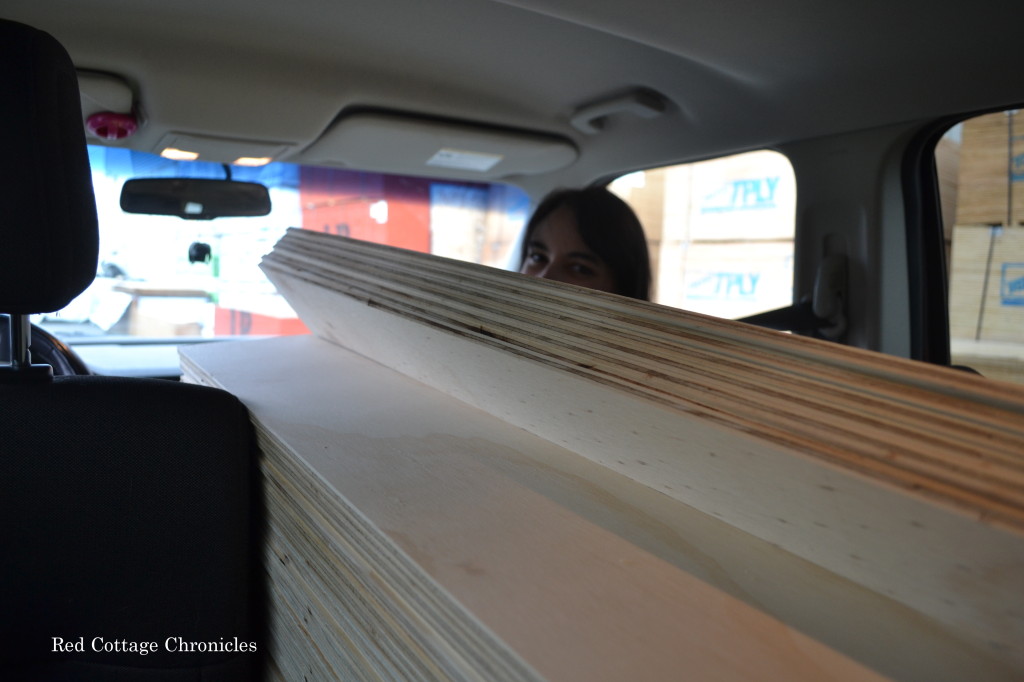
Tim loaded it all into the car. That’s me up front doing my best “Wilson” impression from Home Improvement!! Truth is, I was pretty much wedged in there.
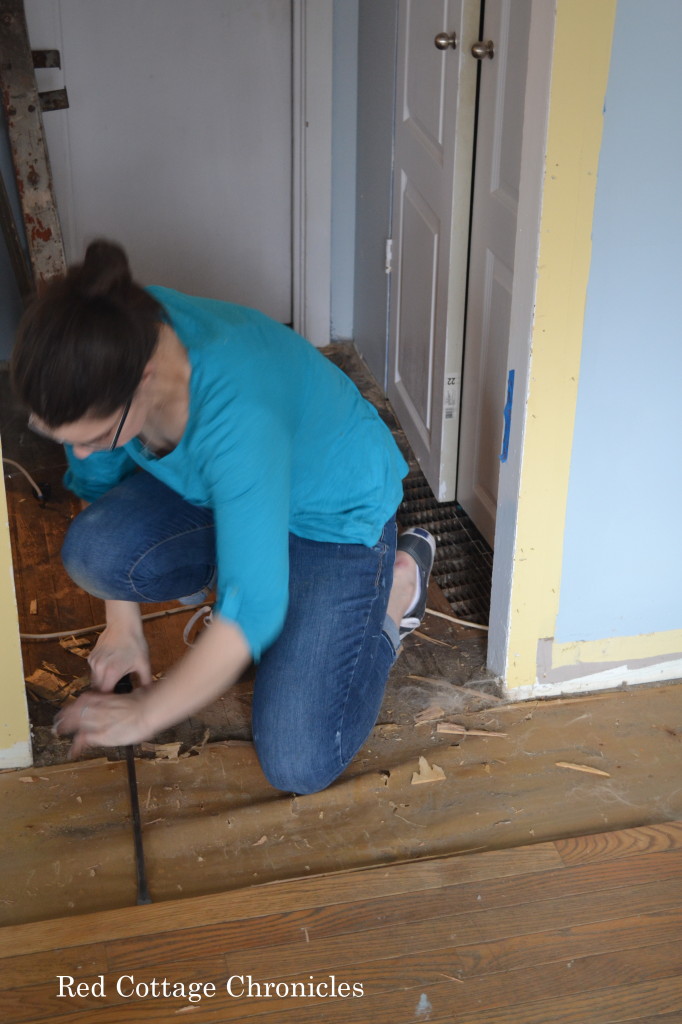
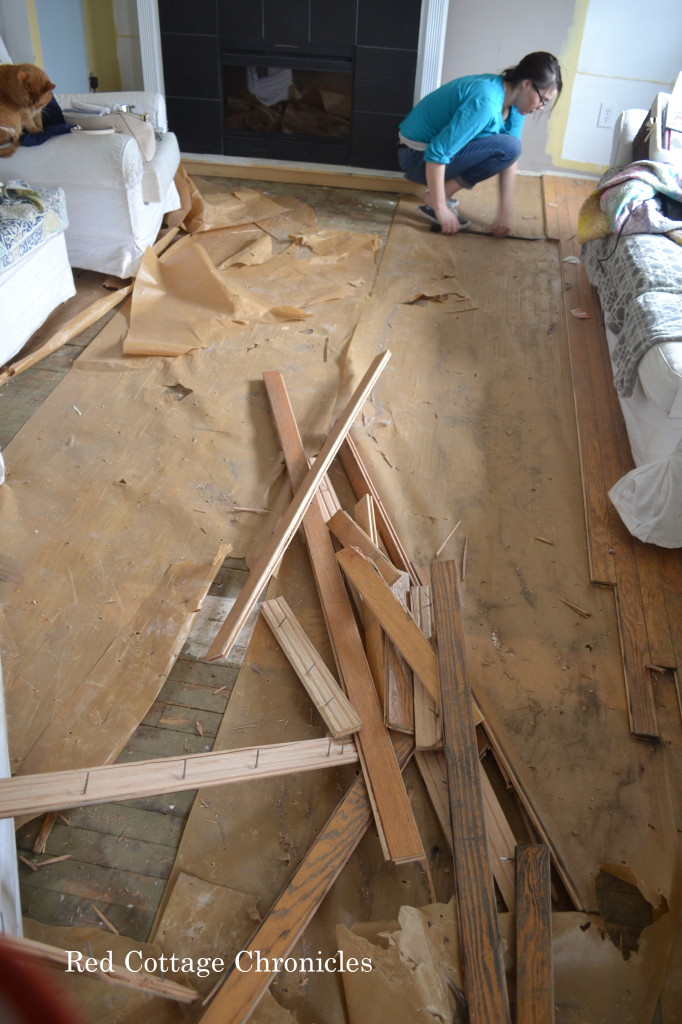
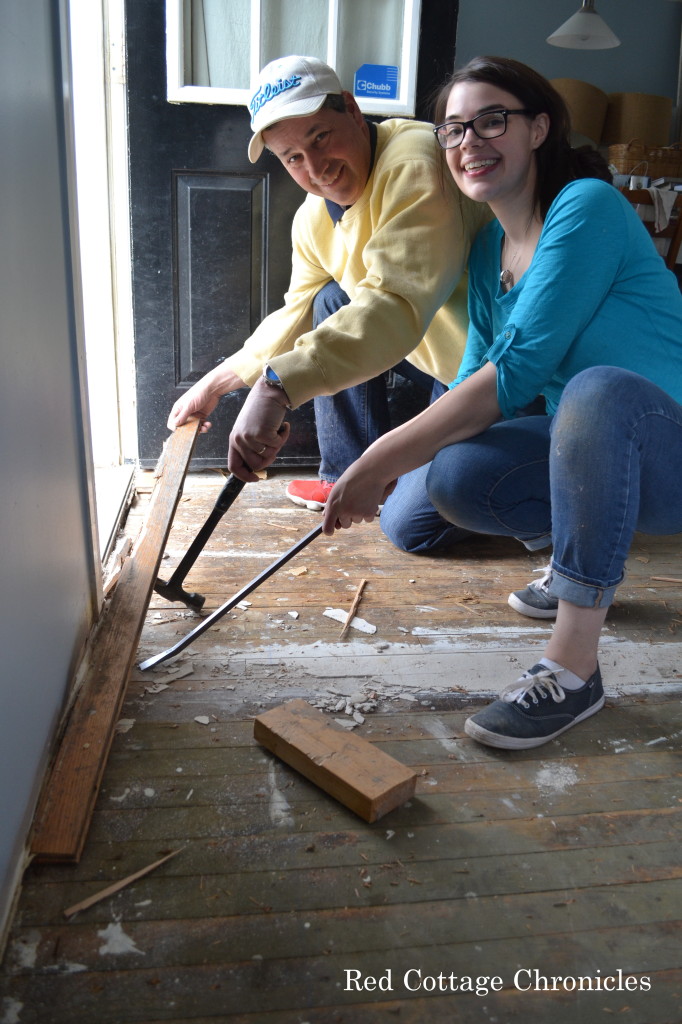
By the time we got home from the lumber store, Sam was itching to get that old flooring up. I don’t know what Tim would have done without her. She set to work and there was no stopping her! Between her and Tim the old floor was up and out in about 3 hours! Tim will admit it was way more Sam than him!
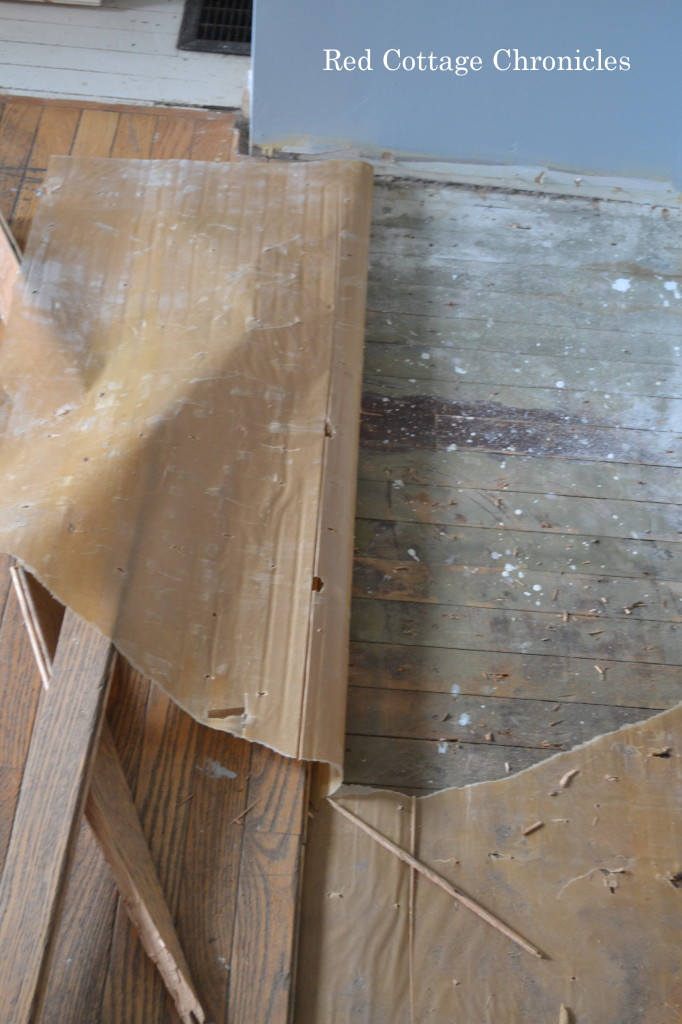
A first glimpse of what we found underneath. I am sure that old wood was beautiful back in its day! I even toyed with the idea of refinishing it but the more we uncovered the more I knew it just wasn’t possible.
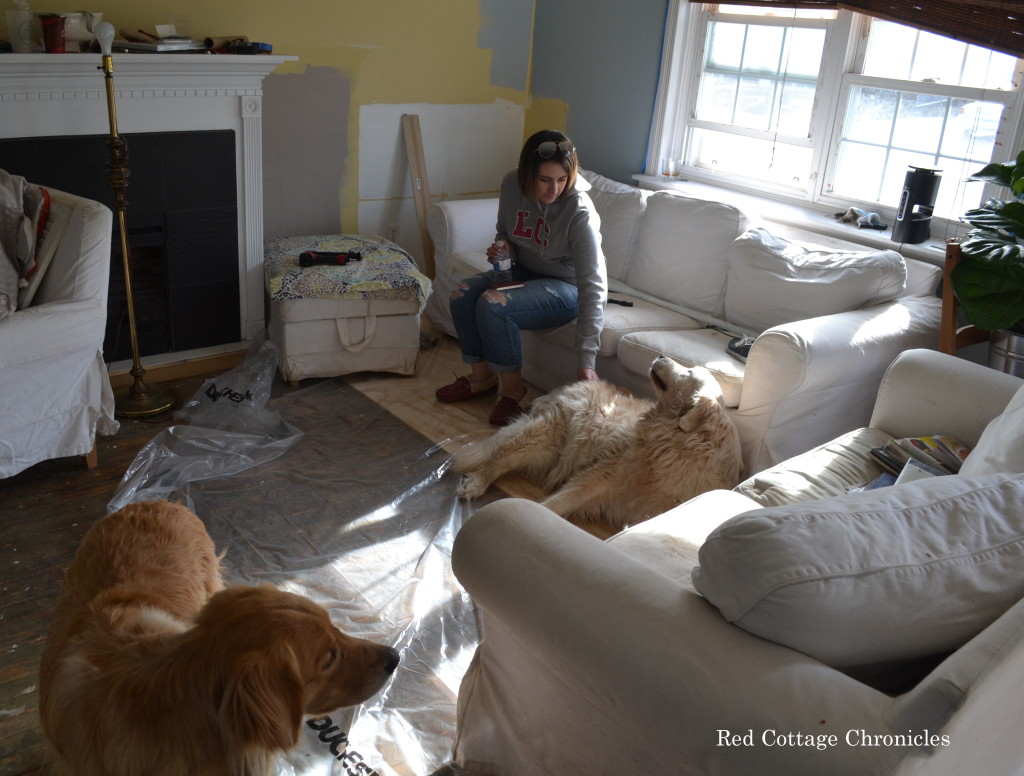
Being a tiny house there was really nowhere we could put all the furniture, so we just moved it around as we went. My job was clean up, taking the old boards outside and loading them up to be taken away. I was falling a bit behind!
The last board coming out! All smiles 🙂 Sam let Tim in on the photo just to make it look like he worked as hard as she did!
So it is out with the old……..
And in with the new……..
We chose wood with lots of character. There are not a lot of knots, which is okay with me, I just love the natural random pattern on the wood that will be enhanced with the stain. Using a sanding block I gave each edge a quick sand to provide a very slight bevel. Took me only about 20 seconds a board.
Since we are running the new floor straight through the living room and the dining room we started the first row well out from the wall as this would be the first row to run the length of both rooms.
We first made a level chalk line the length of the room and checked it twice to make sure it was straight and an even distance from the outside wall all along the entire length.
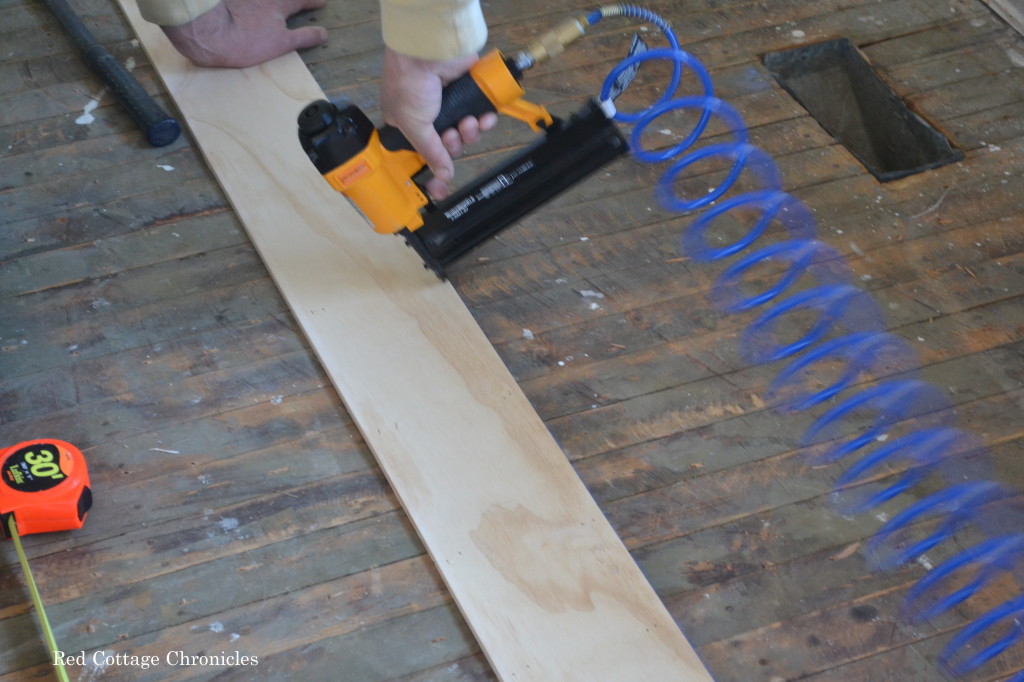
Using an air nail gun 1 1/2 inch 18 gauge finishing nails are nailed 2 on either side of the board every 6 inches. Tim made sure to hold the nail gun to a slight angle towards the outside edge. After this first row was in place, he worked back towards the front wall, and then went back to the first row and is working is way across the rooms.
We used dimes as spacers between rows. They left the perfect “gap” between boards!
The total length of both rooms is 24 feet, and the width is 12 feet.
When I look at how it looks now and wonder what was I thinking taking on this challenge I am reminded of my early teen years, when my mom would give me a home perm. (It was the late 70’s, everybody was rocking a curly home perm, weren’t they!) Looking like a dork with tiny rollers and cotton all over my head, she tried to make me feel better by saying “sometimes you just have to go through looking ugly to be beautiful”!! This room is looking pretty ugly right now.
I hope to be staining the floor by the weekend. It is supposed to be warm and sunny and I can keep the dogs outside for the entire day, allowing lots of dry time. Then cover it back up with plastic until the verathane goes on next weekend.
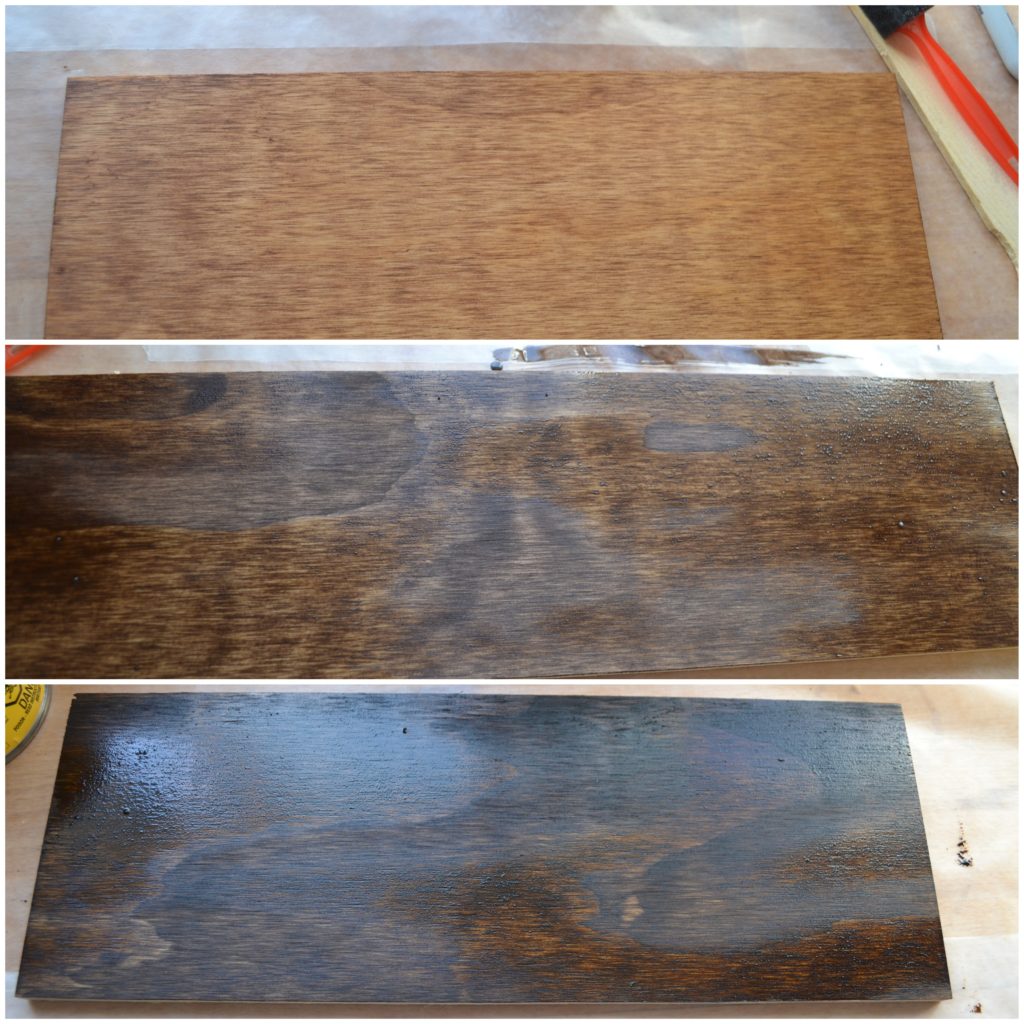
I bought sample pots of three different stains that we all kind of liked at the store.
This is with one coat of stain and 3 coats of Varathane. The Varathane was hastily applied with a cheap craft sponge and I was too impatient to wait 2 hours between each coat, so it has a bit of a texture to it but it gives us an idea of the depth of color for each sample. I am leaning towards the last sample. It is Minwax special walnut. Not totally sure though yet. I don’t know what I was thinking when I thought I would like the first one, Early American. It is even orangier in person than it is in the picture. I also thought about maybe a whitewash finish but I think a darker floor is a more suitable option in our household.
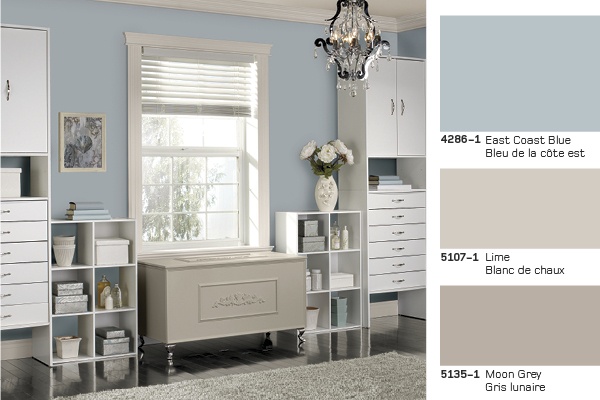
Again, the wall color we are going with is East Coast Blue from the Rona Collection in a satin finish.
We have already painted the dining room in this color. I love it on our walls because depending on the light in the room and how you look it, it is more of a grey than blue which is exactly what I was going for.
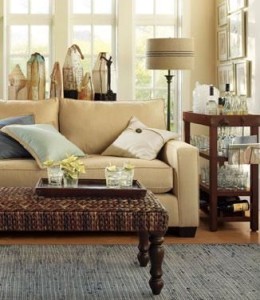
Besides completing the floor through to the stain process this weekend, and painting the walls, I am working on restyling an old lamp (which I scored for free) to look like the one in the photo below from Pottery Barn! I will share that next week.
So much more to do! What do you think so far?!


![ORClinkingparticipantCIH[1]](https://www.redcottagechronicles.com/wp-content/uploads/2014/03/ORClinkingparticipantCIH11-300x300.png)


I am blown away by the undertaking of this project. This is so brilliant and will look amazing. Good luck.
This is amazing! I cannot wait to see how the floor turns out
You guys got a lot done! The ply really took that stain well, I love the color. I’m it’s going to look amazing!
I was really happy with how the stain picked up all the natural patterns in the wood. Now I just have to commit to which color 🙂
I know the feeling all too well of riding with the “middle passenger” being lots of lumber! Huge project and I can’t wait to see it finished!
Thank you! When the old boards started coming out I really thought I bit off more than I could chew, but it is all coming together!
Hi I’m wondering how the flooring has held up? We are considering this project for a brand new build. 1600 sq ft!!!!!!!!!! It would save us so much money. But I can’t find any info on how the floors have lasted; pros and cons after time has passed.
Thanks. Love your website.
Hi Stephanie! We are very pleased with how the floor has held up. We do have two very active golden retrievers and knew that scratches were inevitable but felt it just adds to the time worn look of the floor. Otherwise the finish has held up very nicely. Our living room is a high traffic area given it is our main living space in our little home, so it does get lots of traffic and in the summer time I lift up our area rugs and the entire floor is exposed! Hope this helps! Keep in mind that we used inexpensive pine plywood, which is a soft lumber.
This is going to be amazing!
Oh, I hope so!!
Somebody’s been busy! The floors are going to look awesome!
Thanks Kate! It is a bit of a nail biter 🙂
Wow, this is huge. I thought I had a lot of work. It will look gorgeous.
Those wide planks are going to look sooo good! Can’t wait to see more progress.
Thank you Linda!
Great job so far Maureen! I love the special walnut stain for the floors! It all is going to look great together. Can’t wait to see the finished product!
sorry if i missed it, but what is the middle of the 3 stain colors? also, did you consider using Liquid Nails in addition to nails? if so, why did you opt not to use it? thanks in advance.
Hi Michael. Thanks for your questions. I do apologize, I didn’t mention the name of that middle one, I will have to look back and see what I can find! We didn’t consider using liquid nails, and we haven’t had a single problem. When we get to do an entire renovation of the first floor, we plan to have engineered flooring installed throughout, so using just the nails will make taking this floor up much easier!
This looks great! Love to see the progress! Good luck!
LOVE your color palatte. Those cool colors with the dark floor is going to be AWESOME!
Don’t work too hard…
I cannot believe you are doing this. Makes me feel like such a slacker. Your floors are going to be amaze!
I can’t get over how big your project is! Completely inspires me. I like the last sample, too. Can’t wait to see the floor.
You will love that special walnut. We got a new front door last year, and that is what I chose from the samples the contractor brought me. It is gorgeous!
This is quite an undertaking. I found you looking at the ORC link. I will keep checking to see how it turns out – beautiful I am sure.
Thank you for the input!! I am really leaning towards that color. It is a nice rich color with no orange undertones!
This is such a big undertaking, but it looks like the payoff will be well worth it! I’ve used Minwax special walnut on a few projects and love it 🙂 Looking forward to following along.
I love the floor color and the wall color! The blue is so soothing!
Those floors are going to look amazing! Can’t wait to see the finished product.
All I can say is, WOW.
Wow! This is ambitious, good for you! It’s going to look amazing, the color is beautiful!
You have done a ton already!!! Can’t wait to see the next update!
XO,
Krista
http://www.goodwillglam.com
Wow! Great job so far. I love the wall colour. It’ll look amazing with the darker floors. I actually used the walnut stain for a shelf I made out of skid pallets and it looks phenomenal (I did do a couple coats of the stain cause I wanted it a bit darker). Cant wait to see what you do next!
This is so cool! Thank you for so much detail. We just bought a really lovely little place in upstate NY, for weekends. It’s an old railroad worker’s home on the edge of the Hudson. Anyway, we had hoped to pull up carpeting, ply and linoleum and redo the original flooring, but it’s so chewed up, and likely has asbestos on it from old tiles, that we are thinking of plywood instead. Your step-by-step is giving me courage.
Can you tell me what function the spacers serve? I see some people using them and others don’t.
Hi Aaron. If my memory serves me, we used dimes as spacers!