How to Arrange Roses
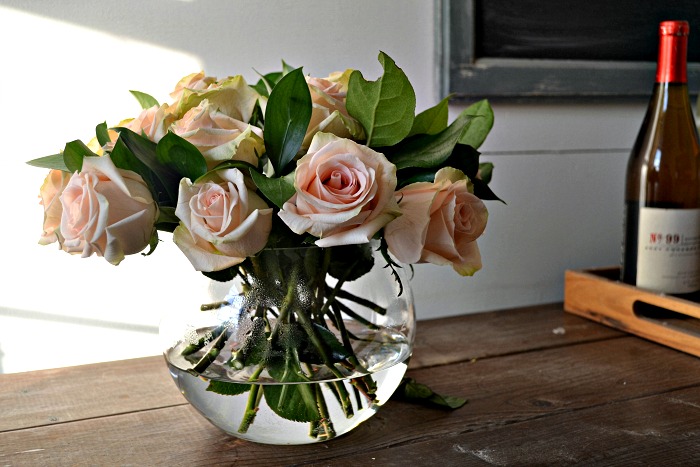
Have you ever received a dozen roses for Valentine’s Day that came in a long box with a big red bow? Did you take them out of the box and plunk them in a tall vase? Or even better, you treated yourself to a dozen roses from the grocery store or market and wondered just how to arrange roses so they look good. Today I am going to share with you how to arrange roses and just a few stems of greens in a rose bowl.
I must confess I have always asked Tim never to buy me flowers for Valentine’s Day. He is free to bring me flowers any other day, but is well known that flowers, especially roses, go up in price on that day. And, to be honest red roses are not my thing.
I do love the roses I bought this week for Market Flower Monday. If you saw my Instagram story on Saturday you will already know that it was very slim pick’ns at the farmer’s market this week. Even the selection at the grocery store wasn’t as good as usual. Alas, I did find this gorgeous dozen bridal white roses, which happen to be my favourite long stemmed rose!
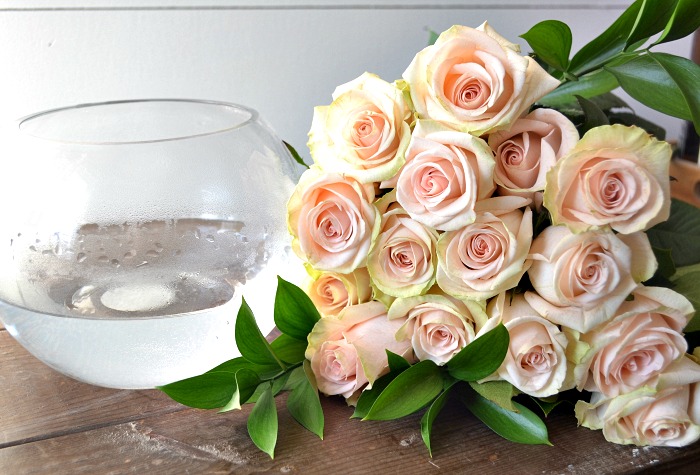
A rose bowl is the perfect vessel to arrange roses given its’ round shape. There is plenty of the room to angle the rose stems in a crisscross pattern. Doing so creates a weave of stems that support the flowers in the centre of the arrangement and keeps them from falling over.
I picked up a couple of rose bowls in different sizes at the dollar store several years ago. If you don’t have a rose bowl, any wide bottomed vase with enough room to place the stems on an angle will do.
Always start with a clean vase, and use a pair of sharp flower snips to cut the rose stems on an angle. Prep each stem by removing most of the leaves and the thorns. I only leave the one set of leaves close to the flower and remove everything else.
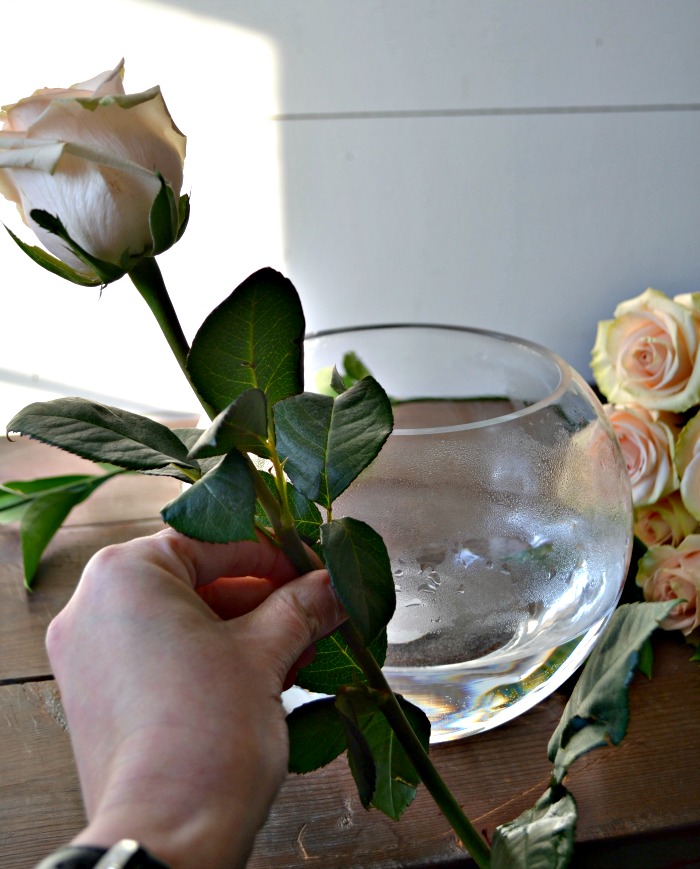
Before you begin your arrangement, gage how long you want each stem to be. I just eyeball it, but it is always easier to cut off a bit more than to add on, so ere on the side of caution with your first cut and then place it in the bowl to judge the size. Adjust the cut accordingly.
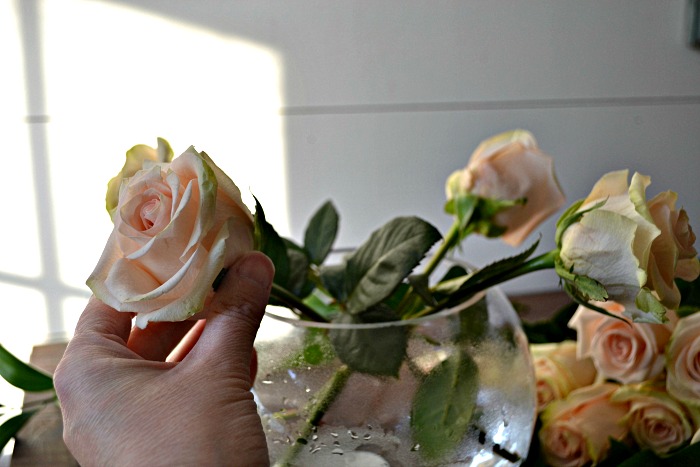
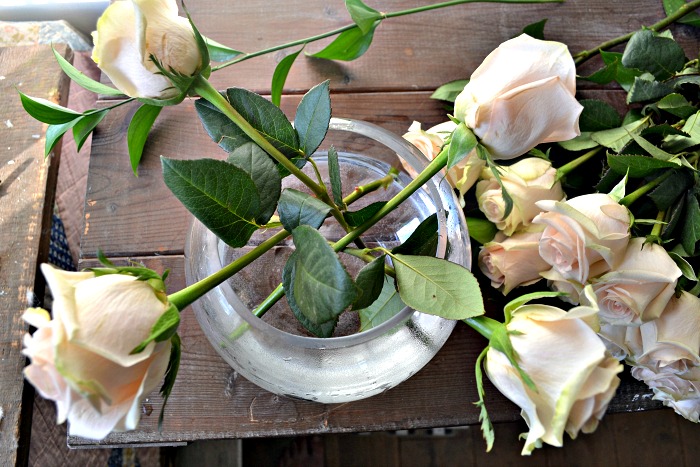
Cut your first four roses the same length and arrange them crisscross style laying each one over the edge, as pictured above.
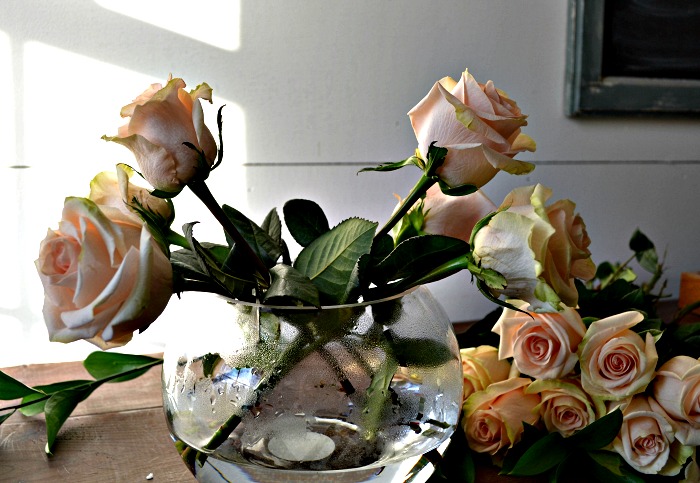
Cut the next few roses just slightly longer than the first four. Begin building your arrangement by continuing the crisscross pattern of the stems and intertwining and resting the stems to build height.
You can see in the photo above, the roses are angled slightly higher than the first and are being supported by the weave of stems.
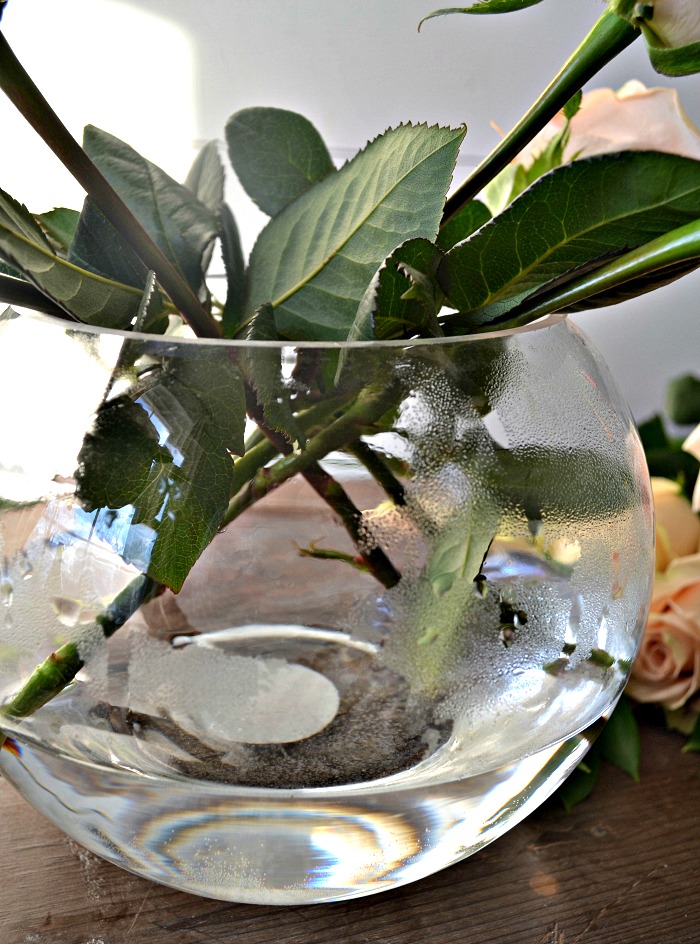
Continue layering in your roses to build a rounded shape, again the trick is to use the stems as supports for each other to allow the roses in the centre to be more upright helping to create a symmetrical shape.
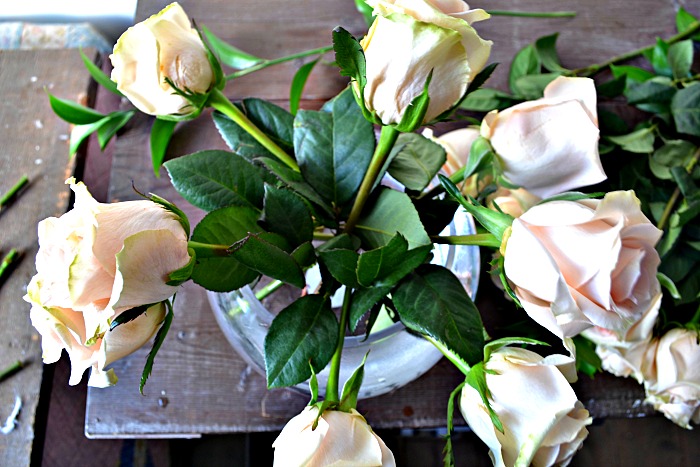
Leaving that one or two leaf clusters on each rose also acts as a filler and provides support. Any stems below the water line however will need to be removed.
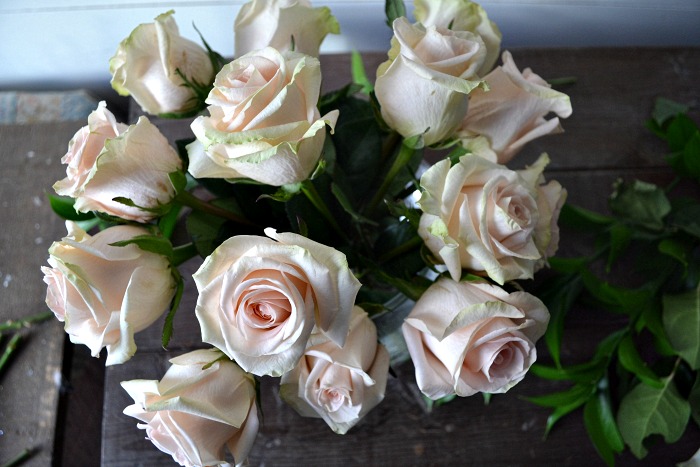
Once you have all the roses in the bowl, at the point there will be plenty of support for each stem. Gently re-position them if need to create a pleasing shape.
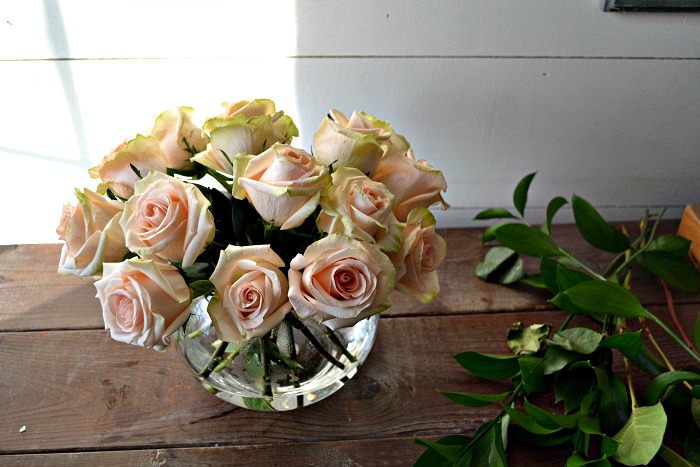
At this point, how to arrange roses becomes a personal preference. You could certainly leave the arrangement just like it is. Pretty and classic.
However, adding a few stems of greenery will really elevate the look. Quite often roses come with baby’s breath, and while I think baby’s breath looks great all on its’ own in a vase, I personally don’t like it with roses. Seeded eucalyptus looks gorgeous tucked into rose bouquets, but there was none to be found this week.
In fact, I took the last few stems of greenery, 2 stems of Italian Ruscus and 2 small stems of Salal from the grocery store. Since the Ruscus was quite full and long, I strategically clipped it to create several short stems and tucked them in among the roses.
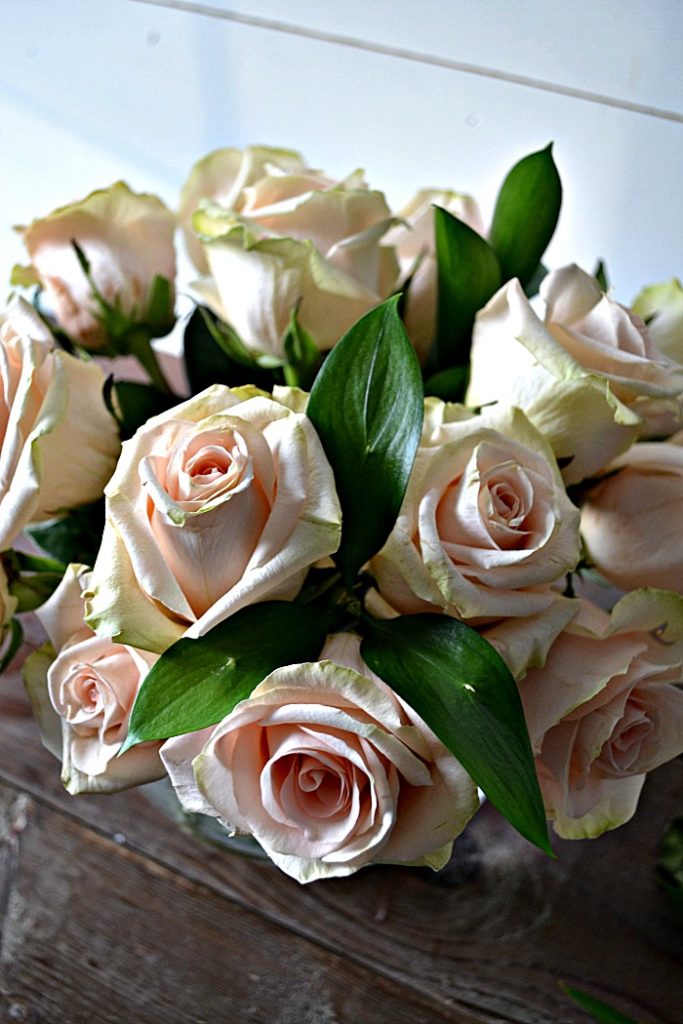
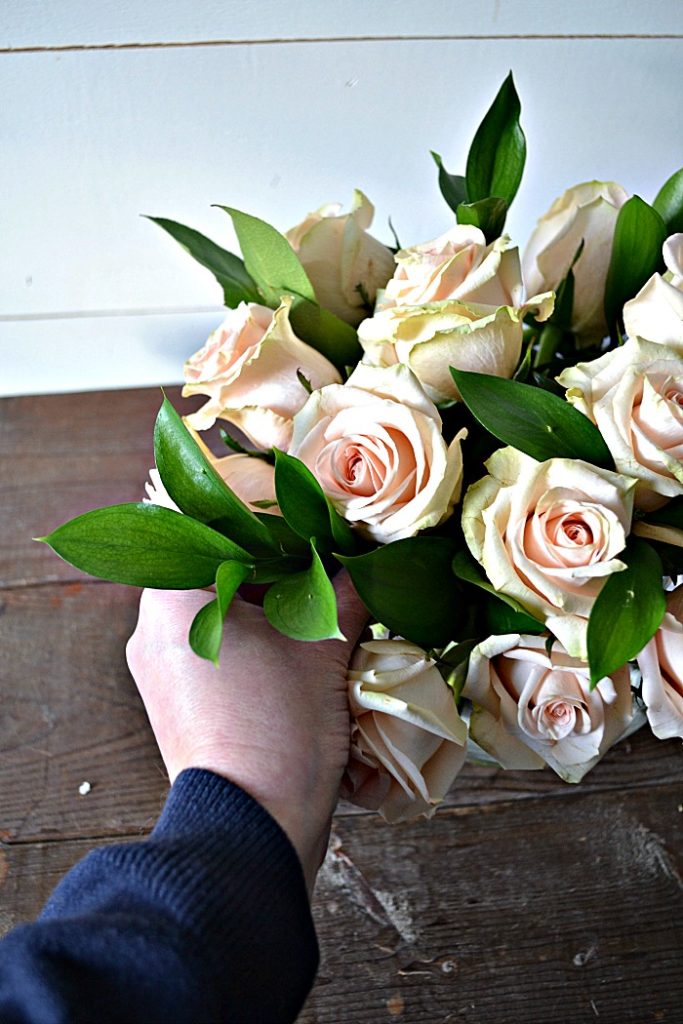
I love how the bright green of the Ruscus really pops against the pale pink bridal whites without overtaking the them. Bridal whites have just the slightest hint of green along the edges of their petals which play nicely with the greens.
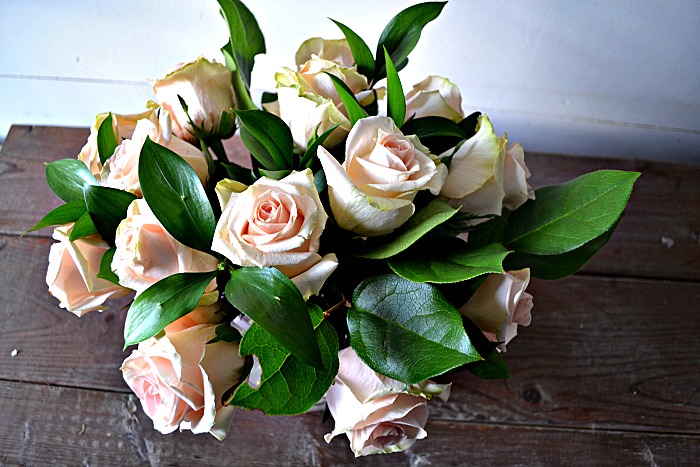
There were only a few salvageable Salal leaves, so I tucked those in here and there to create a bit more dimension.
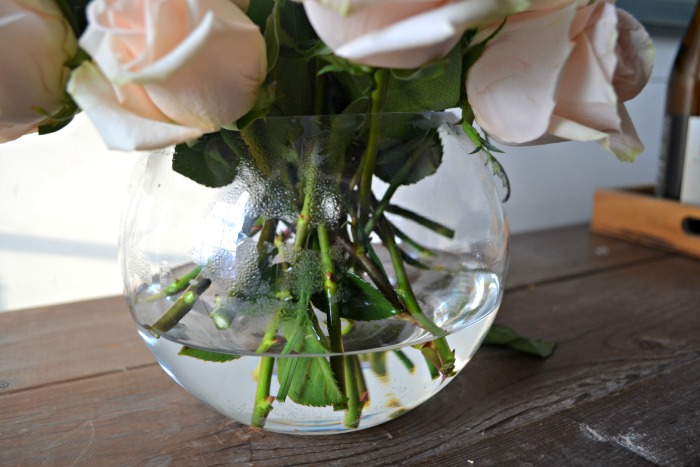
You can see how I have created a fairly tight weave of stems that are all acting to support one another to create a beautiful shaped arrangement. A few rose leaves got missed, so I simply clipped those off with my floral snips before filling the bowl to completely immerse the stems in water.
*this post may contain affiliate links, which simply means if you click on a link and make a purchase I may earn a small commission on that purchase with no increase in cost to you!
I don’t add anything to the water, however feel free to add some floral preservative.
A few tips for how to arrange roses (and keep them fresh):
- Start with a clean rose bowl or wide based vase. Make sure there is no residue left over from previous arrangements
- Be sure to remove all foliage below the water line
- Cut the roses on an angle with very sharp floral snips
- Carefully change the water every two days and be sure that each stem is immersed completely
- The key to keeping the roses fresh is cool temperatures (move the arrangement to the basement where it is cooler during the night time)
- To open roses that are somewhat tight, grasp the rose upside down by the stem and twirl between your palms, then cut and add to your arrangement
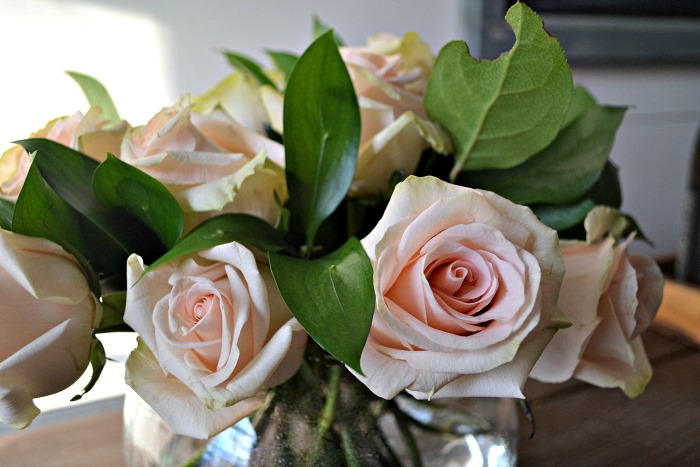

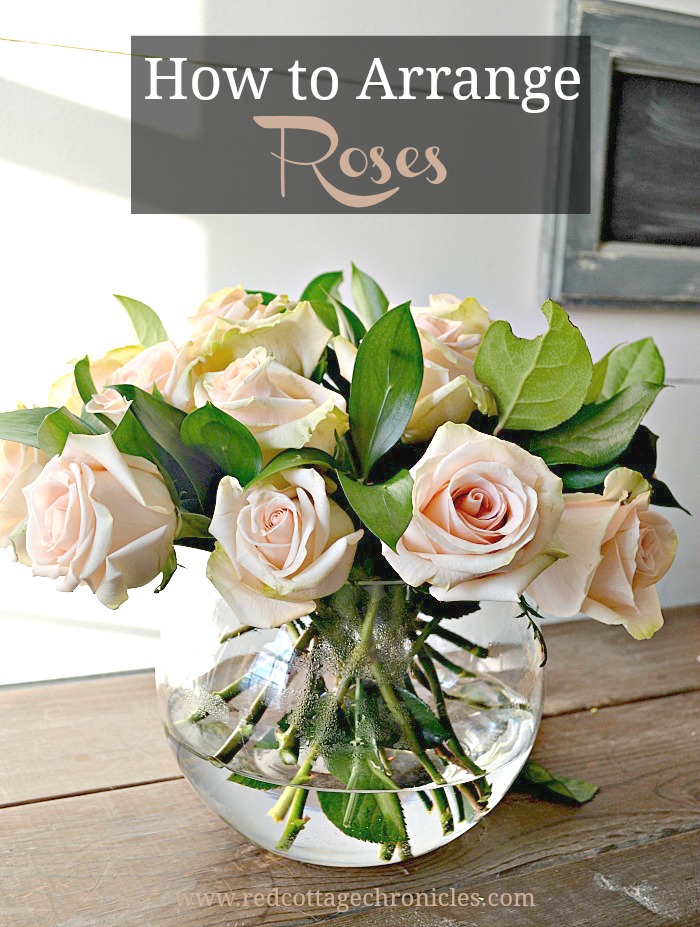
I made this arrangement for an upcoming tablescape and I can’t wait to show you how pretty they look as a centrepiece on a perfectly pink and gold Valentine’s tablescape! Be sure to subscribe so you won’t miss it coming up next week.
Until next time…..


Great tips and I pinned to my flower arranging board!
So simple and beautiful Mo. Love this so much.
I love roses and an arrangement in a rose bowl is even better! Thanks for sharing this with us, Maureen!! Pinned to my Beautiful Bouquet board for you and our readers. <3
Enjoy your bouquet, plus I think that might be a rose called Eden. It's a super pale pink with green tinged outer leaves. 🙂
Happy decorating,
Barb 🙂