Seeded Eucalyptus Autumn Wreath
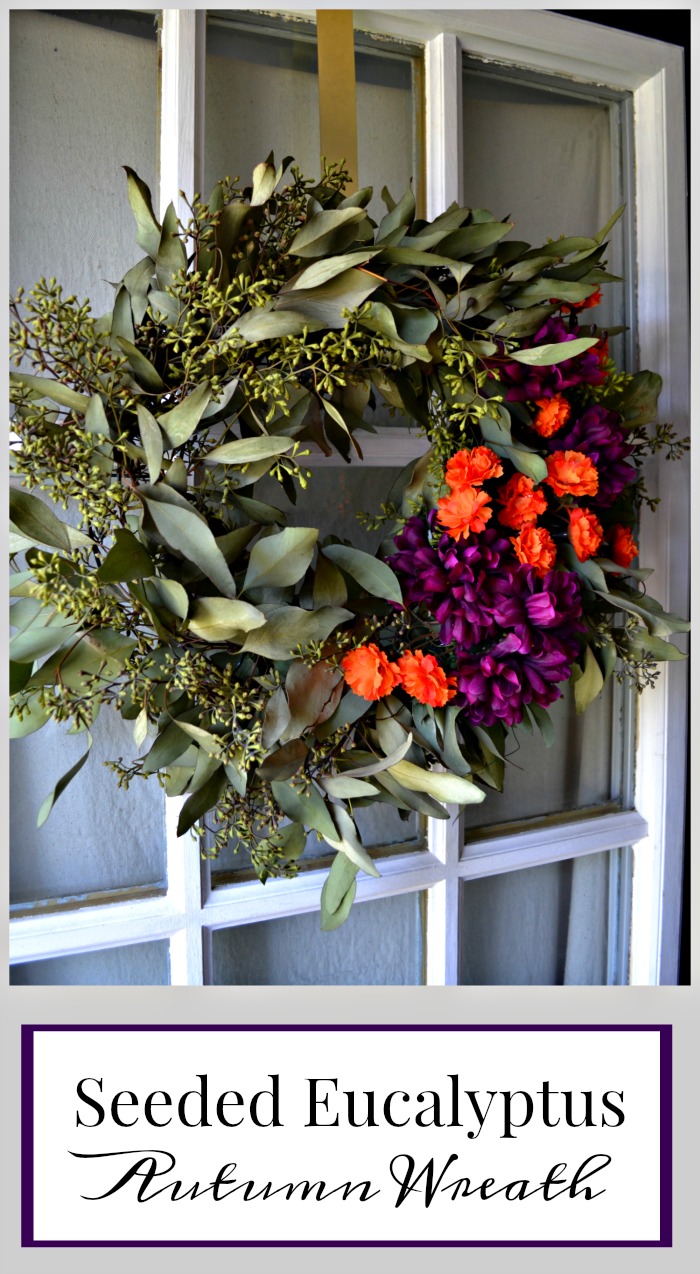
It’s official! Today is the first day of autumn. Too bad Mother Nature didn’t get the memo. We are expecting temperatures over 80 degrees today. What is up with that? Does she not know Pumpkin Spice Lattes are available!
No matter. Time to take my summer basket of flowers off the front door and hang up my DIY seeded eucalyptus autumn wreath. I can’t believe I held out this long.
I am really loving the rich jewel tones I have seen around for fall this year and decided to incorporate those into my autumn wreath.
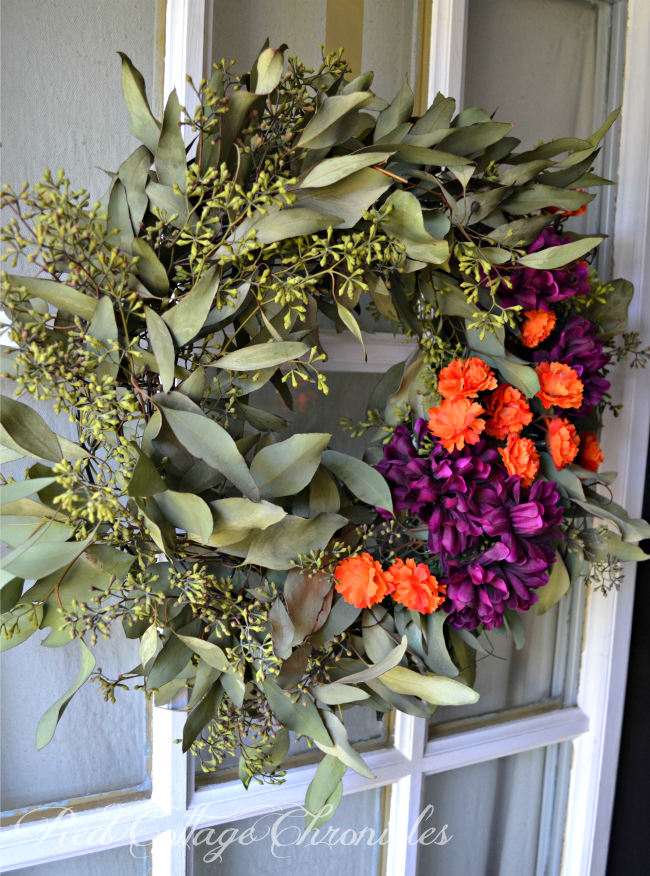
Seeded eucalyptus is readily available at most flower shops. For you locals, I ordered mine from The Watering Can, and was only $20 for a full bunch. There was more than enough to complete my 12 inch wreath.
For the flowers I went with silk, which I picked up with a 30% off any purchase coupon from Michaels.
Instead of adding a bow, I arranged the flowers along one corner to provide a colourful focal point.

Since the seeded eucalyptus is fresh, I just give it a spritz of water every day and it seems to be holding up well. I am sure it will begin to dry out, but find this type of green looks just as good when dried.
To make your own seeded eucalyptus autumn wreath you will need:
- 1 large bunch seeded eucalyptus
- 12″ wire wreath frame
- silk flowers in deep orange and purple
- a roll of florist wire
- wire snips
- hot glue gun
(I apologize for the photo quality for the photo tutorial – lighting is not my friend in my dining room after dark!)
Step One:
Snip off small pieces of eucalyptus and create several little bunches
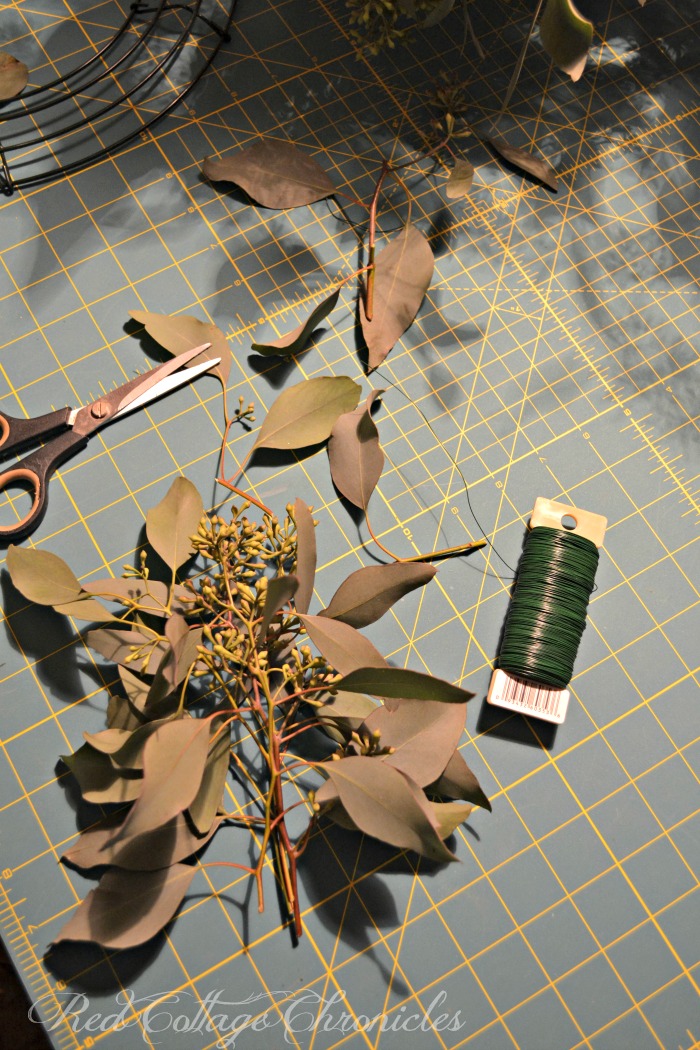
Step Two:
Wire each bunch onto the wire frame using the florist wire. Some people are really good at doing this without ever cutting the wire until the end. I am not one of those people!
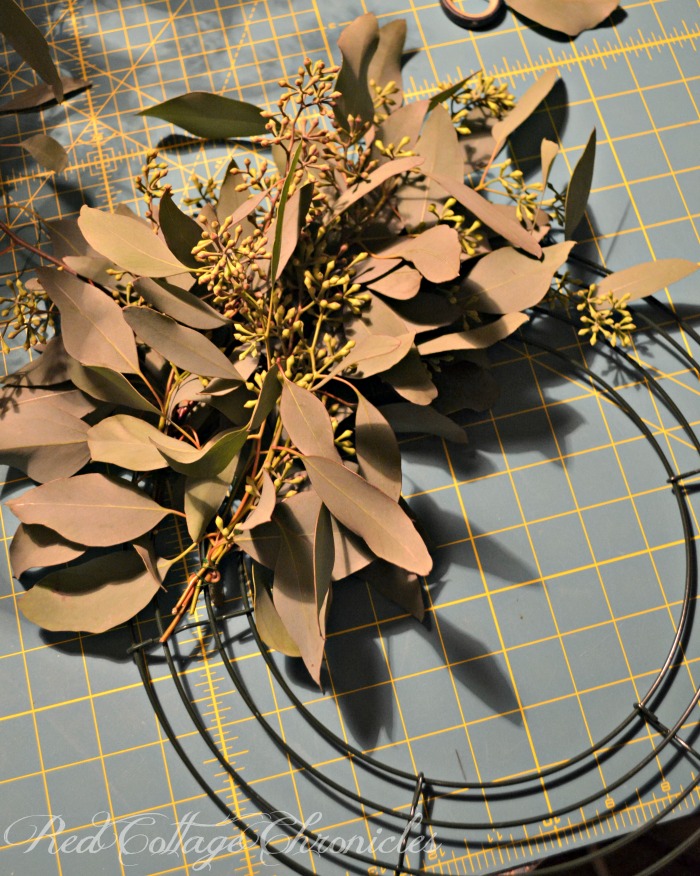
Step Three:
Continue layering them all the way around the wreath form, being careful not to leave any frame showing through.
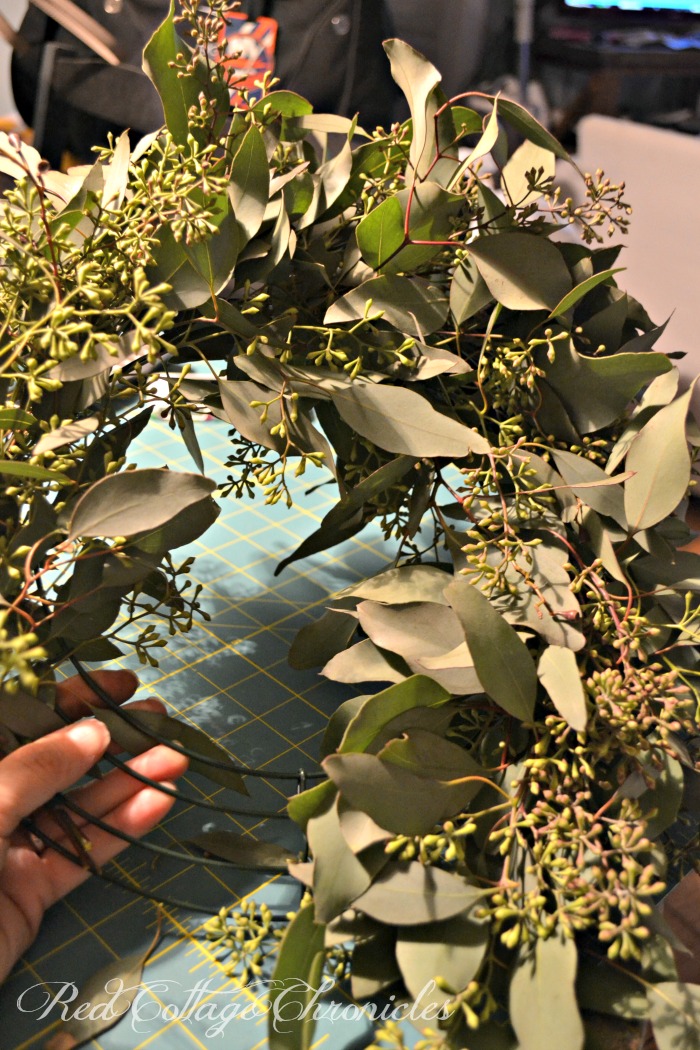
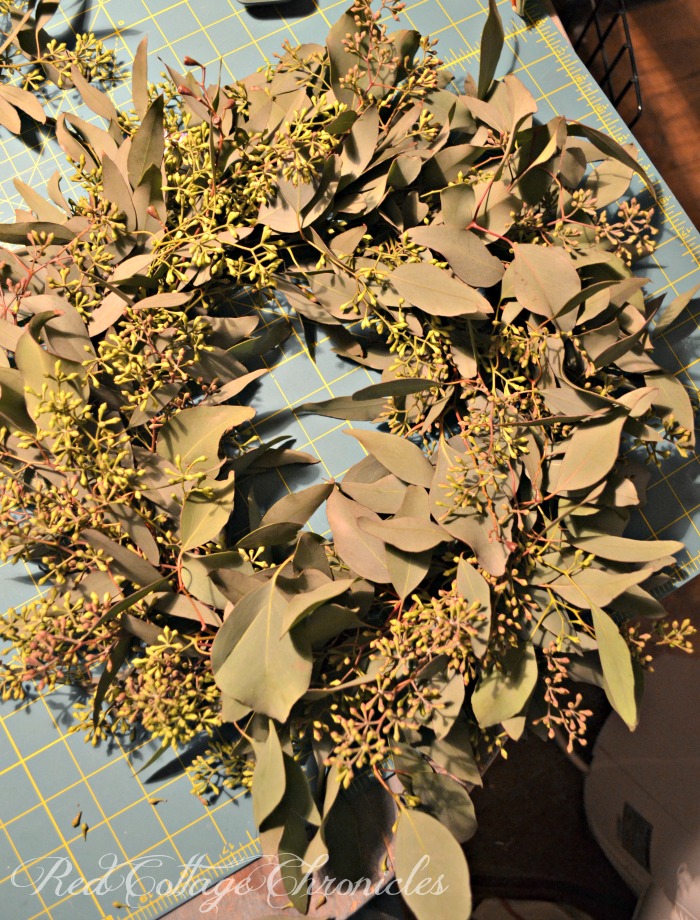
Since it was getting late, I gave the wreath a real good spray of water and set it outside for the night.
The next morning I brought it inside, and in my now sunny dining room I finished it off.
Onto Step Five:
Using wire snips clip the flowers short leaving only about an inch of stem, and lay them out on the wreath until you are satisfied with the arrangement.
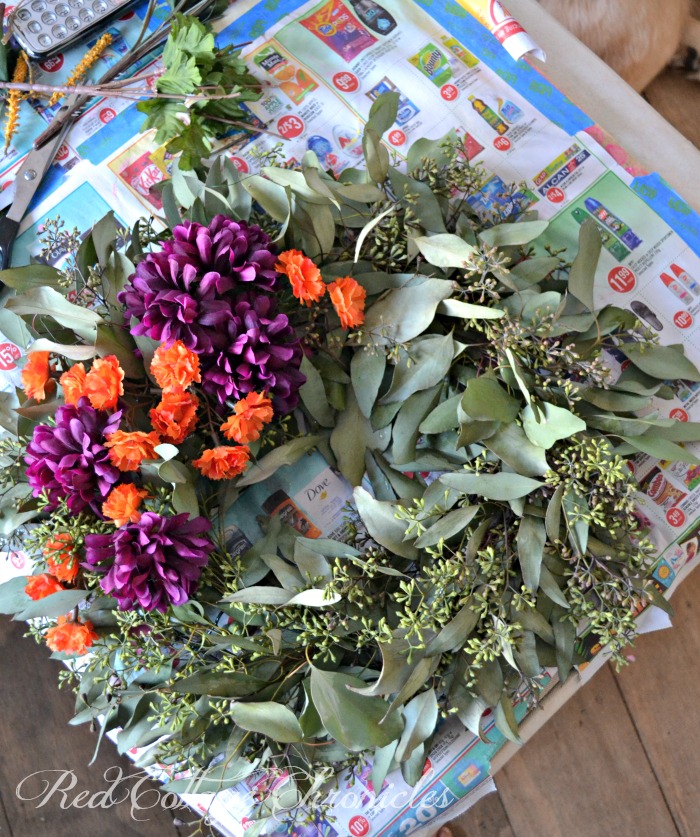
Step Six:
Using a hot glue gun, glue each flower securely into place.
Step Seven:
Give the wreath another good spritz with water and hang it on your door! Continue to give it a daily spritz to help keep it fresh a little longer.
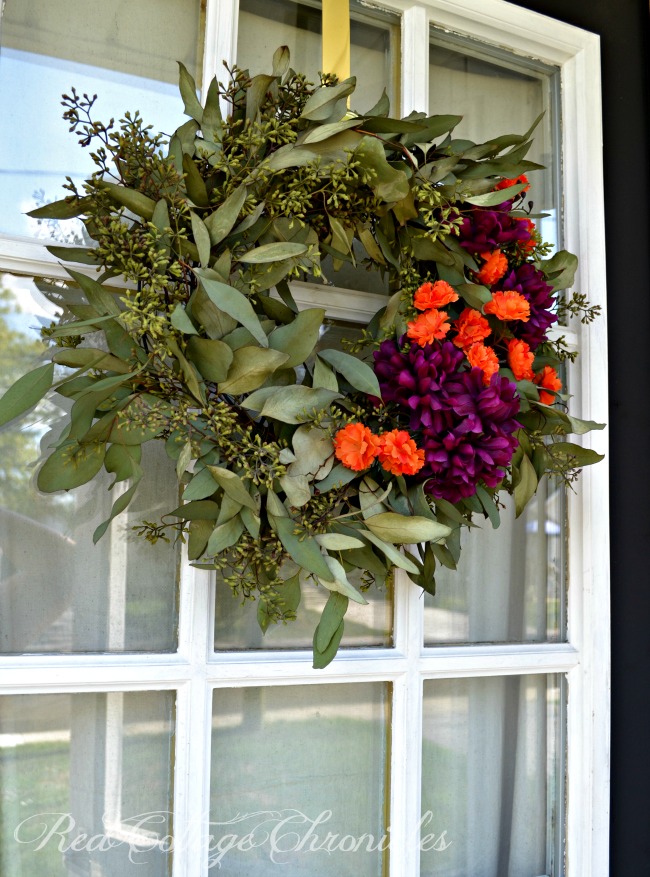
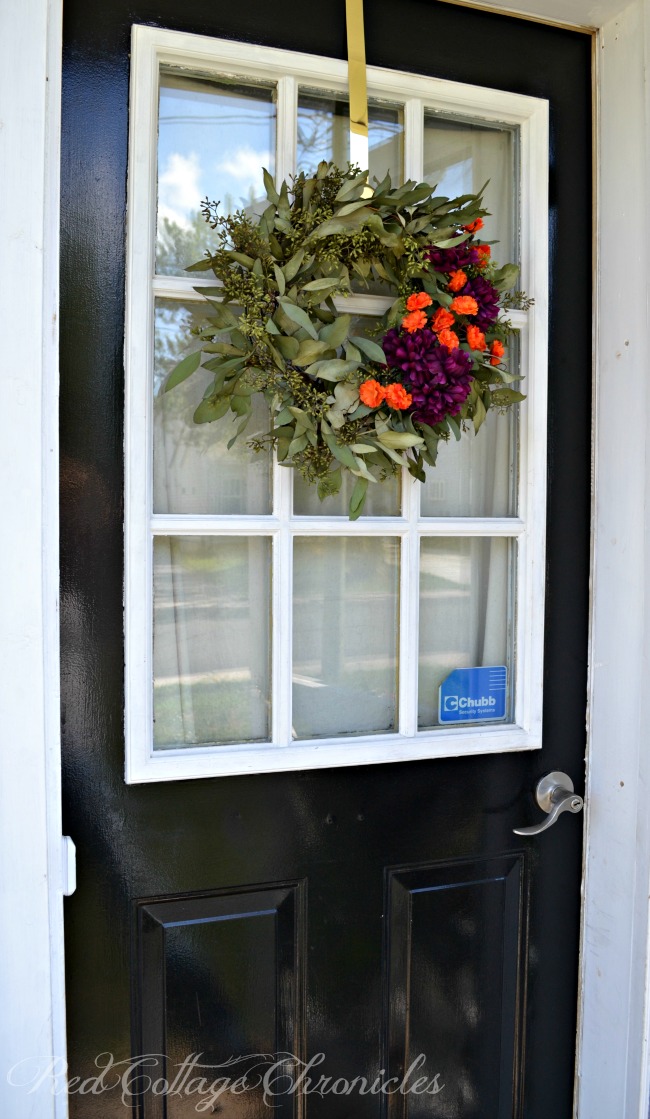
Okay Mother Nature, my autumn wreath is on the door. You can bring the temperature down any time!
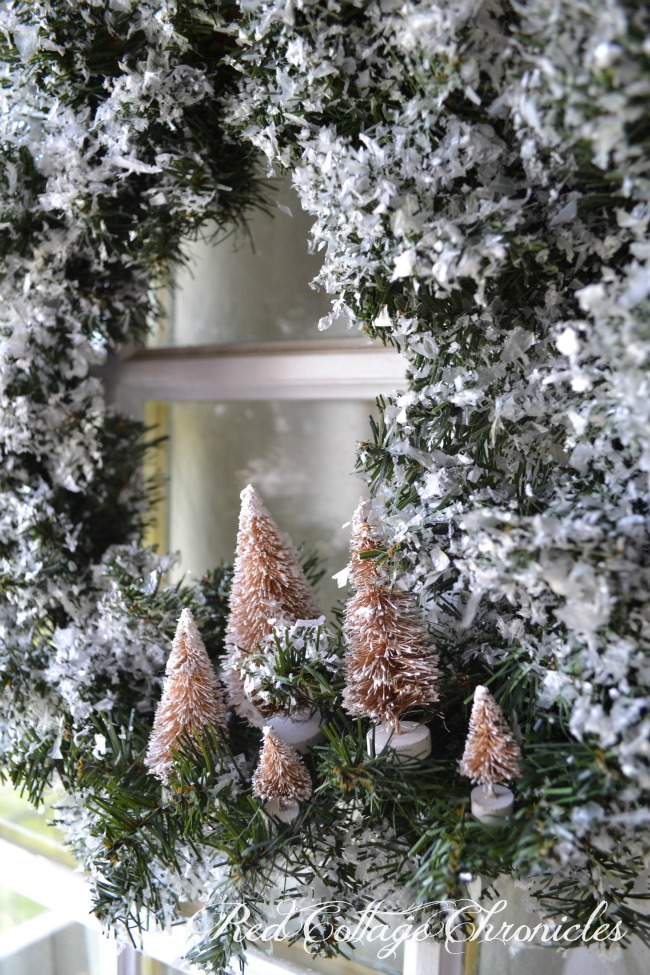
And, at the risk of rushing things, I am so ready for a real old fashioned Canadian winter. Here is a peak at last years’ winter wreath. I might just use it inside this year.
Until next time…


What a beautiful wreath! It certainly doesn’t feel like fall yet, but I’m in the mood anyway!
Thank you Carlee! Are temps are finally feeling a bit more like fall today 🙂
Just beautiful! I love the eucalyptus fresh, I haven’t run across it locally but will look for it. Beautiful Autumn wreath!
Thanks Jan! Thankfully it is easily available here. It is so easy to work with and inexpensive!
This is just gorgeous!
Thank you Lisa!
So beautiful! I have pinned it and shared on my Facebook page. You are really talented and thanks for the tutorial.
Have a wonderful day.
Thank you Meegan, I appreciate your kind words!
Seeded eucalyptus is one of my favorites and I’ve never ever thought to make a wreath of it! Thanks so much for the inspiration Maureen! I’m a huge fan of an off-center placement of flowers on a wreath. Yours came out perfectly!
Thank you Diane!
I love eucalyptus! I hike every day, and I pass tons of eucalyptus trees along the trail. I’m always picking stray branches and bring them home to plop somewhere in our decor. Love your wreath and all it’s beautiful pops of color.
Thanks Janine! I would love to have a eucalyptus tree, but I don’t think it would survive in my cold Canadian climate 🙂
Thanks a bunch!! I kinda love it 🙂