Hydrangea Wreath Tutorial
With the unseasonably warm temperatures lately it hasn’t felt much like autumn. Even so, I took advantage of this past sunny Saturday to make a hydrangea wreath for our front door. Even though it feels like summer, it was time my summer wreath got put away.
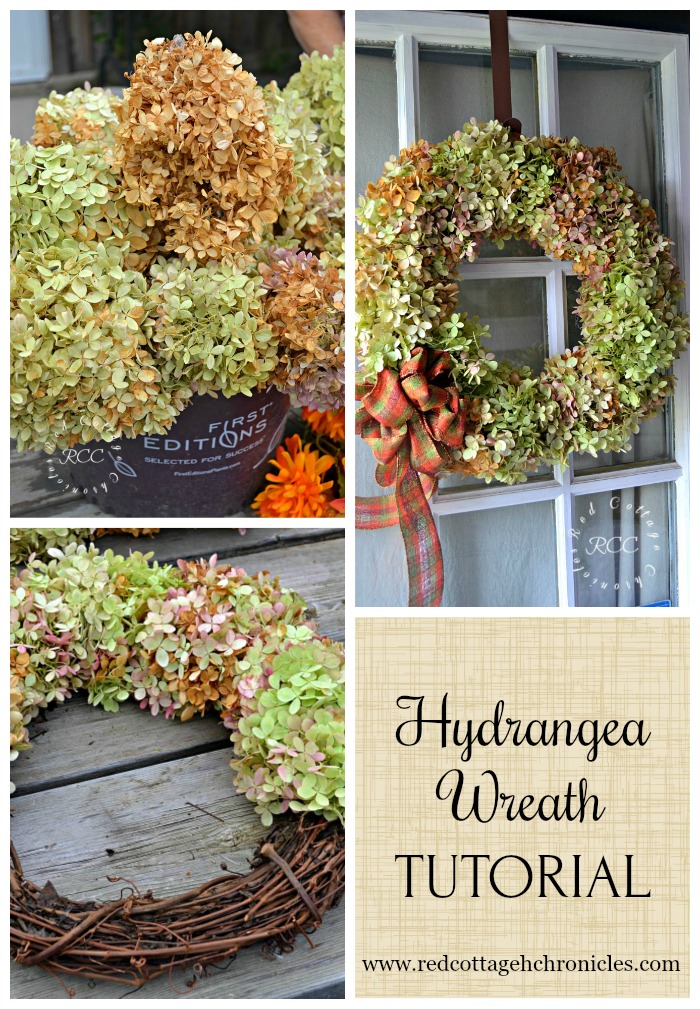
My mom recently spent a day at her church making hydrangea wreaths to decorate for fall, and when she told me how they did it, I suggested we get together and make our own.
My Limelight hydrangea bush put on an amazing show this year, with more blooms than I have seen in a long time. Some had already dried to a beautiful golden color, others were only halfway there, while others were still fresh and vibrant.
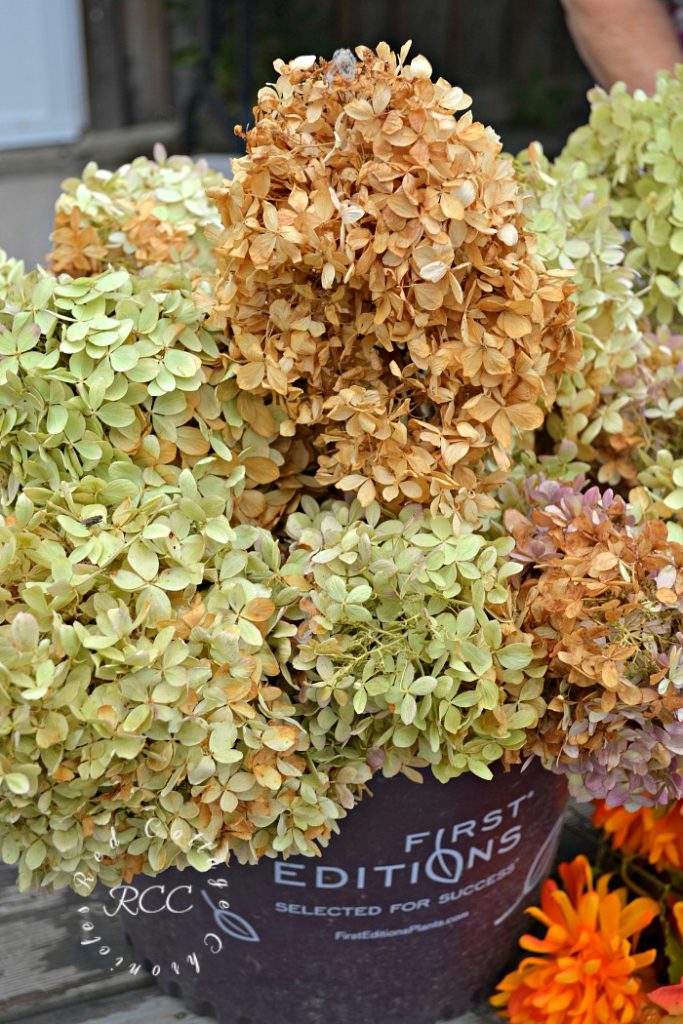
Since we had to cover two wreaths we snipped a lot of blooms in all stages of colour.
Now, honestly the tutorials I have seen (and I was going to follow) involved simply cutting the blooms short and gluing them as they were straight to the wreath. While I liked the look, with the Limelight Hydrangea, the blooms come to a point, and the wreath would look a little too poofy for my liking.
The method my mom suggested still results in a beautiful full wreath, without being too chunky.
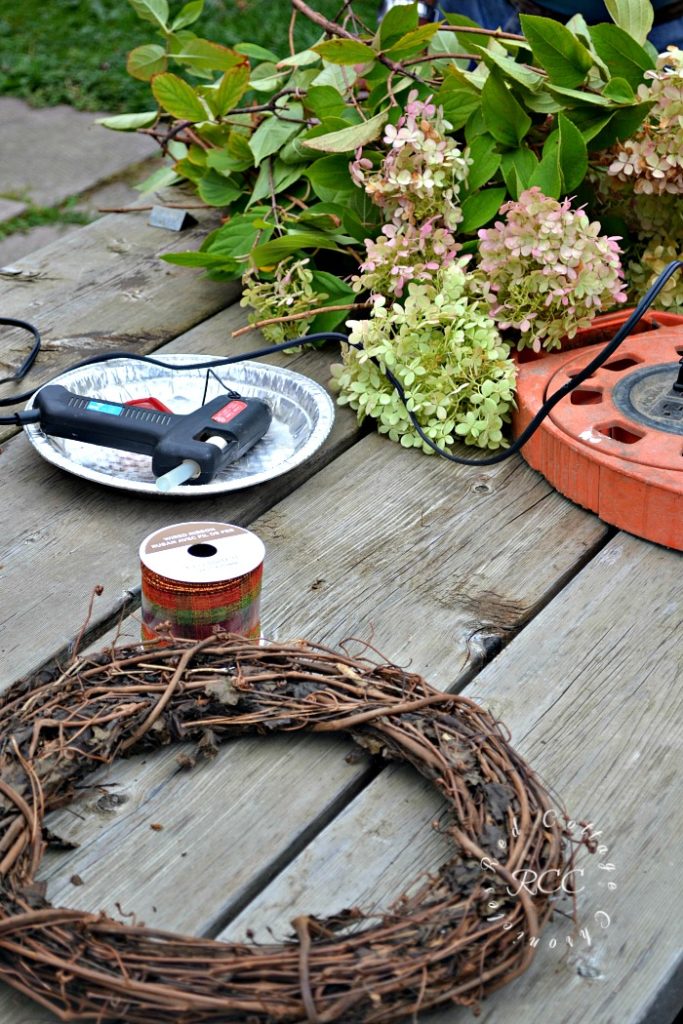
Supplies you will need to make a hydrangea wreath
- grapevine wreath (I bought mine at Michael’s using a coupon!)
- several hydrangea blooms
- garden scissors
- hot glue gun
- glue sticks
- ribbon if you plan to add a bow
Instructions
The technique my mom showed me was really simple, just a little bit more time consuming. It creates a wreath full of blooms.
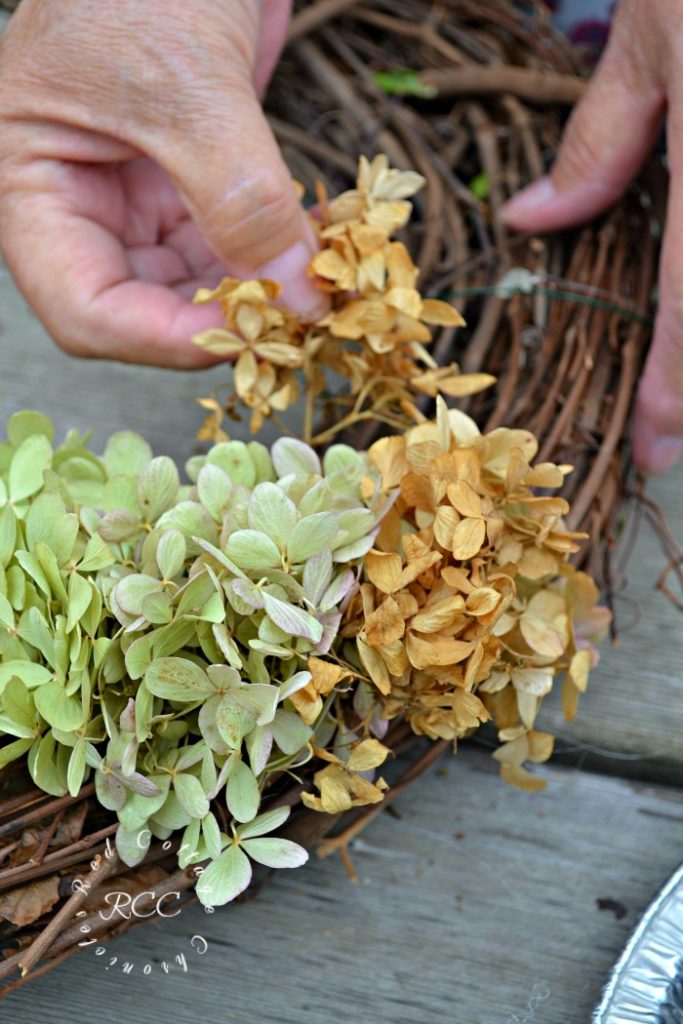
When you look really close at a hydrangea bloom, it is made up of a whole bunch of tiny stems with little clusters of petals. Those little clusters of petals are the key to making a nice full wreath without being too poofy.
Step One
Clip off a cluster of petals from the hydrangea bloom and apply glue to the little stem. Some clusters will have more petals than others, so simply use two sparse ones together to create a fuller one.
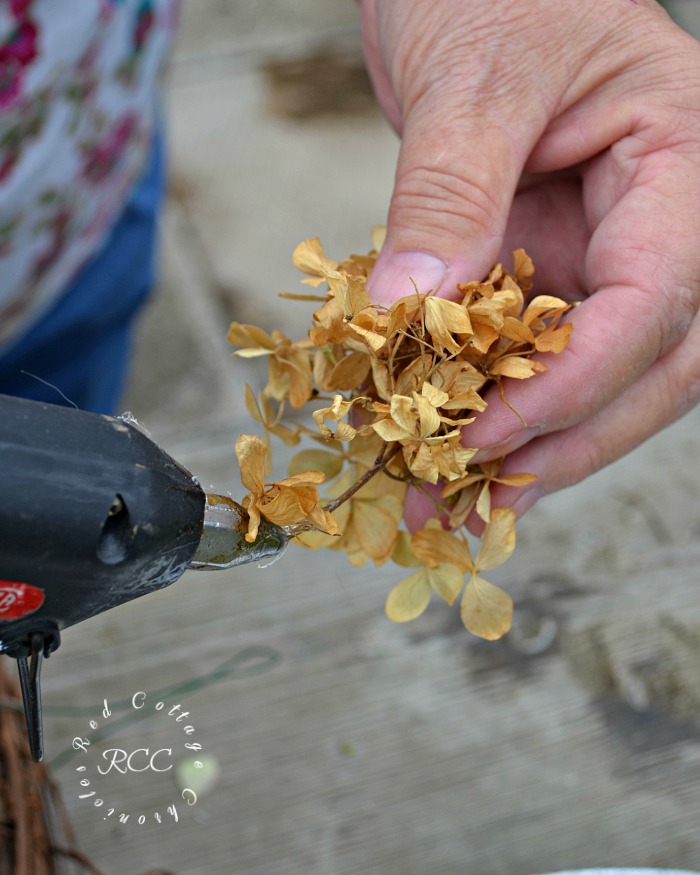
Step Two
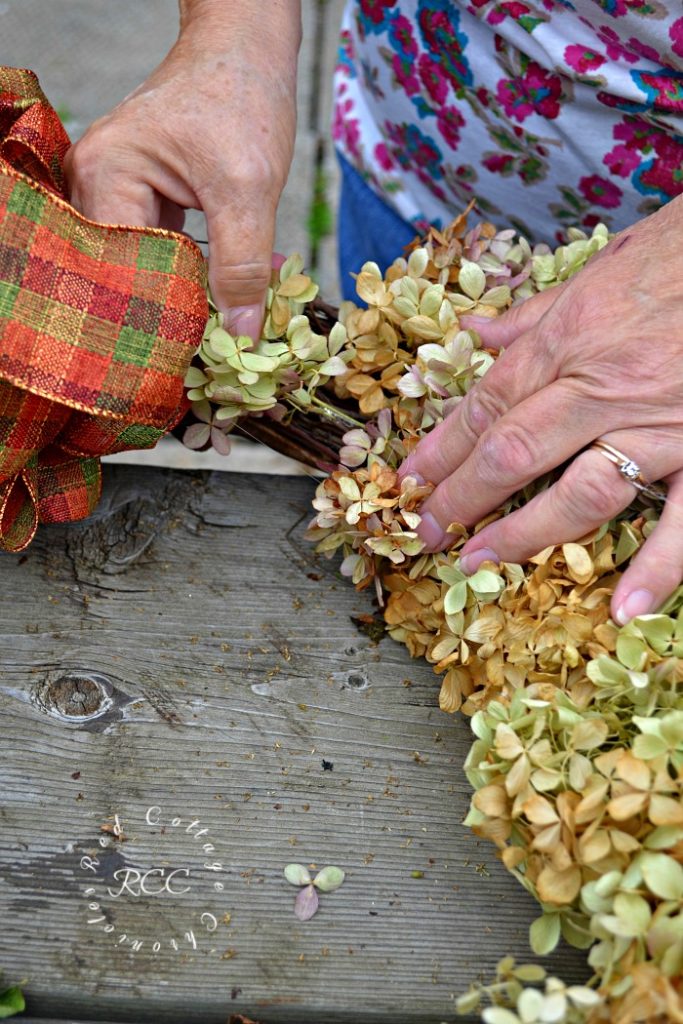
Position onto the wreath, sticking the little stem in between the grapevines and press gently.
Step Three
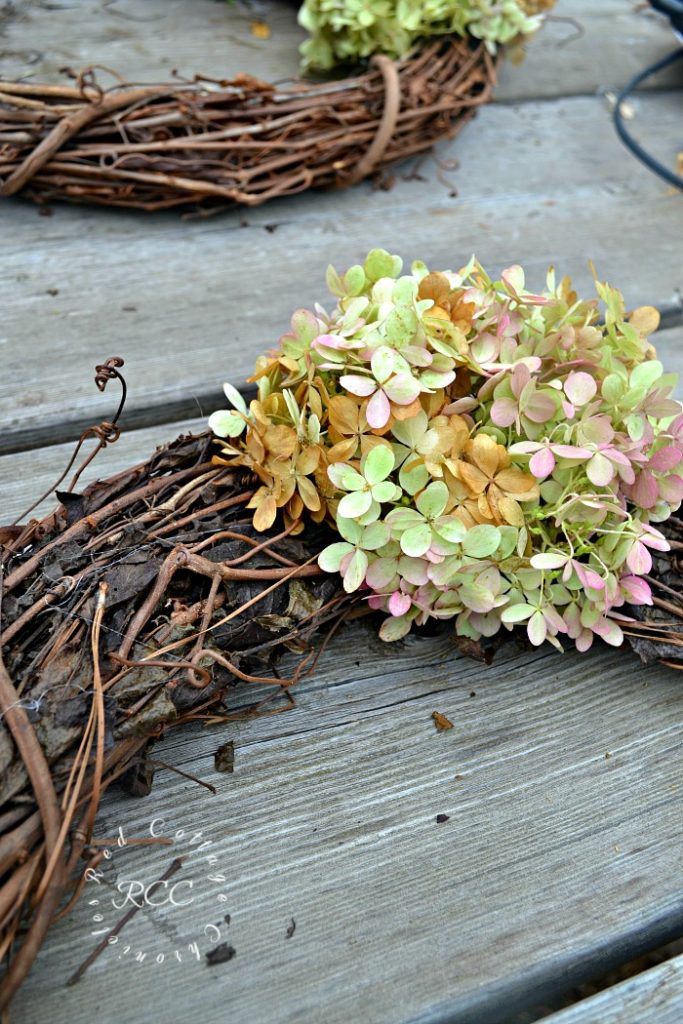
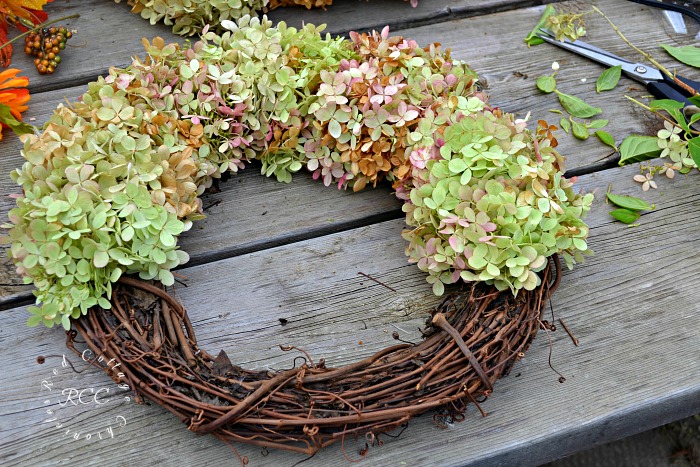
Repeat steps one and two covering the face and edges of the wreath until it is about 2/3 covered. If you are using a mix of bloom colors, be sure to vary their position so they blend well.
Step Four
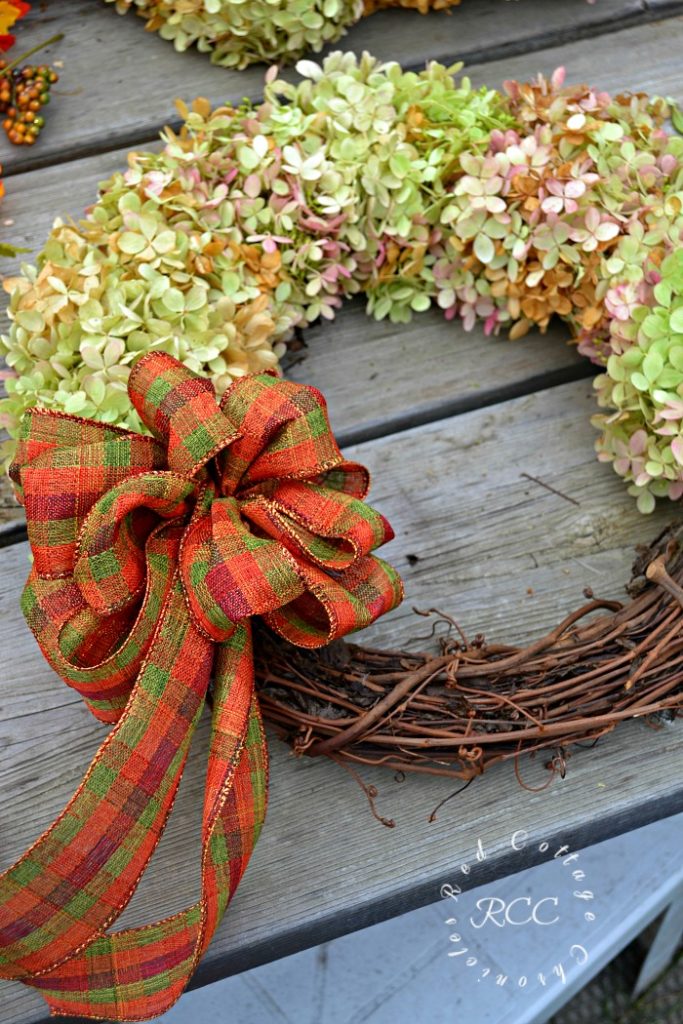
Wire or glue your bow in place. Position the bow either at the bottom or up the side a bit as I did. (We chose to use wire so we can change out the bow in the spring)
Step Five
Continue filling in with the clusters of petals up to and around the bow.
Now hang it on your door, above your mantel or on the wall! Pat yourself on the back for a job well done!
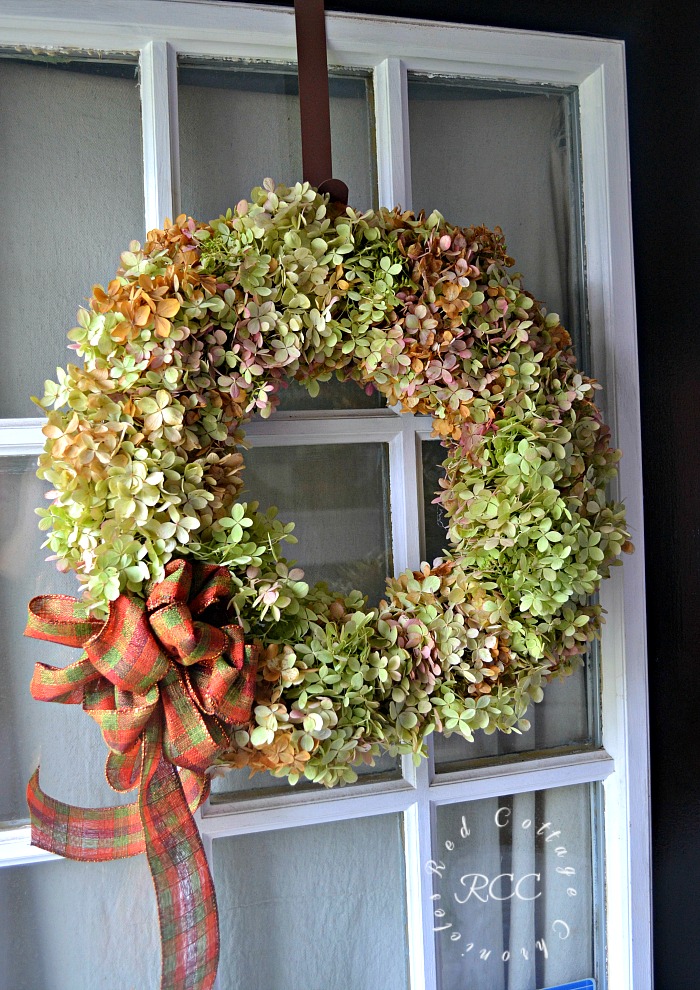
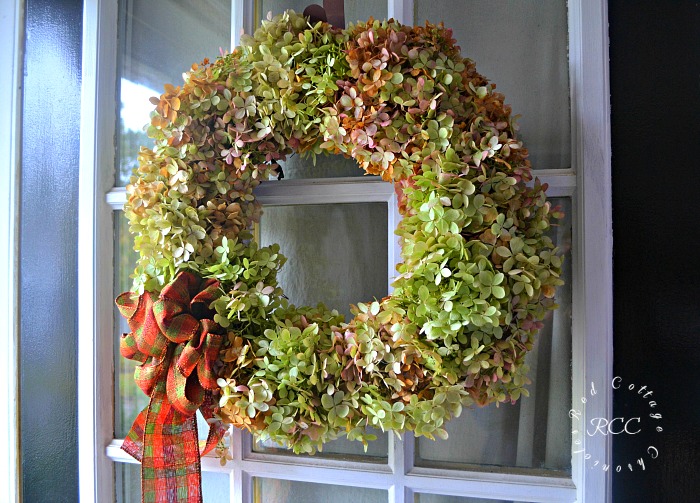
I love how the wreath is really full of blooms, but doesn’t project out as much as if I had just glued on the hydrangea blooms whole.
I had to laugh when my mom first brought out her grapevine wreath. She used it last year and had removed the old silk flowers that were on it. All that was left was the bow. I looked at the bow, and then looked at the roll of ribbon I had just bought only to find they were exactly the same!
Like mother, like daughter. Except of course when it comes to cake decorating! She completely outshines me in that department!!
I anticipate the blooms drying over time, creating a wreath that will last a few seasons at least!
For more autumn wreath inspiration you can find my last years seeded eucalyptus wreath tutorial here!
Until next time…..


When we moved last summer, we lost all of our hydrangeas. I just (well, Terry just) cleared a bed specifically for some Limelights! Woot…getting them in the ground soon.
This is beautiful. Hopefully I’ll have enough next year.
Thanks for tutorial
Hugs,
Lynn