DIY Spring Planter for Under $10
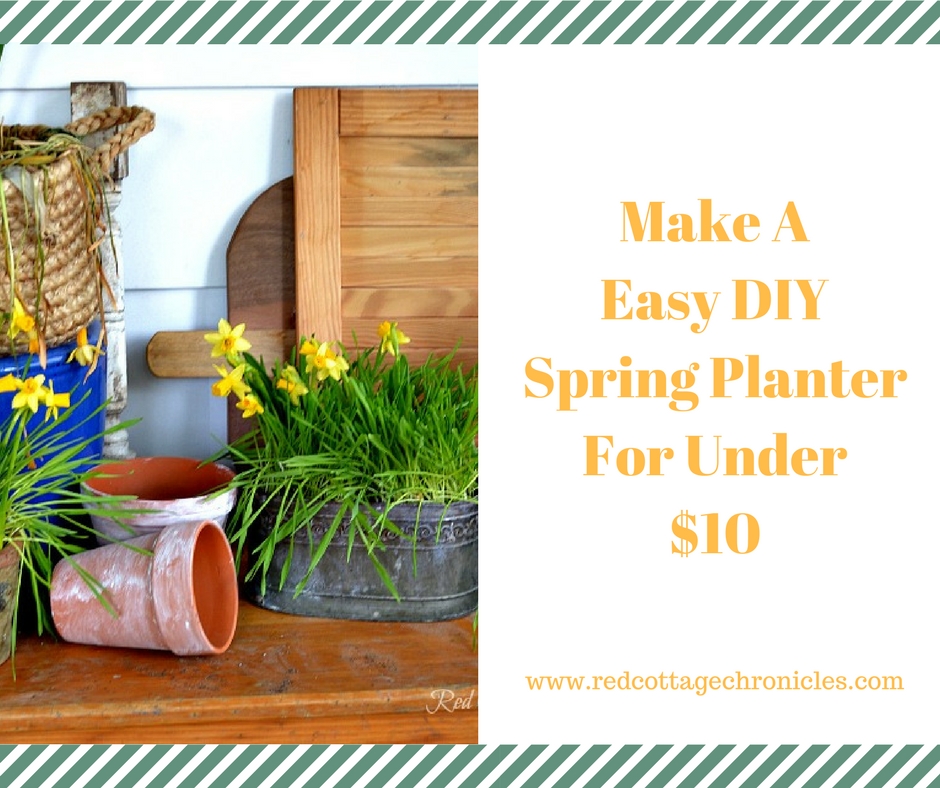
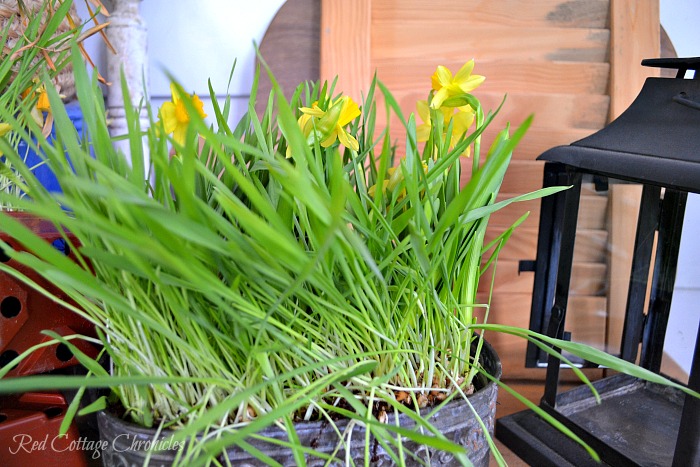
A visit to the Farmer’s market got me 2 pots of mini daffodils and cat grass! I arranged them in a tin pot for an easy DIY Spring Planter for under $10!
I hadn’t planned to visit the market this Saturday. I have been feeling a bit sorry for myself because our car has been in the shop for almost 3 weeks waiting on having a new engine installed. I can not even tell you how much of an inconvenience it has been. Luckily for us we have two daughters with their own cars who have become our chauffeurs lately.
When my oldest announced she was going to the Market and did I feel like going with her, I couldn’t say yes fast enough!
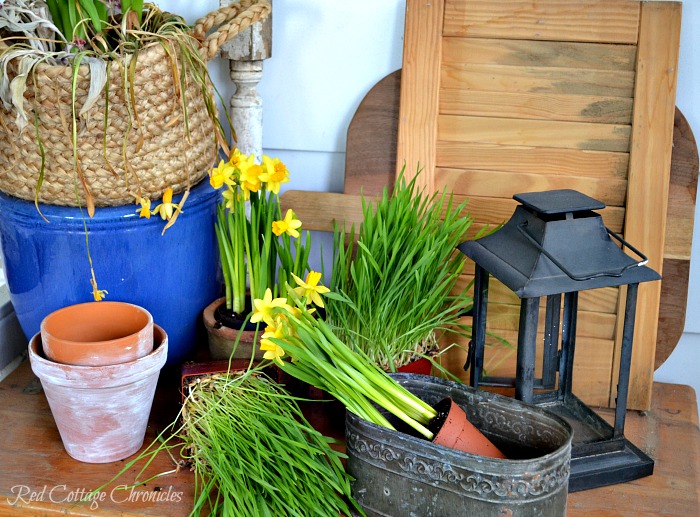
I had no real idea what I wanted this week. When I saw the dainty yellow mini daffodils against the bright green cat grass I knew I had a winning combination.
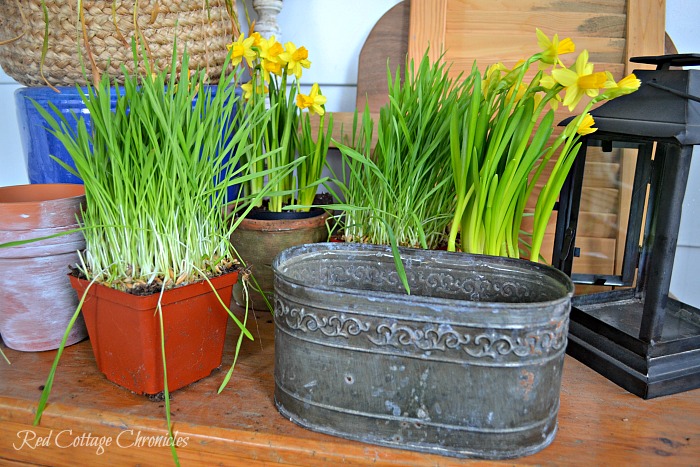
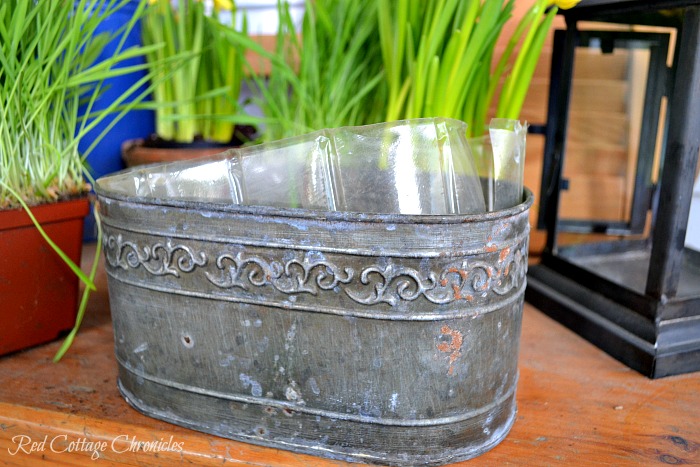
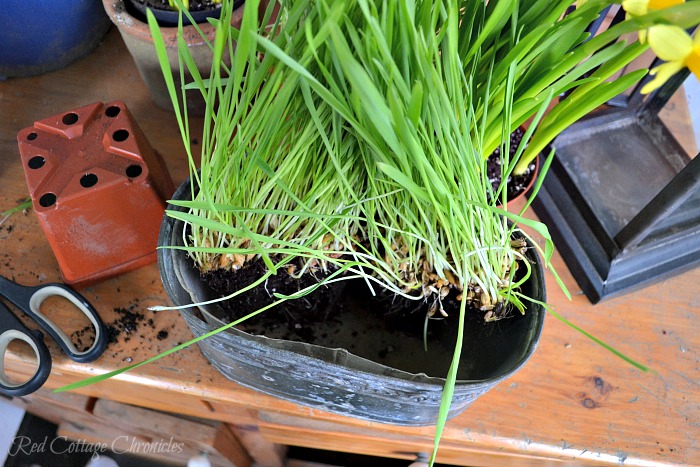
By Sunday the temperatures were above 20 degrees (celsius). I was able to get out into the screen porch to transplant my spring plants. I used an old tin pot I had on hand. I picked it up at a yard sale for 50 cents, and it has a liner to protect it from watering the plants.
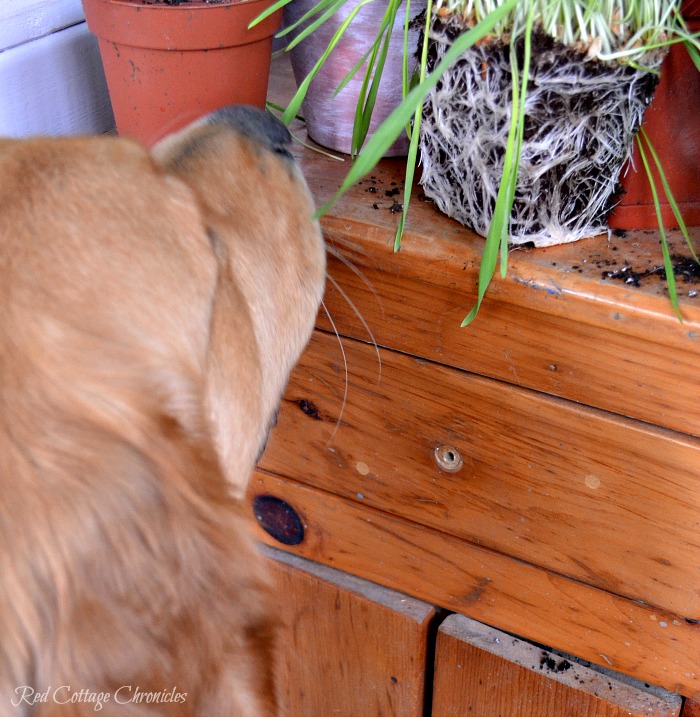
The cat grass has some serious roots going on. I am sure it was glad to get out of that tight pot!
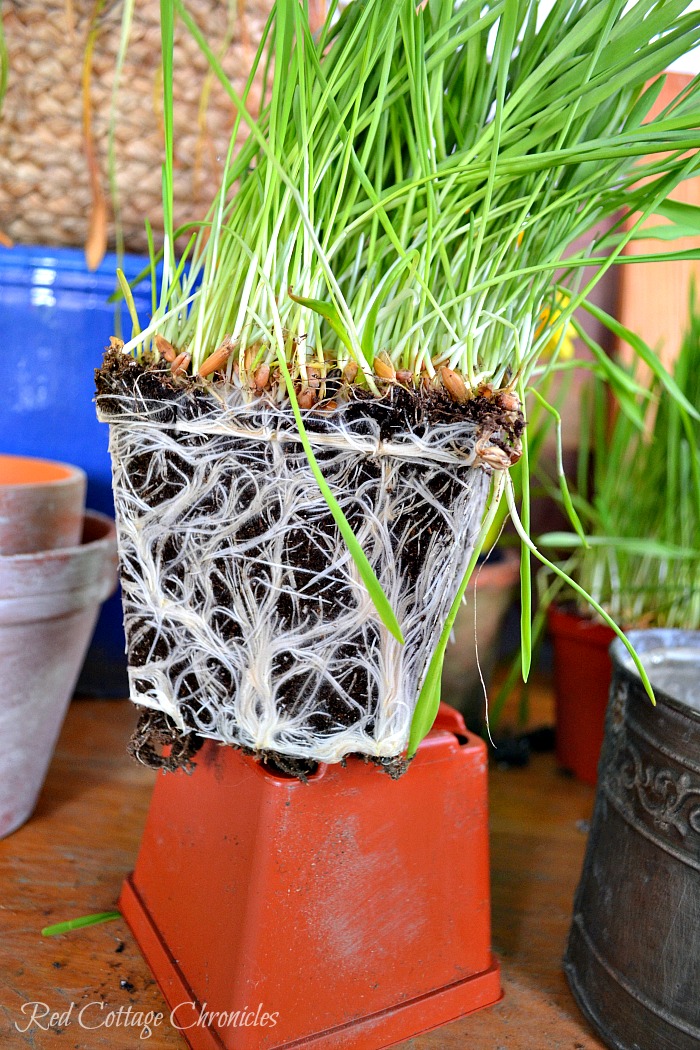
Using sharp scissors I cut the entire root ball in half. I wanted to line the perimeter with the grass and place the mini daffodils in the center. This was the easiest way to divide it. Once it was opened up, you could see the bulk of the strong roots were all bound up around the outside.
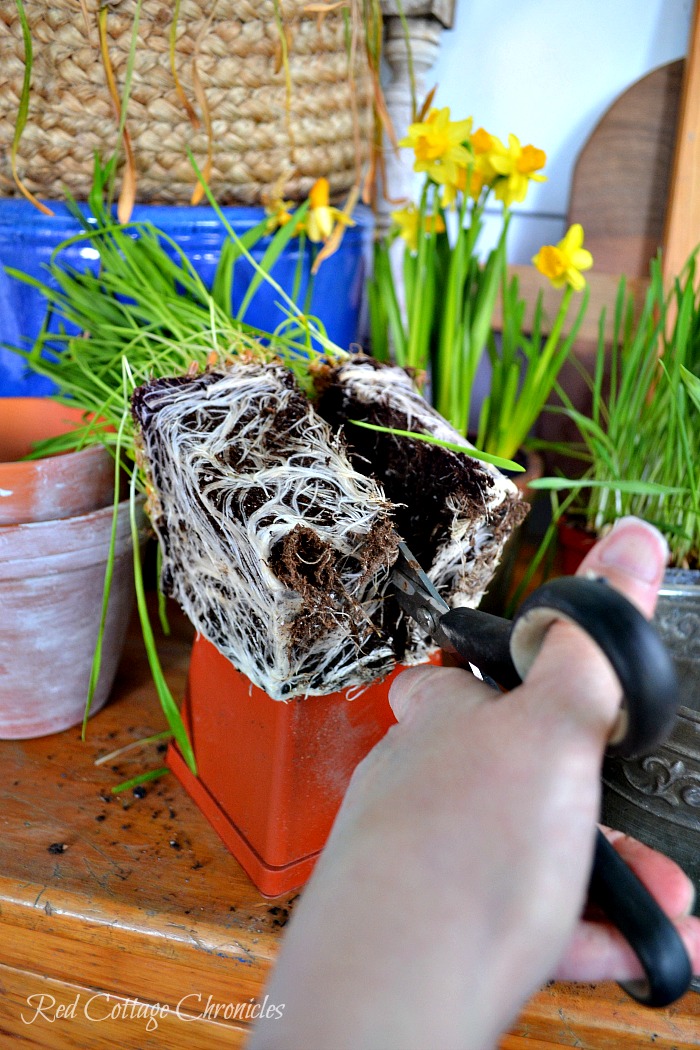
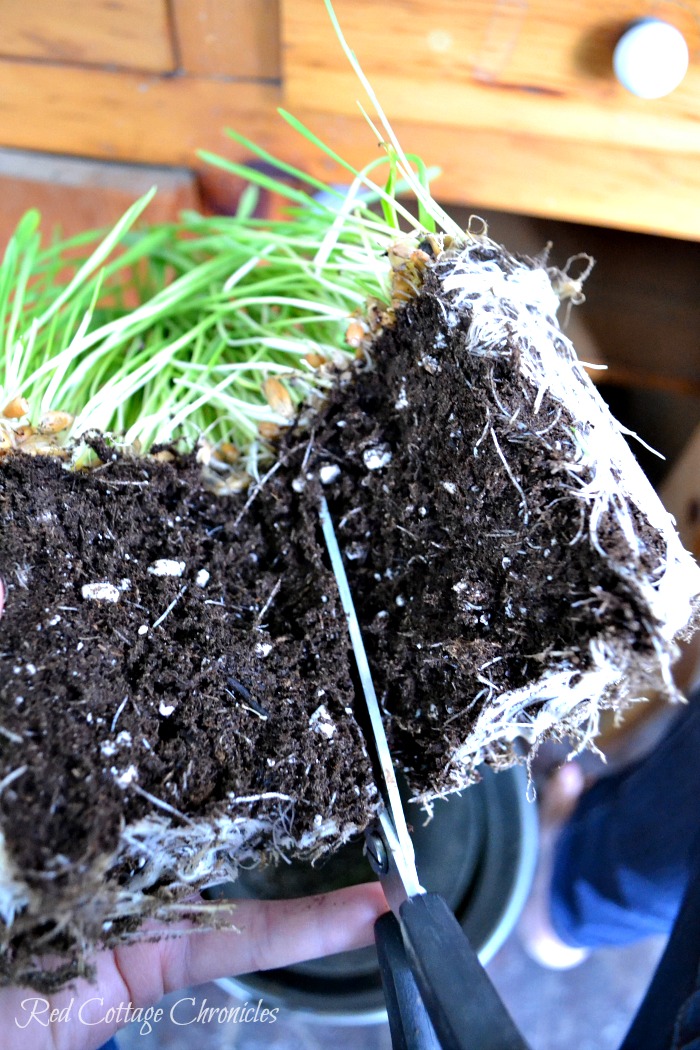
After the grass was divided I gently pulled each section apart. I stretched one section out to cover one side of the plantar.
The daffodils were much easier to divide. They pretty much divided themselves as soon as I loosened the roots with my hands.
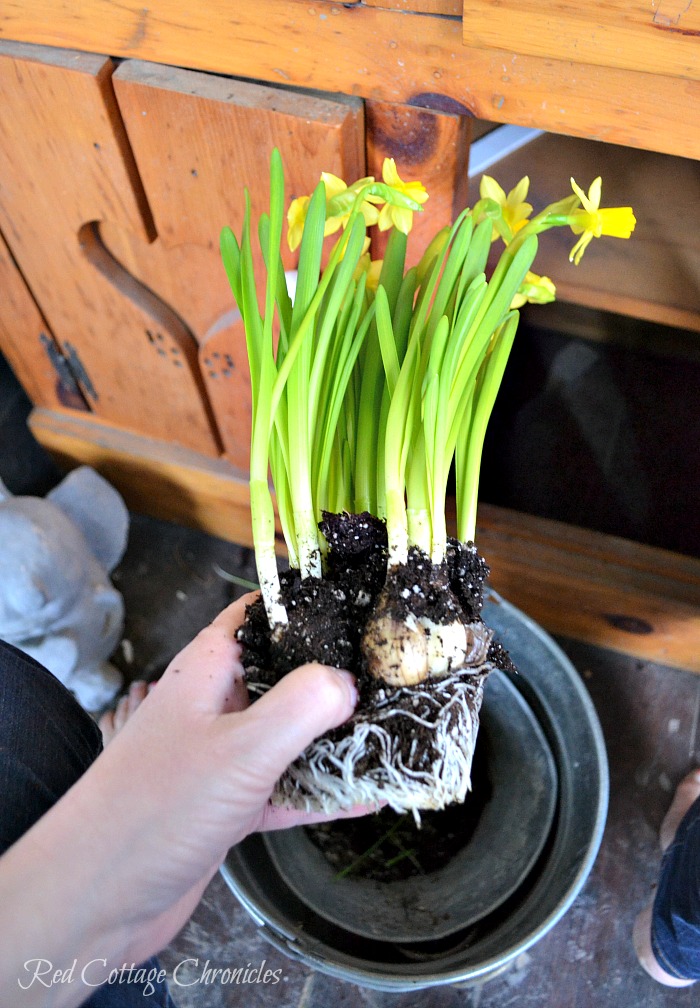
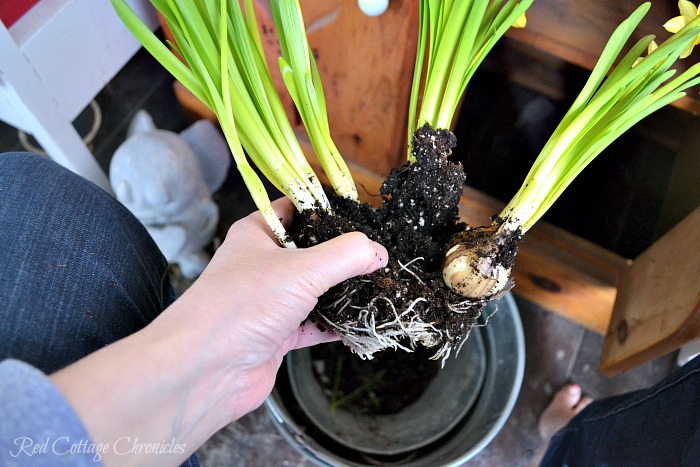
I arranged them down the center leaving a bit of space between each bulb and filling in with potting soil.
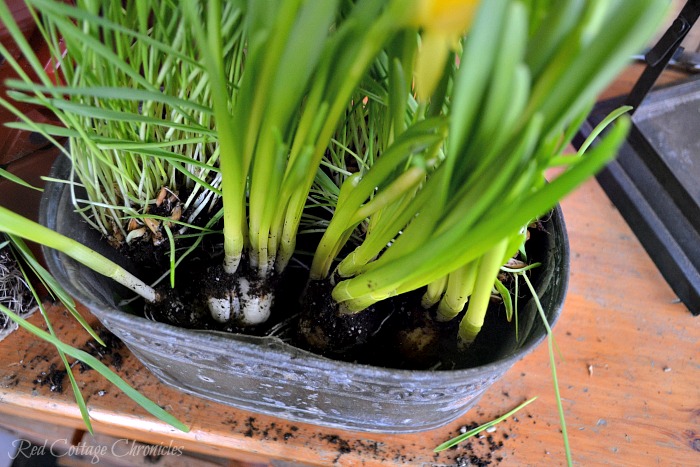
Next, I added the remainder of the cat grass in front of the bulbs. I added in some more fresh potting soil to fill in.
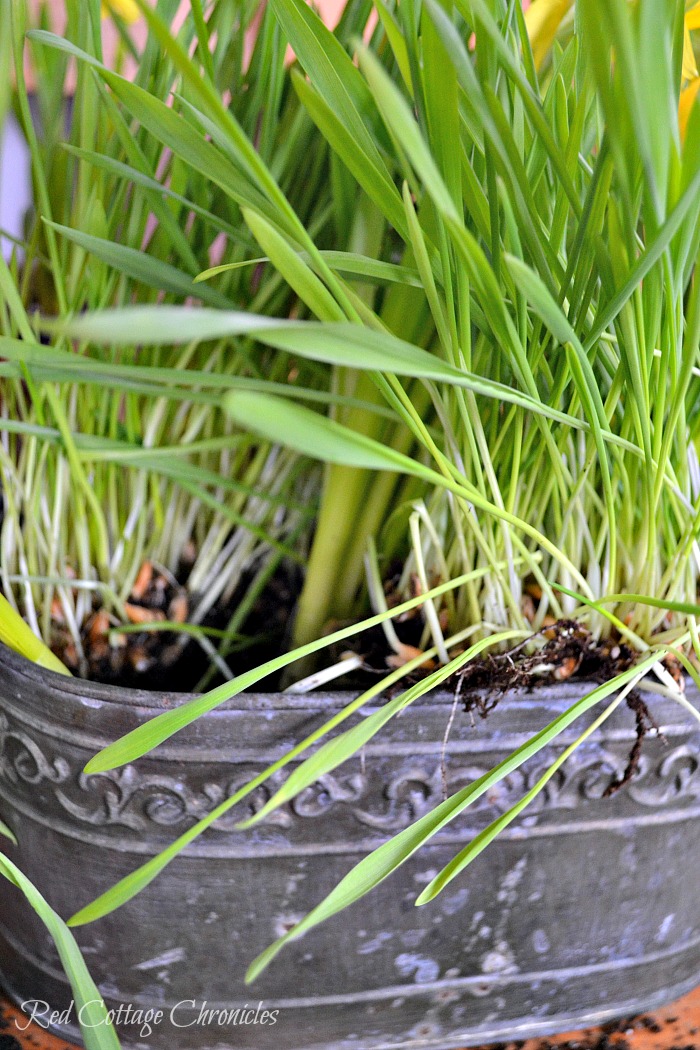
The grass was a little unruly so I used my sharp scissors to give it a bit of a trim. Just a bit!
I had purchased two of each cat grass and daffodils, and given the size of my planter I had plenty left over for a second planter. Charlie had to get is nose in there to check things out. He is as curious as a cat and always has to know what is going on!
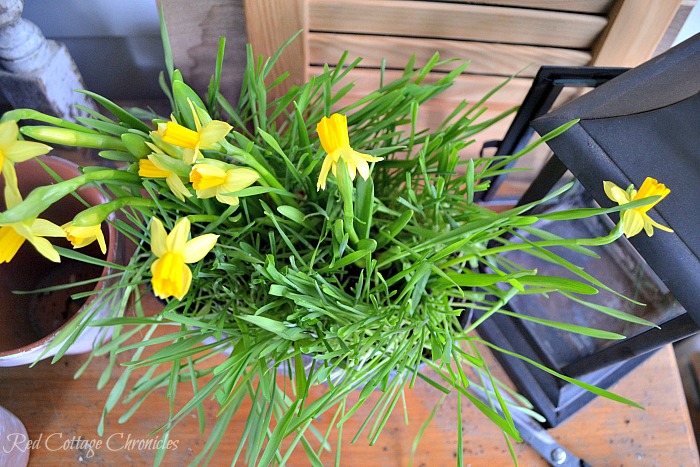
My new DIY Spring planter is so bright and cheerful! Even though it has cat grass, I have to keep it out of the way of the cats until the daffodils die off. Daffodils are toxic to cats and I don’t want to risk them only chewing on the grass.
Just like this basket planter I made earlier this year, once the bulbs have given up the ghost I will store them in a paper bag until fall when it is time to plant them in the garden.
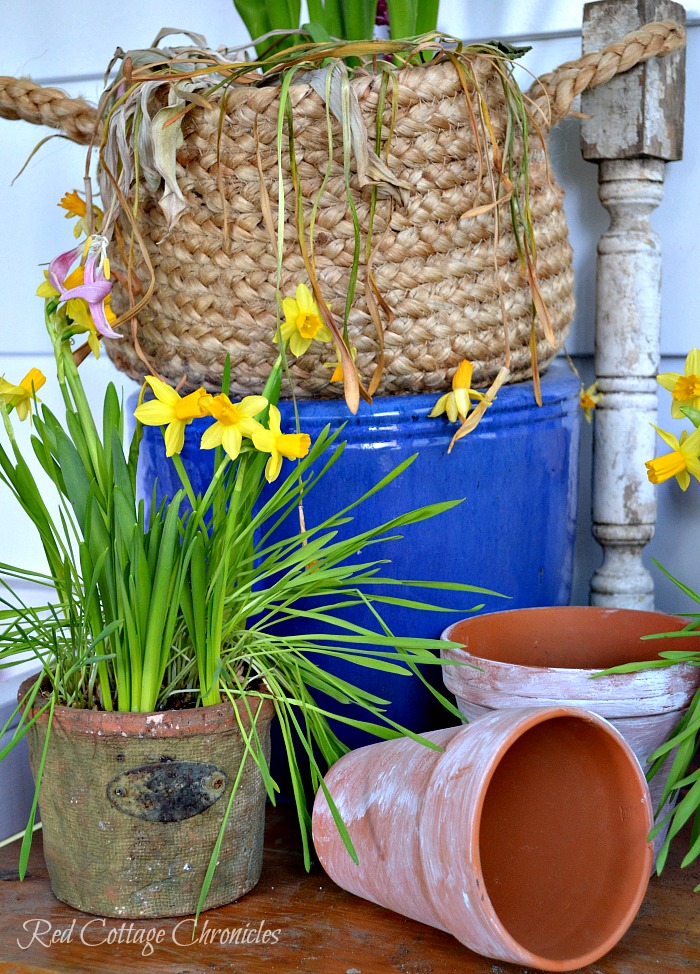
If the warm weather continues, it won’t belong until all my faux aged terra cotta pots will be filled with blooms!
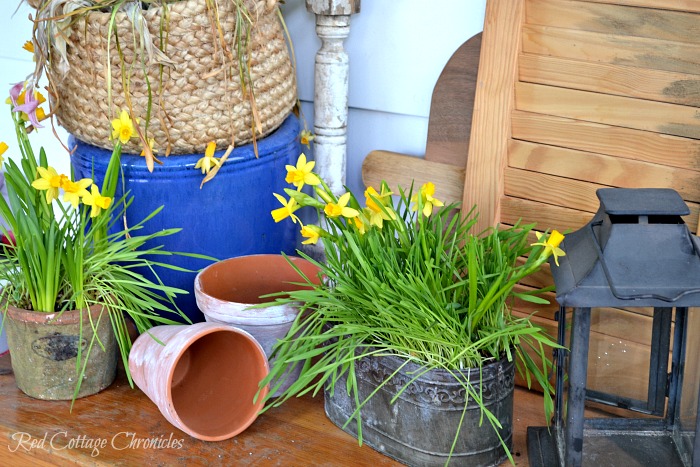
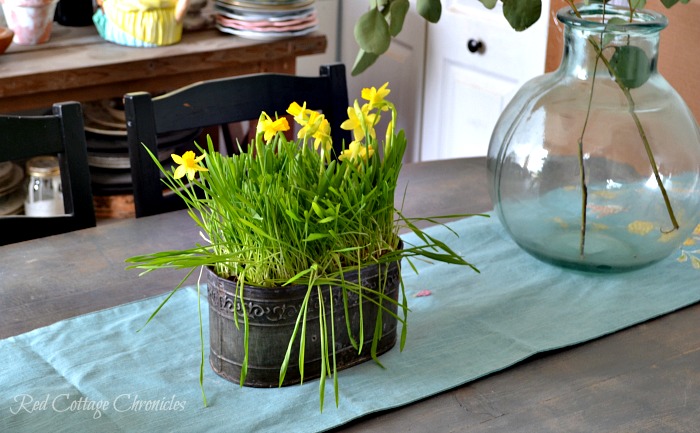
Sometimes simple can have just as big an impact as a full bouquet and I just love the simplicity of this planter. I spent under $10 and was able to make 2 planters. Even after the daffodils are finished blooming, I have no doubt the cats will be happy to chomp on the grass. I may even swap out the daffodil bulbs for mini iris or something similar to keep the color alive.
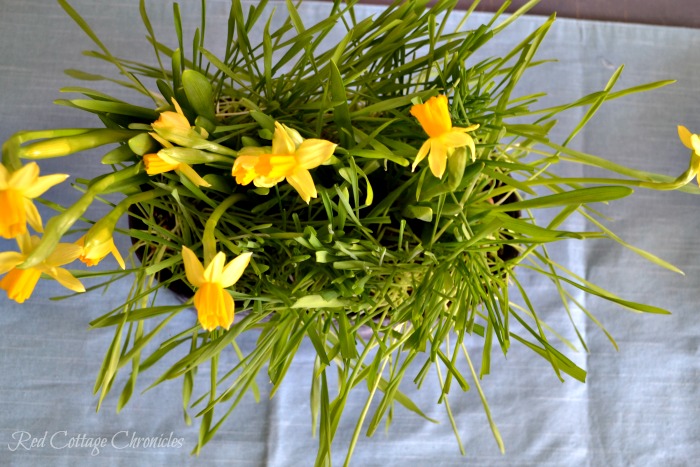
Until next time…..


This is totally charming! I have a ton of planters like this! Will go pin this in my garden board. Grasses are my favorite.
Maria
Thank you Maria! So glad you like it 🙂
What a great spring garden idea! I posted to my Garden Projects board on Pinterest to save for later ~ also to share!
Happy gardening,
Barb 🙂
Thank you Barb! Much appreciated. I can’t wait to get my hands into the garden again! Springing is teasing us with warm temperatures today, so it won’t be long 🙂
You .50 tin is the perfect container for planting!
So lovely and budget-friendly.
I love it!
Thank you Lisa!
Thank you Shirley!
Where I am, that planter would cost well over $100!! I’m always looking for old stuff like that LOL
Maureen, I especially like the planters with the plastic inserts. What a great idea!