Personalized Gifts with the Cricut EasyPress Mini
This is a sponsored conversation written by me on behalf of Cricut. The opinions and text are all mine.
I have been so excited to share the newest edition to the Cricut EasyPress line of products! And, it is a tiny little powerhouse that will make creating personalized and custom gifts a cinch this holiday season!
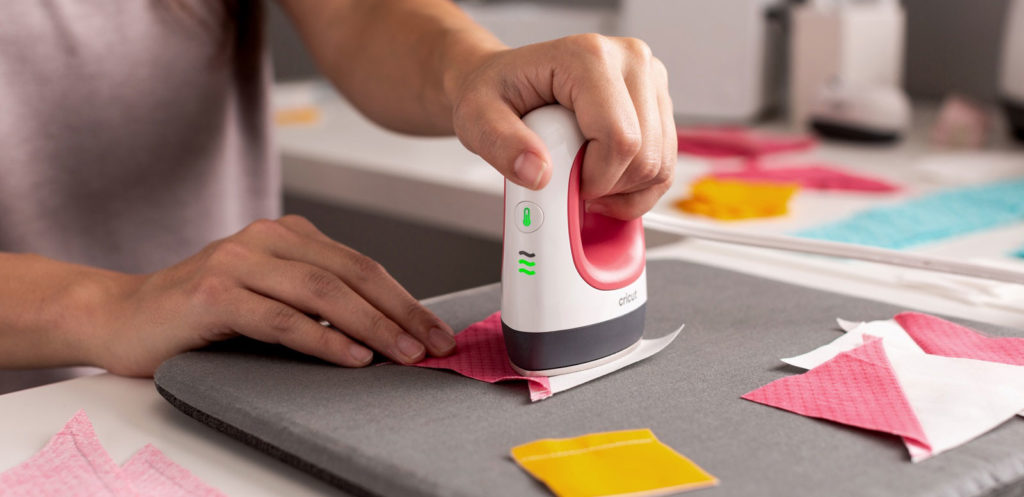
Don’t let the size fool you! The Easypress Mini is a great addition to the regular Cricut EasyPress models since it allows you to easily customize smaller items baseball hats, shoes, baby onsies, even stuffed animals!
I am not a sewer, but it is perfect for having at the ready next to your sewing machine to press seems or applique projects. It comes with its’ own little cradle which keeps the heat plate safely tucked away while you are sewing without the need to turn it off.
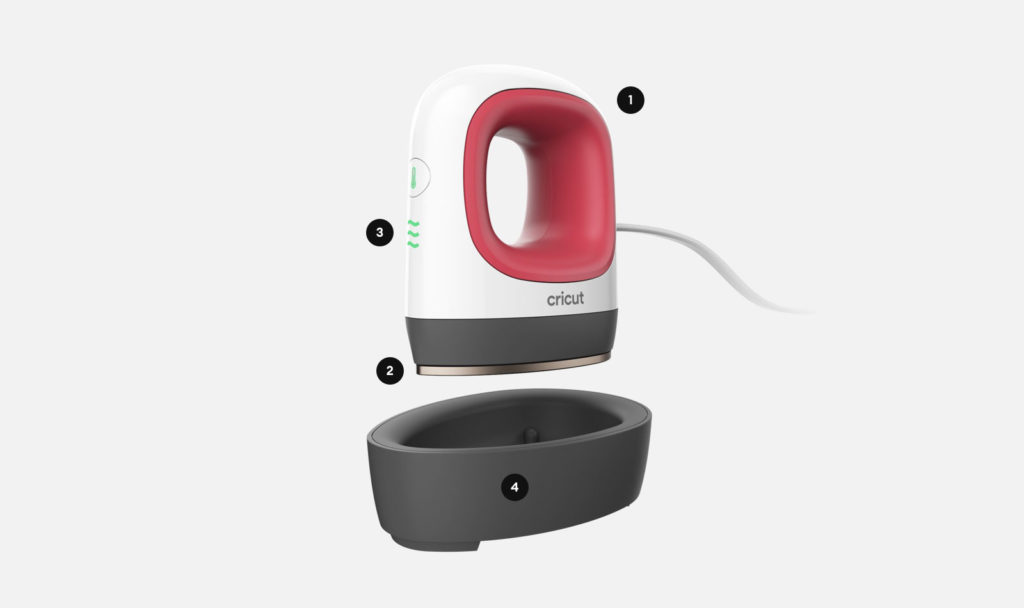
It has the same heat technology as its’ bigger counterparts with an even heat plate and easy to use controls. It can also be used with Infusible Ink!
Since Christmas is right around the corner, I am already thinking about stocking stuffers. When you have adult children who still love getting a stocking on Christmas morning I have to stay on my feet to keep them interesting.
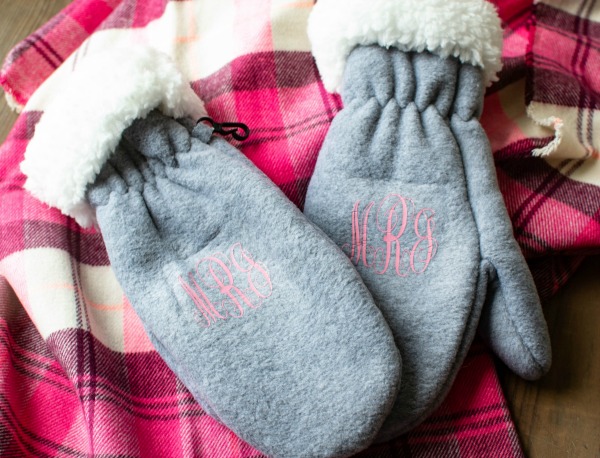
Personalized Mittens using the Cricut EasyPress Mini
My eldest daughter loves all things monogrammed. She also loves cozy mittens!
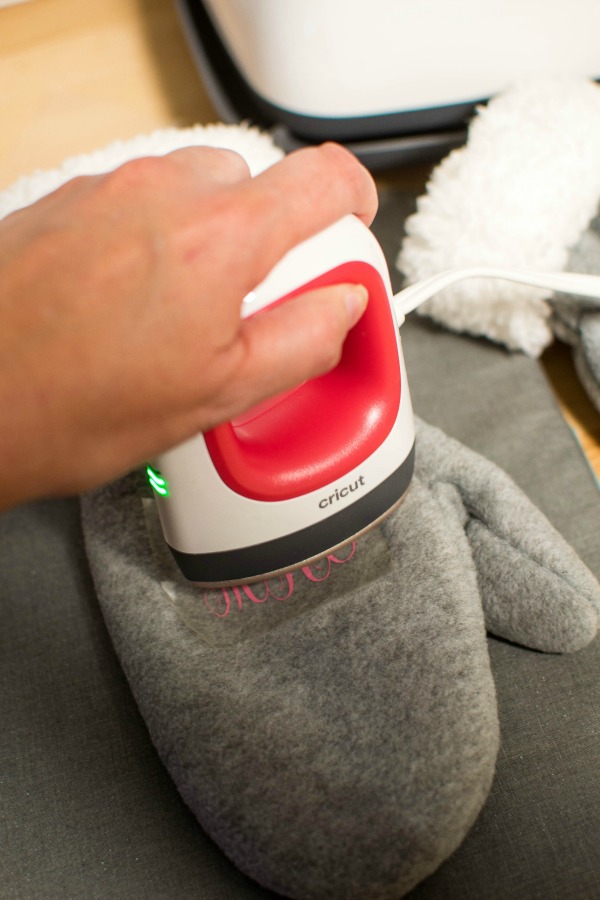
Using Cricut Design space, I created a monogram using her initials. I used the Cricut Maker to cut 2 monograms using Everyday Iron-On vinyl. The Cricut Easypress Mini made it super easy to apply them to such a small, somewhat bulky area.
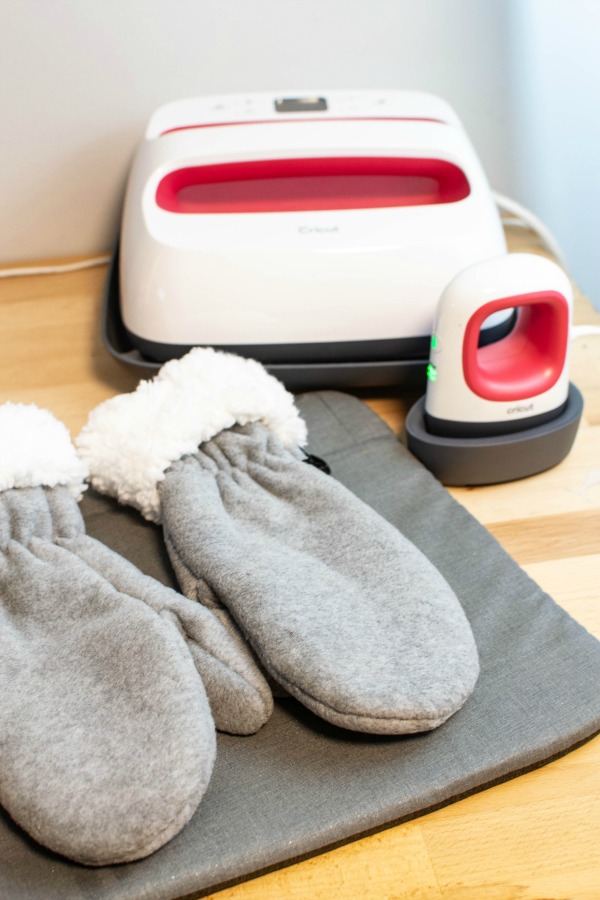
How to personalize warm, fuzzy mittens using the Cricut EasyPress Mini
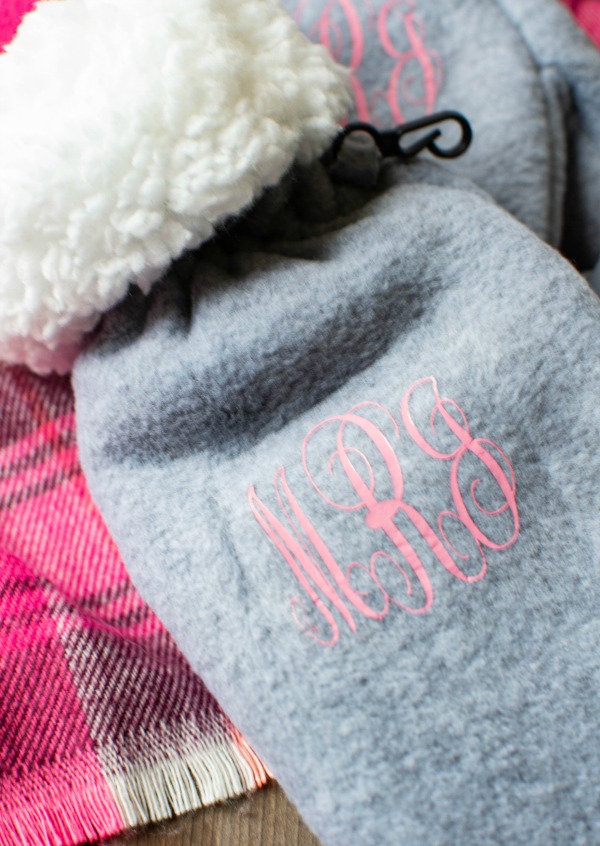
To make your own personalized mittens you will need:
- Cricut EasyPress Mini
- solid colour mittens
- Cricut Design Space
- Cricut Cutting Machine (I used the Maker model)
- Everyday Iron-On vinyl
- Weeding tool
- heat pad or towel
Using Cricut Design Space create a custom design or choose from one of the thousands available.
Cut the image using the Cricut Maker or other Cricut cutting machine. Weed the negative vinyl.
Preheat EasyPress Mini to heat level two (2 lights will be illuminated)
Place the mitten on a heat pad or towel and warm the area where vinyl will be placed for 5 seconds with the Mini
Position your image and press using light pressure and a constant gliding motion for 30 seconds
Turn the mitten over and heat the underside for 15 seconds
Allow to cool slightly and peel the vinyl transfer backing while still warm
Repeat for second mitten
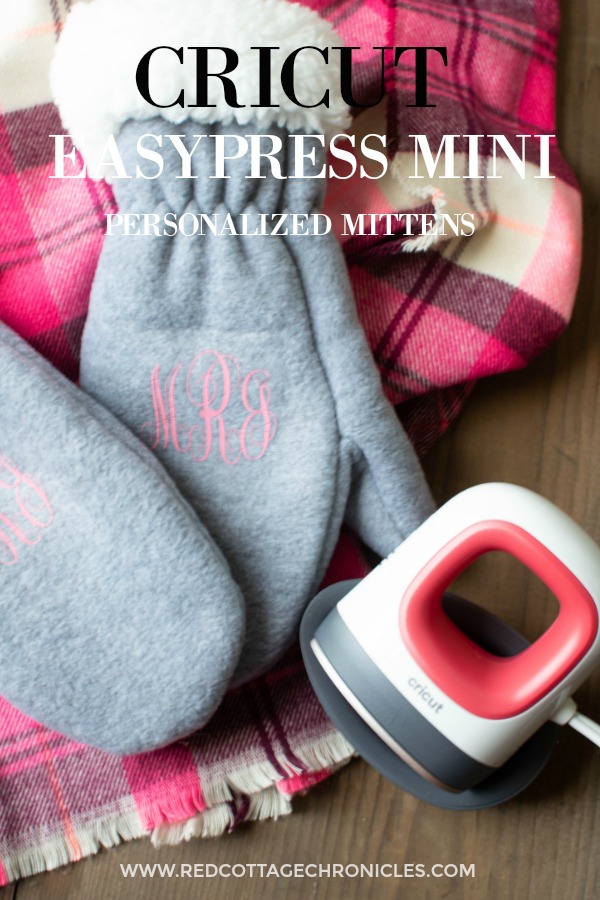
Imagine the possibilities. Not only for gifts, but for any occasion or no occasion at all! My family is already lining up projects they have in mind. I can’t wait to show you what else I come up with!
They all love the personalized aprons I made them last Christmas, but with the Mini I can create even more custom gifts.
Why not head on over to Cricut complete line up of cutting machines, EasyPress models and more!
Be in the know! It may be a delicious recipe, a stunning tablescape, or decor tips to make your house a home! Simply click here to subscribe. I never sell or share your information, and you can unsubscribe at any time!
Until next time….


