Why You Need A Cricut EasyPress 2
On Monday I shared with you a fun DIY Christmas gift for the home. Today, I am happy to share with you something that has made creating custom gifts for family and friends so fun and easy!
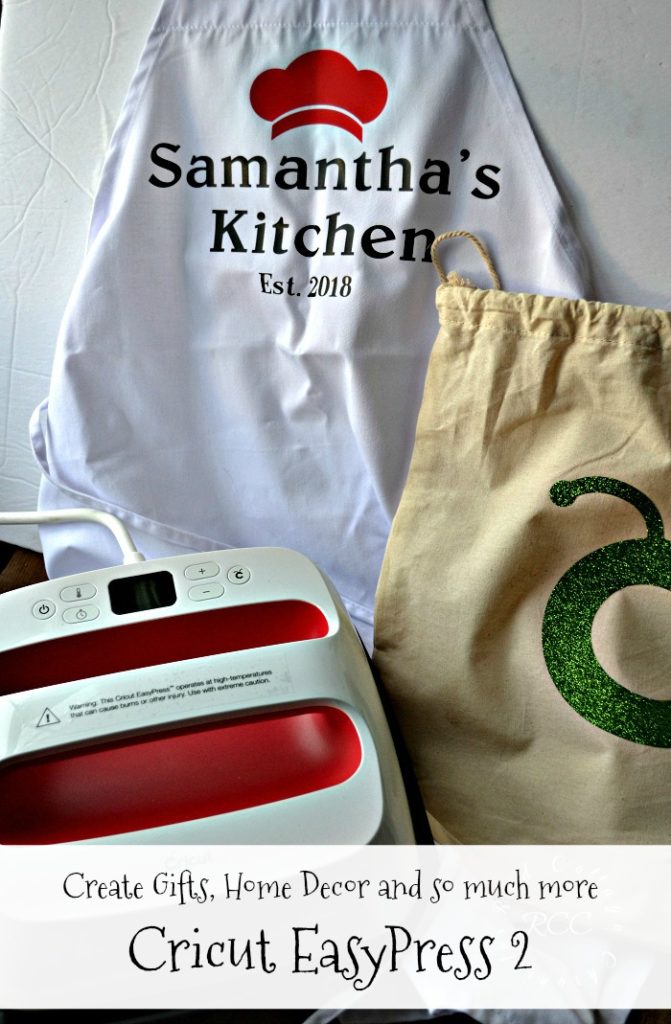
As luck would have it, the fine folks at Cricut sent me an EasyPress 2 to try, and I tell you it can certainly up your DIY game!
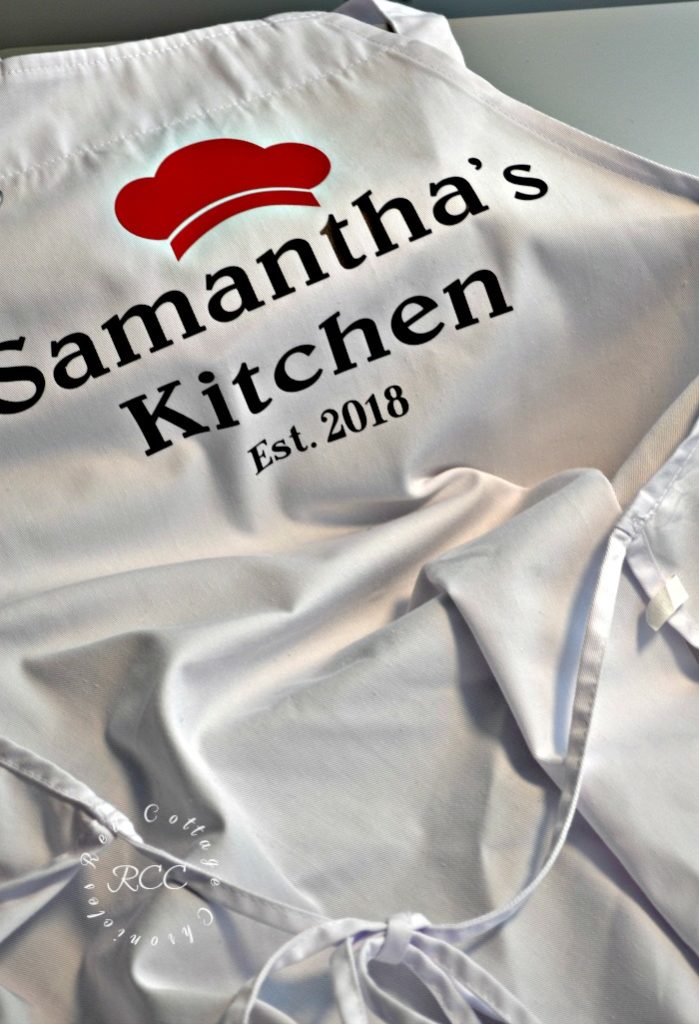
I love the idea of custom gifts. Whether it is a t-shirt personalized with a fun quote or a monogramed tea towel, the EasyPress 2 creates a professional result that is quick and easy to achieve. If you have ever tried to iron on transfers with a regular household iron you know that it can be tricky, requiring time and effort to get the entire image to stick down evenly.
The Cricut EasyPress 2 has made it possible for me to create custom gifts for my family and things for my home that I would otherwise have had to pay someone else to do.
You may know that our youngest daughter moved into her own home last month. I wanted to make her a personalized apron to wear while she bakes up treats for her friends. I am thrilled how it turned out!
I have created a short video tutorial that you can view down below but first let me walk you through why I think this is a must have for anyone who loves to create unique and professional looking projects to your home.
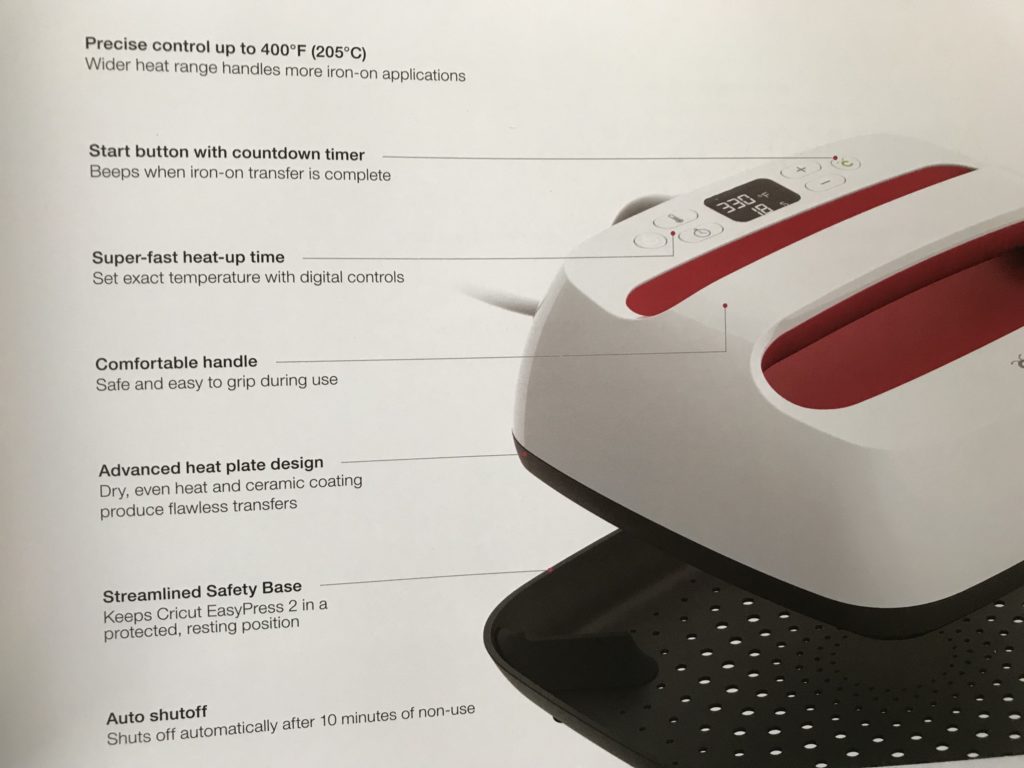
The EasyPress 2 is the second generation heat press created by Cricut. It makes working with heat transfer vinyl a dream. Let’s take a look at some of the features….
- A wide heat range up to 400 degrees F allows for more iron-on applications
- Countdown timer lets you know when the iron on transfer is complete
- Safe and easy to grip handle
- 3 sizes to choose from that provide dry, even heat and a ceramic coating to produce crisp transfers
- Safety base that cradles the EasyPress and keeps it protected in the resting position
- And my favorite, AUTO SHUT-OFF after 10 minutes of inactivity
- Compact and easy to store
I also love the interactive guide that walks you through the exact temperature and heating time for a variety of surfaces.
Whether you want to transfer to cardstock, chipboard, corkboard, felt, faux leather, burlap and even wood, the Cricut EasyPress has got you covered.
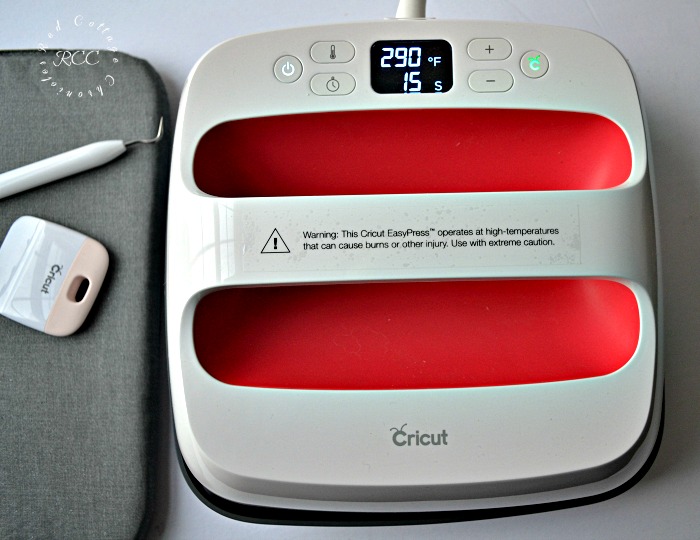
Just how easy is the Cricuit EasyPress 2 to use no matter what the material you are transferring too?
- Place your project on a firm foundation such as the EasyPress Mat or a folded towel
- Preheat for 5 seconds
- Position transfer – press – flip – press
- Peel (warm or cool)
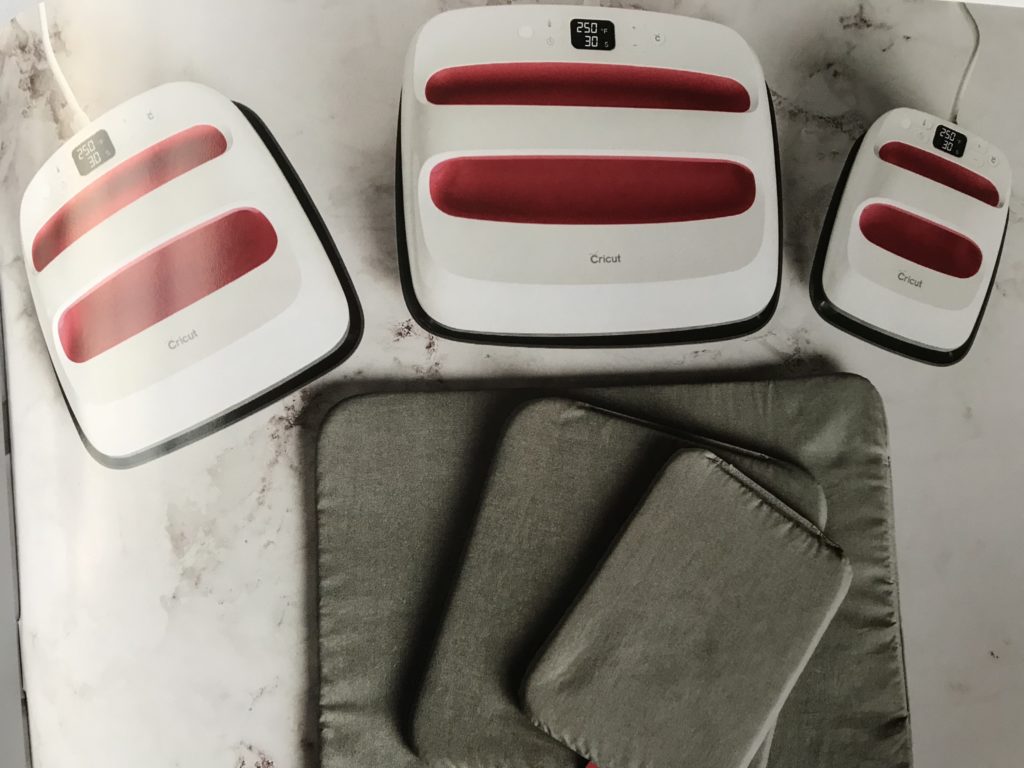
3 sizes for projects from baby clothes to larger projects like blankets and banners! I have the middle size 9 x 9 which is ideal for most projects.
You can click here to learn more about the fun projects you can create with the help of the Cricut EasyPress 2.
In the video below I take you through the process from start to finish!
The perfect compliment to the Cricut Maker, you will be amazed at how much more you can create with EasyPress 2!
Next time you are in Walmart or Costco in Canada be sure to be on the look out for both the Cricut and the EasyPress 2 as they are arriving in stores now!

Until next time……

This is a sponsored conversation written by me on behalf of Cricut. The opinions and text are all mine.


Custom gifts are so much fun to make. I currently use an iron for mine, but this would make those projects so much easier!
Leave it to Cricut to make a good thing even better!
Ooooo, would love one of these Cricut Easypresses!
Great tutorial! I always forget to press it from the back. Did Sam love her apron?
Thanks Michelle! Sam is getting the Apron in her stocking, so she hasn’t seen it yet. She doesn’t ever read my blog unless I tell her there is something she might want to see!!
Yup…I know I really need an Easy Press…thanks for reminding me just how much I need it!!! Samantha will love that apron!