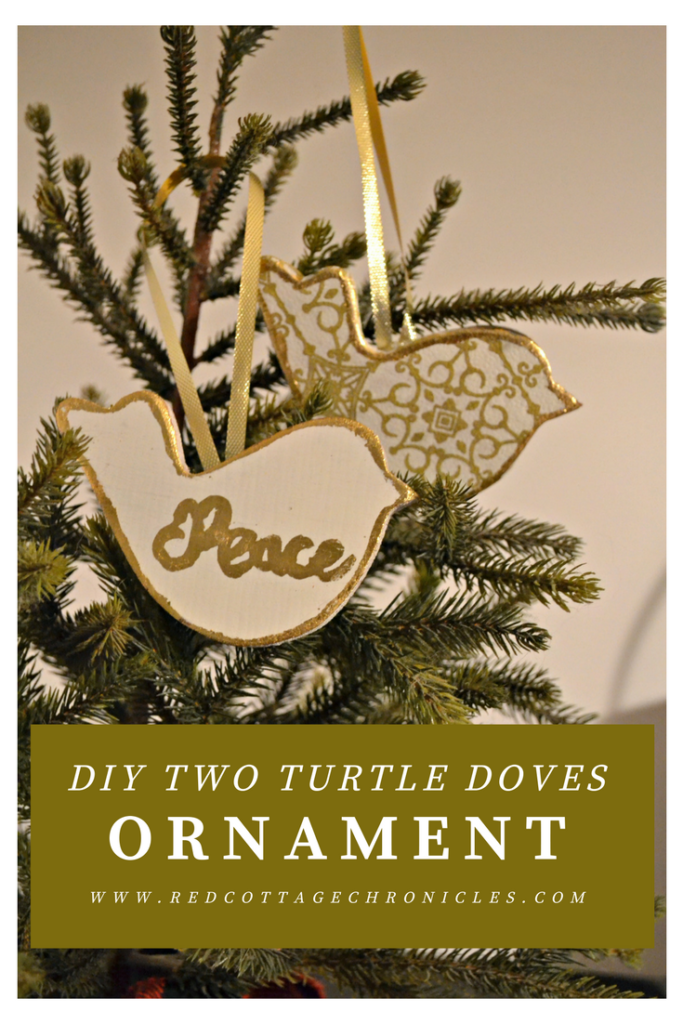
DIY Two Turtle Doves Christmas Ornament
One of the best things about blogging is the relationships that are built with other bloggers from all around the world. There are always opportunities to get to know one another through Facebook Groups, conferences and just by visiting and supporting each others work.
This Christmas I am participating in an ornament exchange with a group of bloggers and I have been paired up with Amanda from The Kolb Corner.
All the participants and their links are listed below, and be sure to add your DIY Christmas Ornament to the link up!

We are all challenged to a make DIY Christmas Ornament, spending no more than $15, share the tutorial on our blogs today and send our masterpiece to our assigned ornament exchange partner.
I hit up the world wide web to search for DIY Christmas Ornament ideas but I really wanted to make something that hadn’t been done a million times.
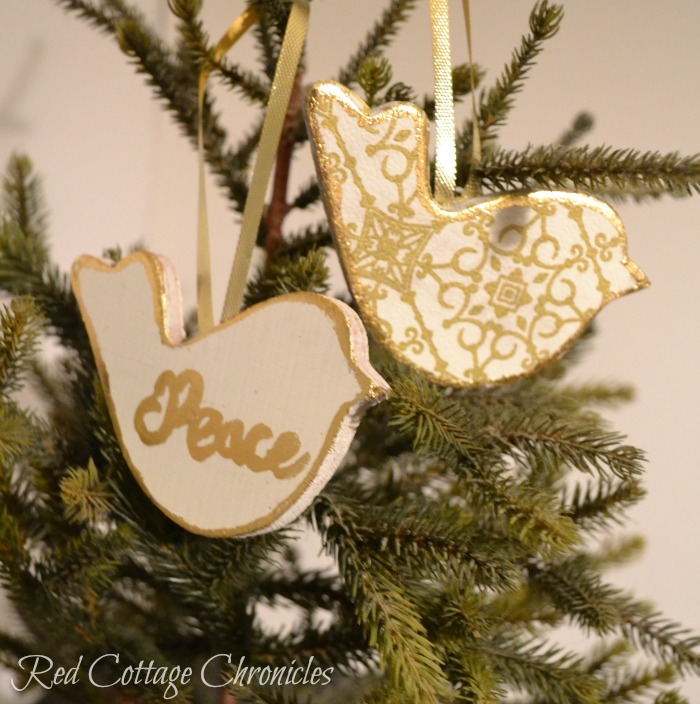
While watching Home Alone, Lost in New York I got the idea to make two turtle doves (yes I have been watching Christmas movies since the beginning of November, don’t judge!!). Initially the plan was to have Tim cut them out of some scrap wood, but on my outing to Michael’s to find some gold leaf, I found these wood birds already cut out! Time saved.
I had never done gold leaf before but found a kit with everything I would need, complete with instructions and several sheets of gold foil. Fifty percent off coupon in hand, I got a great deal!
DIY Christmas Ornament – Two Turtle Dove Tutorial
You will need:
- Two wood cutouts in the shape of birds
- Gold leaf foil and adhesive
- small paint brush and sponge brush
- word of your choice printed out to fit your wood bird
- pencil, scissors
- spray adhesive
- wrapping paper of your choice
- ribbon
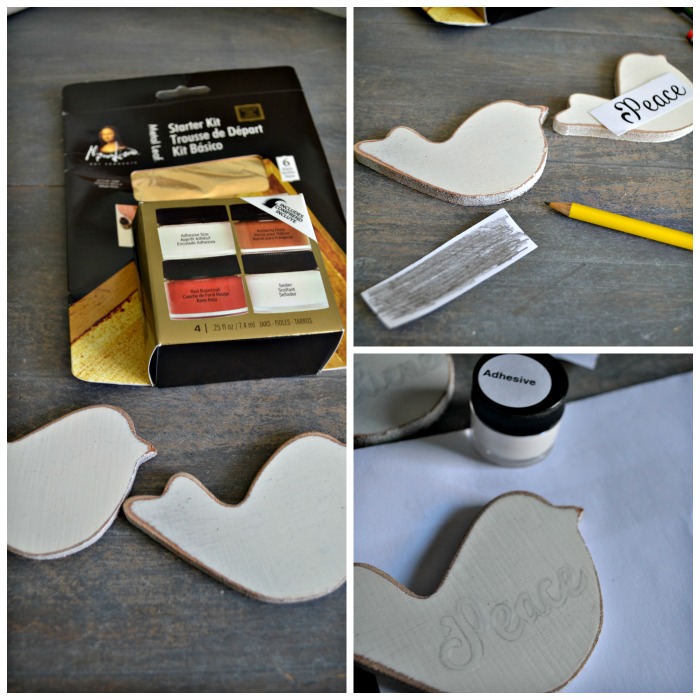
Gather your supplies, print the word you choose and using the pencil lead transfer method, trace the word onto one of the birds. Fill in the word, and brush around the edges with gold leaf adhesive. Allow to dry until tacky, about 20 minutes.
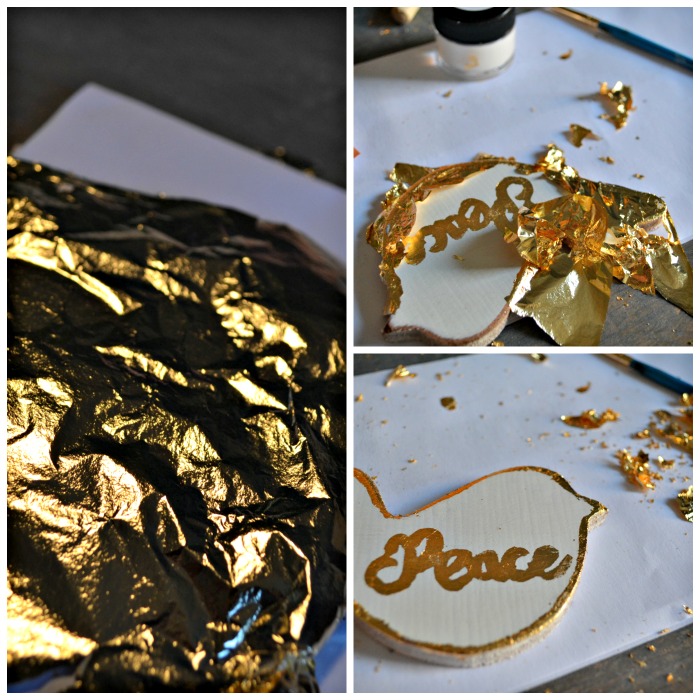
Lay a sheet of gold leaf foil over the bird and using a clean finger gently rub the foil over the glued areas, press down firmly enough to ensure the foil sticks to the glue. Carefully pull away the excess (believe me, it will already be pulling away from the unglued areas), and then carefully brush off any excess using a clean, soft foam brush.
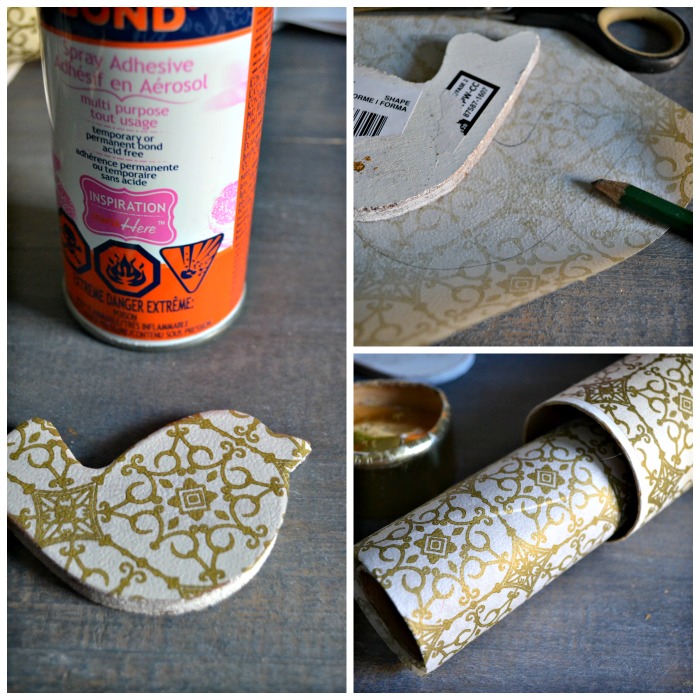
For the second bird, choose a Christmas wrapping paper that will match the gold foil. The wrapping paper I used is actually a piece from a vintage roll of paper that I found in my grandmothers attic several years ago. I believe it dates back to the early 1970’s! I vividly remember getting gifts wrapped in this paper when I was young. It was definitely a premium paper in those days, as it came in its own matching canister! I use it very sparingly when wrapping gifts these days as I want to make it last as long as I can.
Trace the bird onto the paper and carefully cut out. Spray the bird with adhesive spray and carefully fit the paper onto it, pressing down to ensure adhesion. I think you could probably use Modge Podge for this step, but this paper is extremely fragile and I didn’t want to risk tearing it.
Apply the gold leaf foil to the edges as per the first bird, brushing only the edges with adhesive this time.
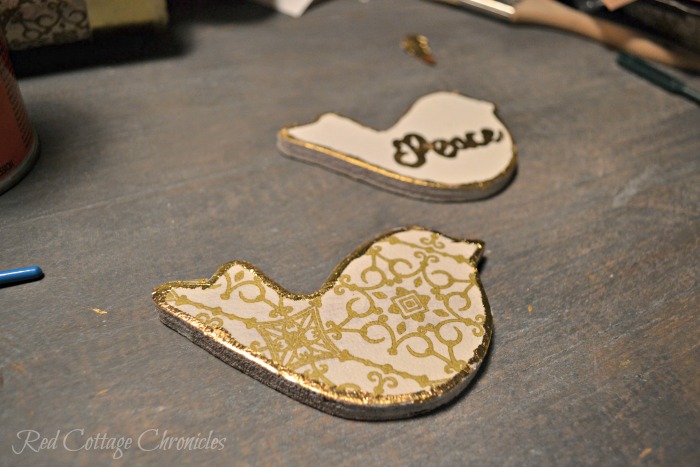
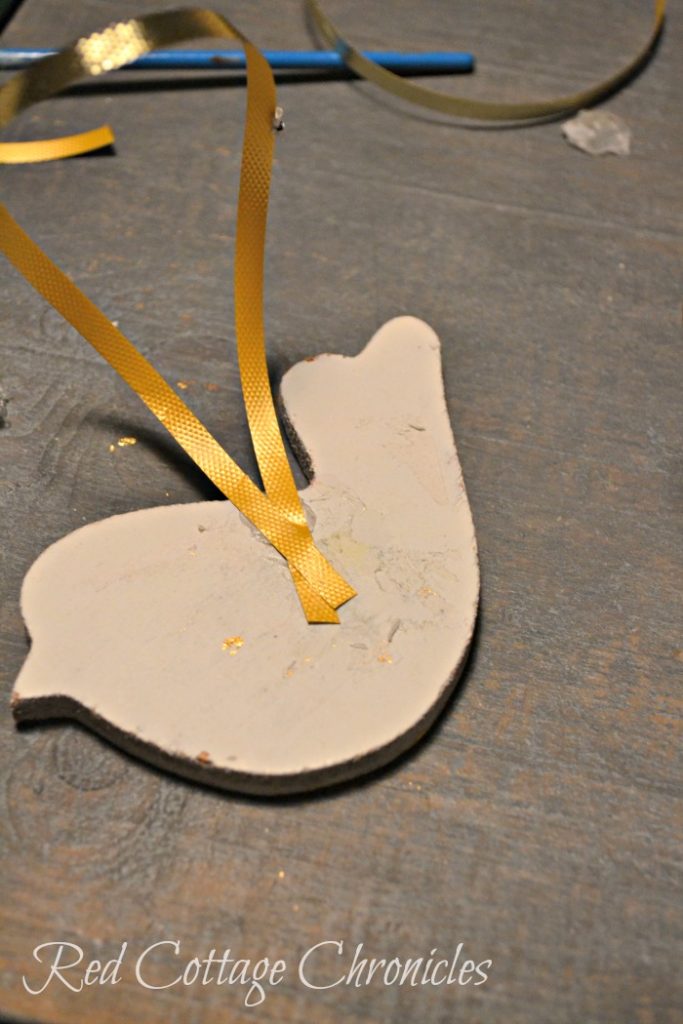
Finally, glue a length of narrow gold ribbon to the back of each bird for hanging, and clean up the back with a bit of light sanding if you got glue all over it like I did!
And that is it! A set of Two Turtle Doves christmas ornaments!
I know the story goes that you should keep one and give one away, but I am sending both to Amanda and I hope she enjoys them just as much as I enjoyed making them for her!
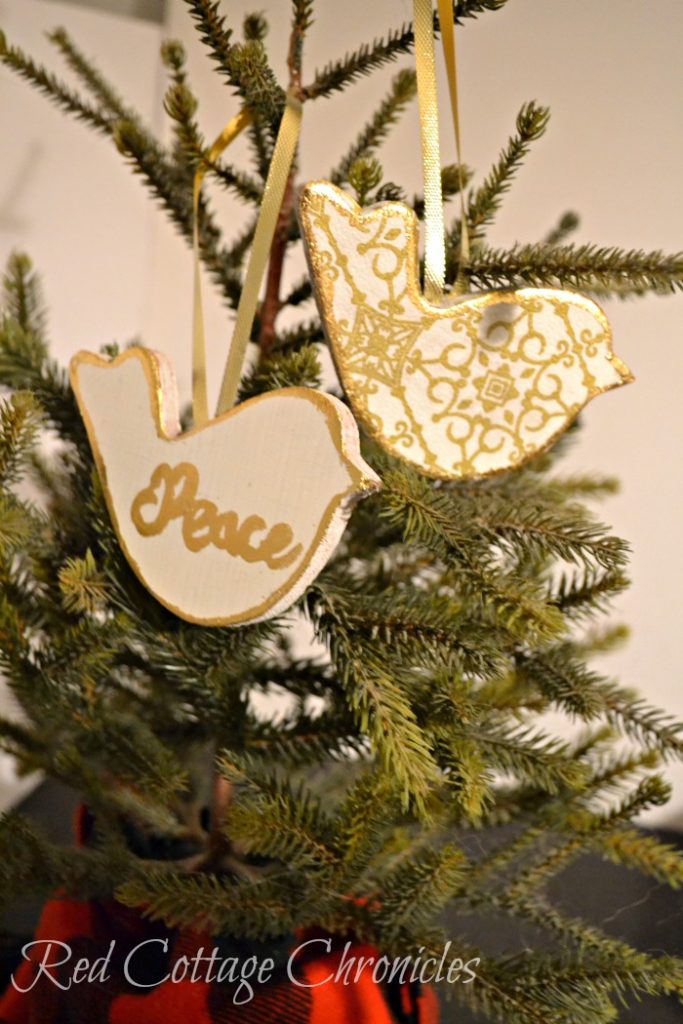
(Please excuse the poor lighting. It is dark at 5:00 now which makes photographing a challenge!)
For even more DIY holiday projects click here and here, and then be sure to visit all the other host bloggers who are sharing their DIY Christmas Ornament tutorials before packing them up to send them to their recipients!

Erlene ⋅ My Pinterventures Kim · Made In A Day Amanda · The Kolb Corner
Shirley · Intelligent Domesticatons Michelle · Our Crafty Mom
Robin ·Redo It Yourself Inspirations Sherry · Olives-n-Okra
Nicki · Sweet Parrish Place Sherry · Savvy Apron Megan · C’mon Get Crafty
Jelica · A Pretty Fix Emily · Two Purple Couches Christene · Keys to Inspiration
Kati · Houseful of Handmade Beverly · Across the Blvd.
Jeanie · Create and Babble Erin · Suburban Simplicity
Terri · Red Cottage Chronicles
Debra · Shoppe No. 5 Donna · Two Chicks and A Mom
Pamela · Home On The Corner
Click here to subscribe to Red Cottage Chronicles and be among the first to know when a new idea has come to life!
Until next time…


Oh I love them Maureen! They will look so beautiful on my tree this year! It was so much fun partnering with you on this exchange.
Aww! Thanks Amanda. I thoroughly enjoyed making it, and sharing a bit of my vintage wrapping paper with you!
Maureen, these are so beautiful! As much as I love gold, I have never worked with gold leaf. This looks like a great thing to try it on. Thanks.
Thanks Sherry! This was first time working with it too, and I was impressed by how easy it is!
Those are absolutely lovely! I really like the vintage paper you used and the gold foil must look so pretty with it.
Thank you! It was nice to share a bit that special paper!
These are beautiful. How special that you have the gift wrap from your grandmother. It is a wonderful way to preserve a Christmas memory.
Thank you! I was so pleased to find that paper in her attic after all these years!
They came out beautiful! Don’t ya love gilding (gold leaf) now? I am soo addicted! I’ve already done 3 posts with it!
Kim
I love this, I wish i had some ornaments to make, I think I will put that on my list this week
Maria
These are so pretty, and I’ve always loved the turtledoves part of Christmas. Also, totally jealous of the gold leaf use, I’ve been too scared to try it out!
How pretty! You did a beautiful job with the gold foil and lettering.
What a great idea to use wrapping paper & gold leaf. Love the cute doves!