Cedar Wreath Tutorial
Even though my girls are into their 20’s, we all still believe in the magic and spirt of Santa Claus!
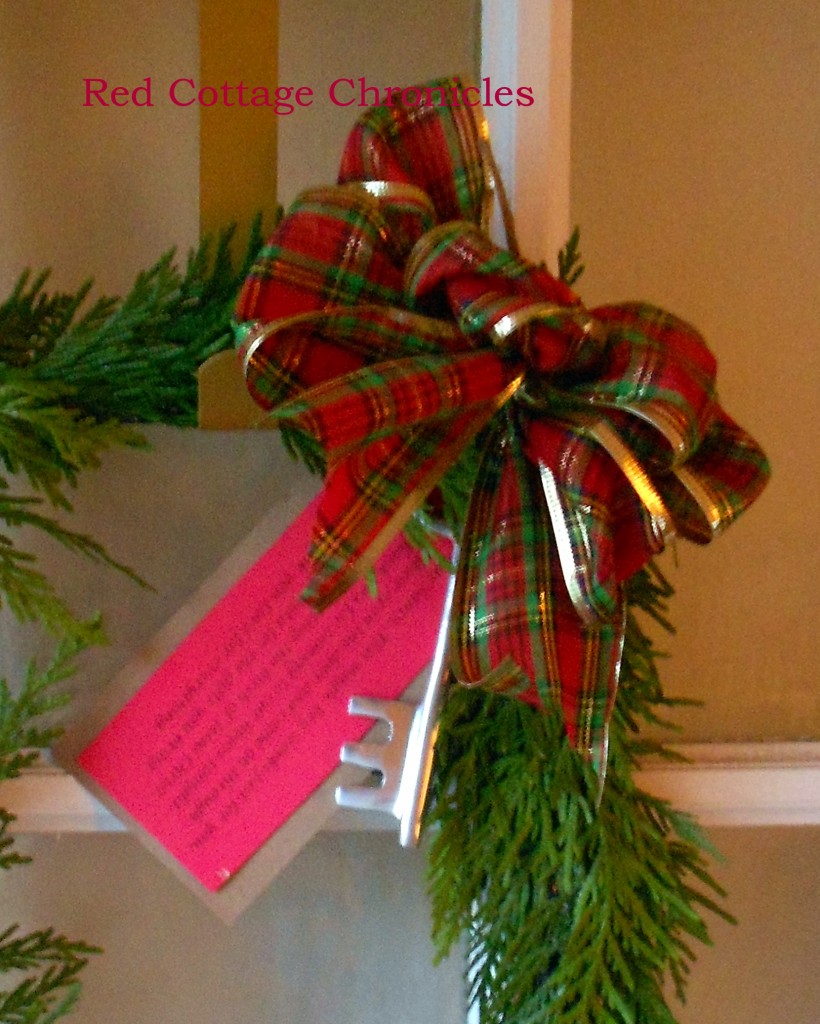
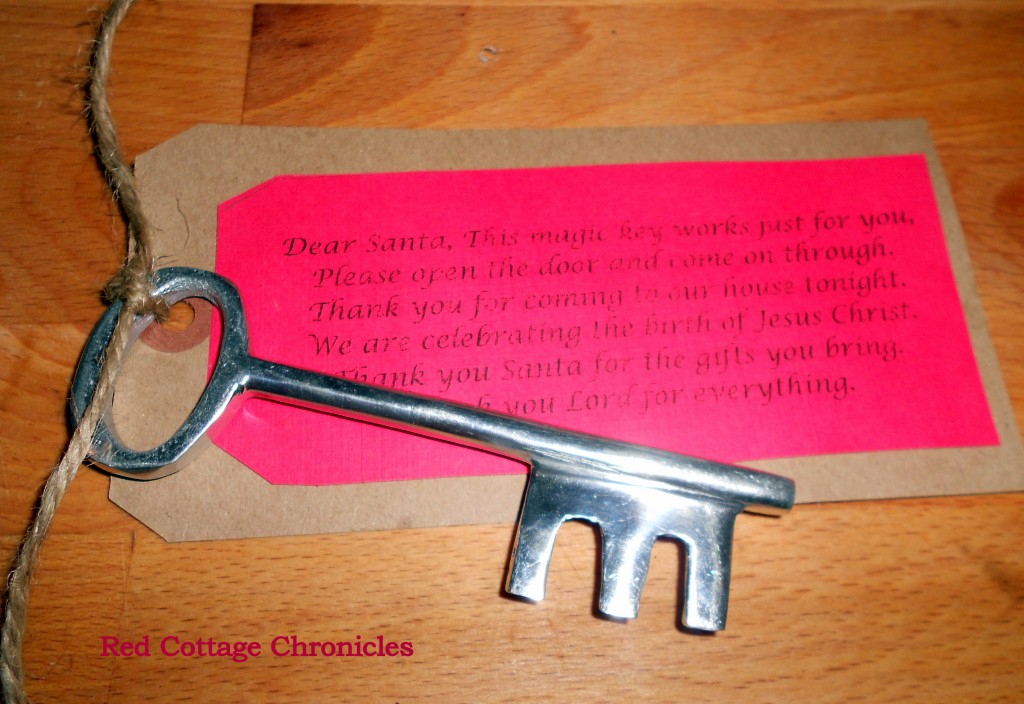
When my daughter showed me some cute “santa’s keys” on pinterest I thought rather than hang on the door handle it would look great embellishing a wreath
I have put together this super easy cedar wreath tutorial on next to no budget!
I have always admired square wreaths, but was never able to find a nice one at a reasonable price!
It took me only about 15 minutes, $3,00 and a few things I had around the house to create this.
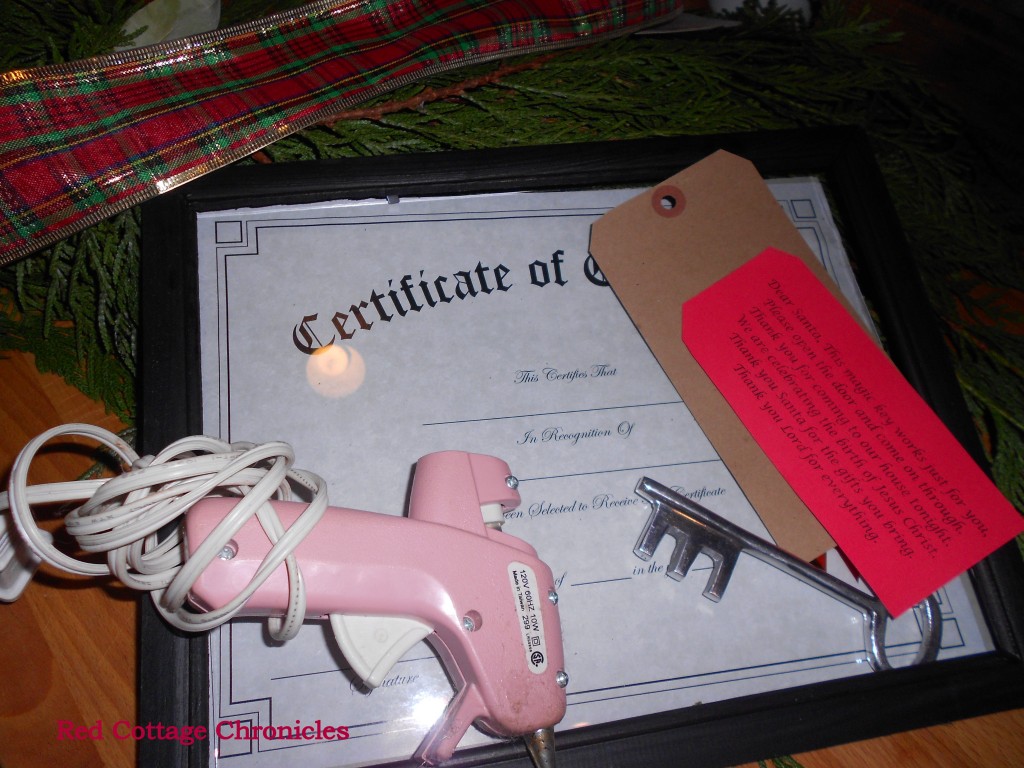
You will need a frame in the size of your choice. I bought this certificate frame from the dollar store and just removed the glass and backing leaving the square black frame open. The key I purchased at Home Sense for about $2.00. The greenery was clipped from some leftover outdoor cedar and the ribbon I had around the house. You will also need a glue gun and some glue sticks. I had some oversized “tags” and red construction paper to complete the look.
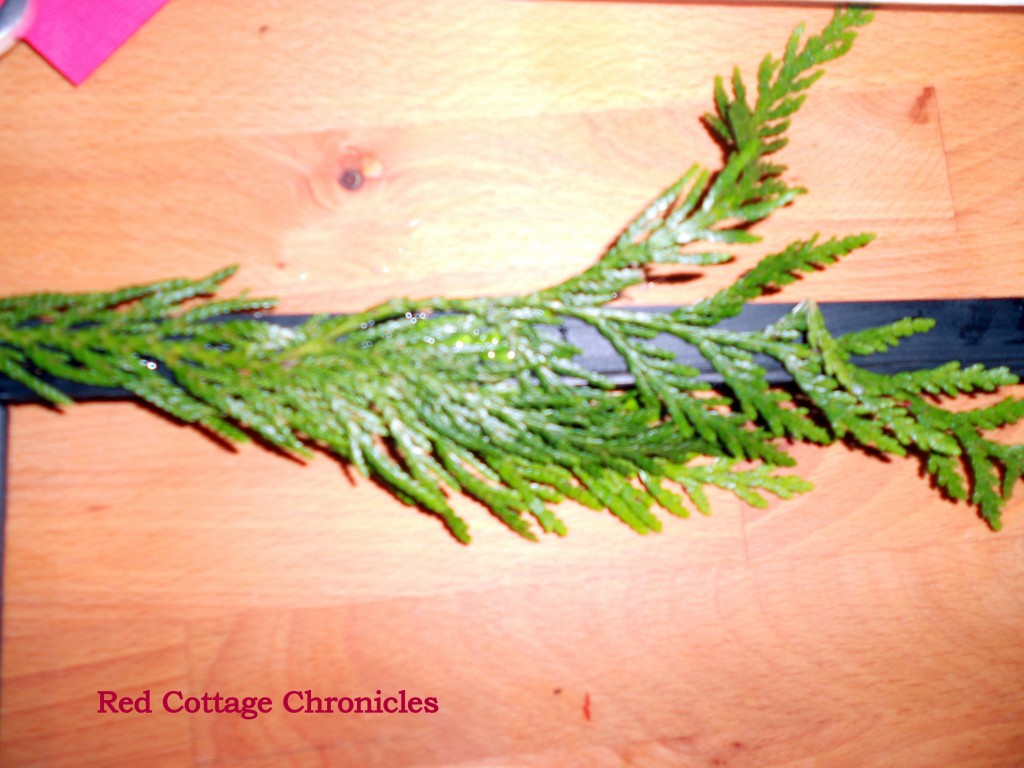
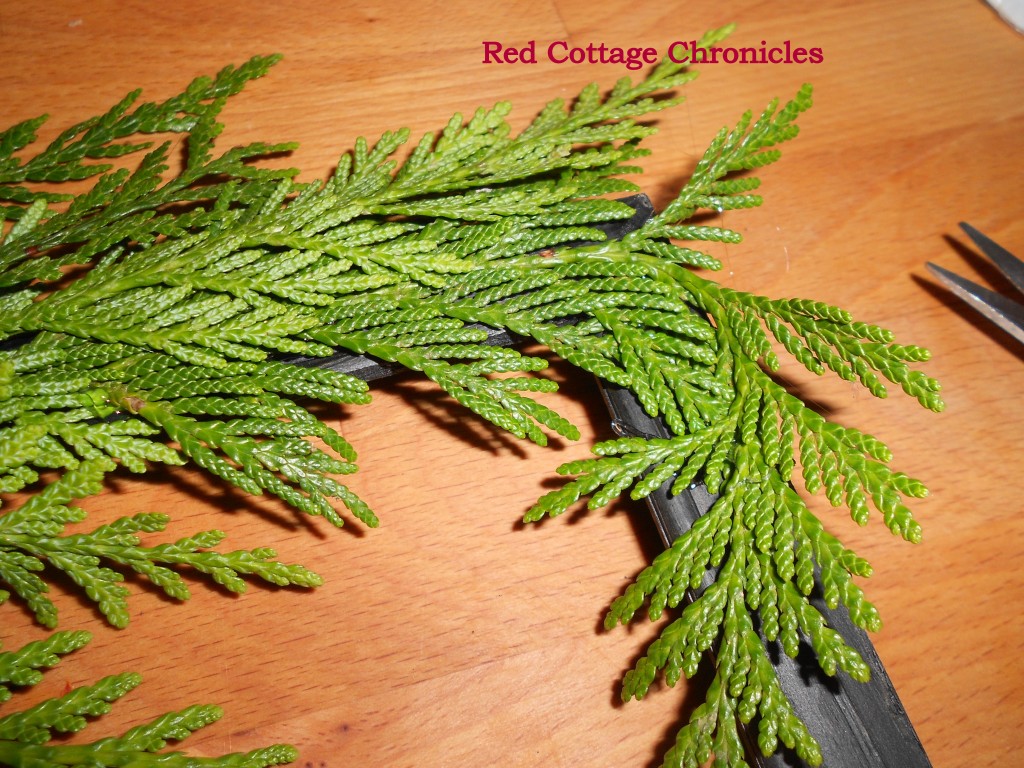
Begin by clipping short pieces of cedar to the frame, tucking stems under as you go.
Mould it around the corner and tack down with a dot of glue. That is the beauty of working with fresh cedar, it goes where ever you want to put it.
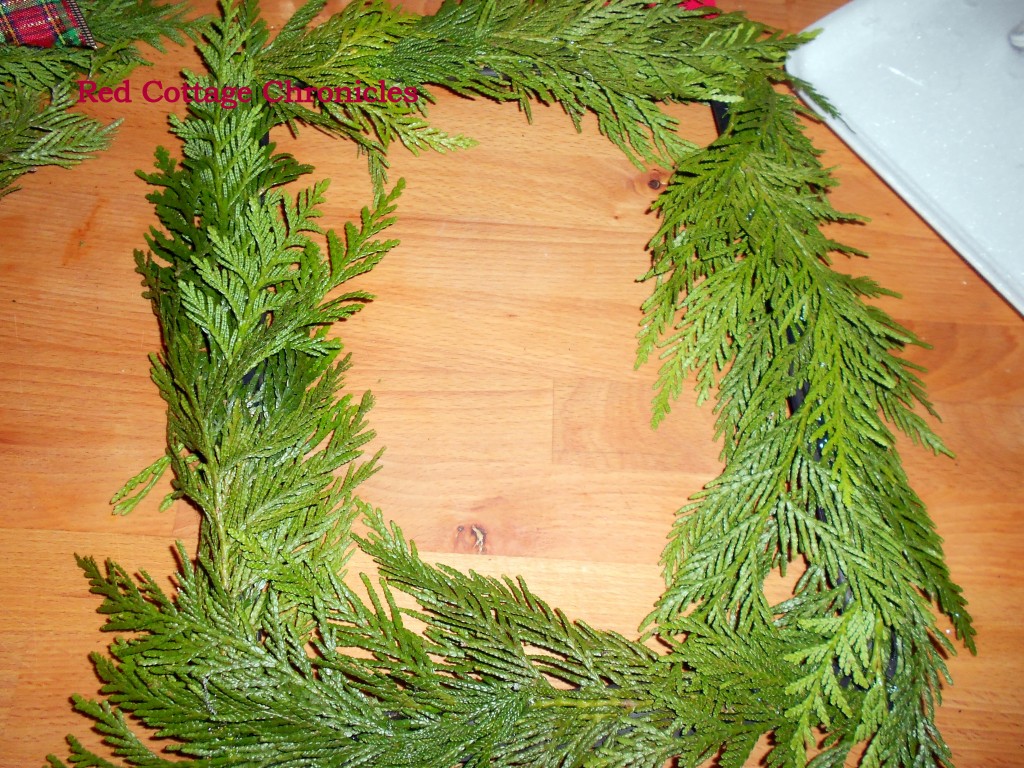
Continue layering and gluing the greenry around until the entire frame is covered to your liking.
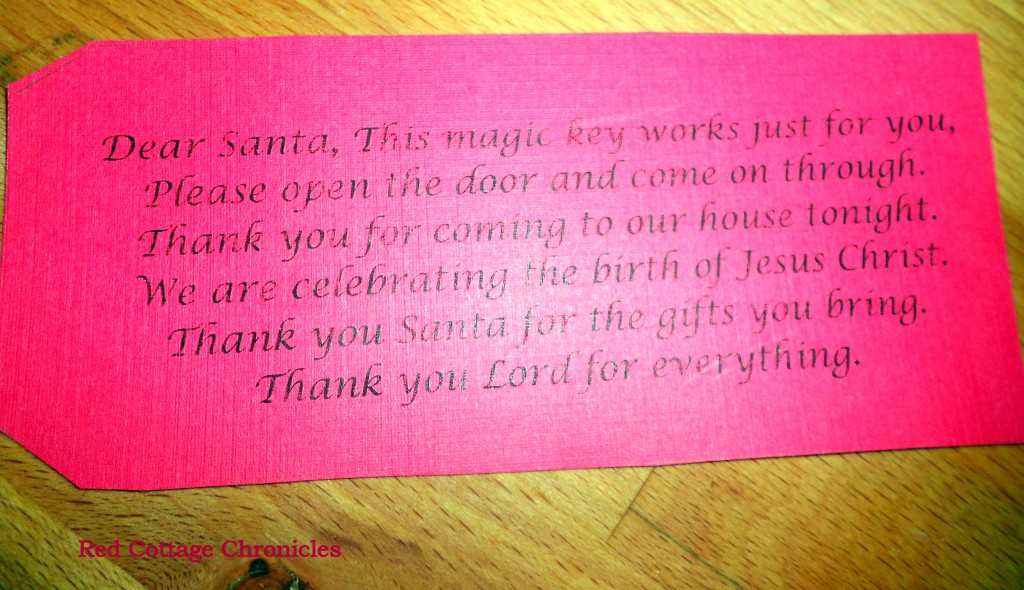
Print the saying on red construction paper and cut to fit, and glue onto tag. Tie key to tag with string.
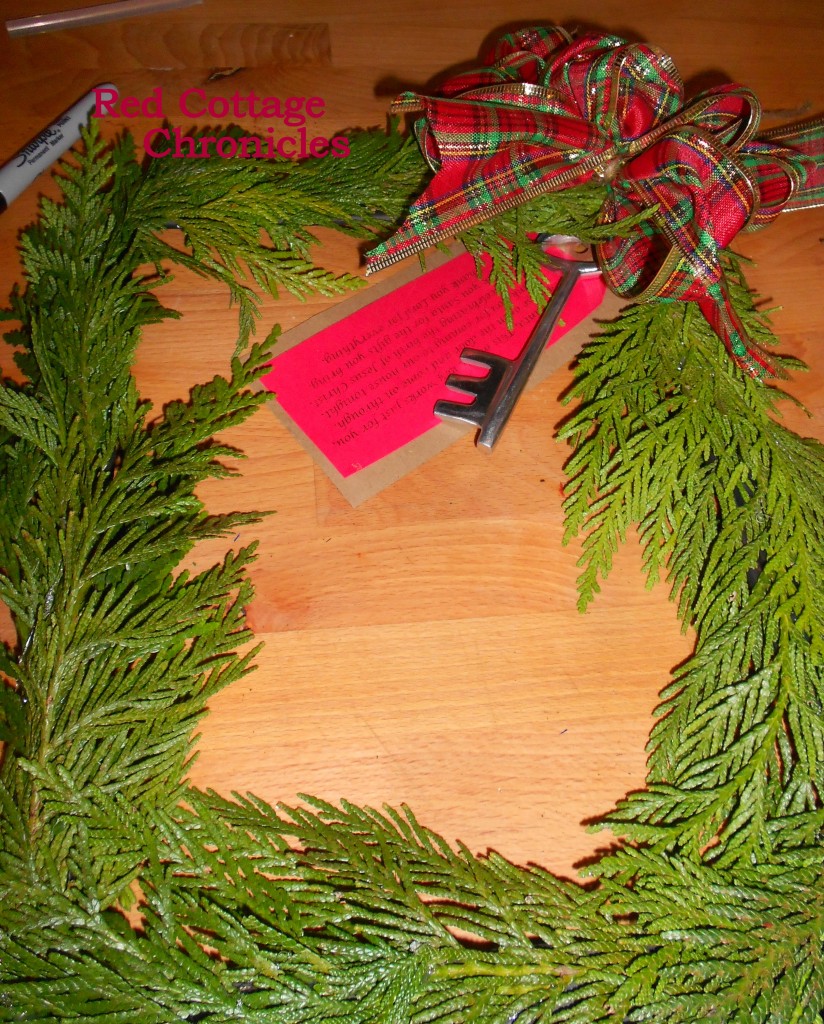
Make a bow with the ribbon of your choice and glue to the wreath after tying the key and message to the corner of the wreath
Hang the wreath on your front door and wait for the magic to begin!
Today I am linking up over at Centsational Girl and The Shabby Creek Cottage. Pop on over and check out all the Christmas Craft Links for some awesome inspiration.




Looks great! Love it!