Halloween Shortbread
I had seen in Country Living magazine the most adorable hand stamped Halloween cookies! I read over the instructions. Seemed pretty straight forward. Folded paper towel. Check. Gel food coloring. Check. Rubber stamps. Check. Not so fast people! This, as it turns out is not as simple as it seems. At least not for me and the stamps I choose. So what you are going to see is a delicious melt in your mouth lemon shortbread iced with a super simple royal icing… and then the wheels fell off the cart somewhat and the stamping did not go too well. I got a few that turned out okay, but for the most part not so much. So I have set some aside and will be researching the technique a little more and will post some pictures tomorrow of the final results!
The cookies themselves however were a great success and resulted in a melt in your mouth shortbread with just a hint of lemon flavor!
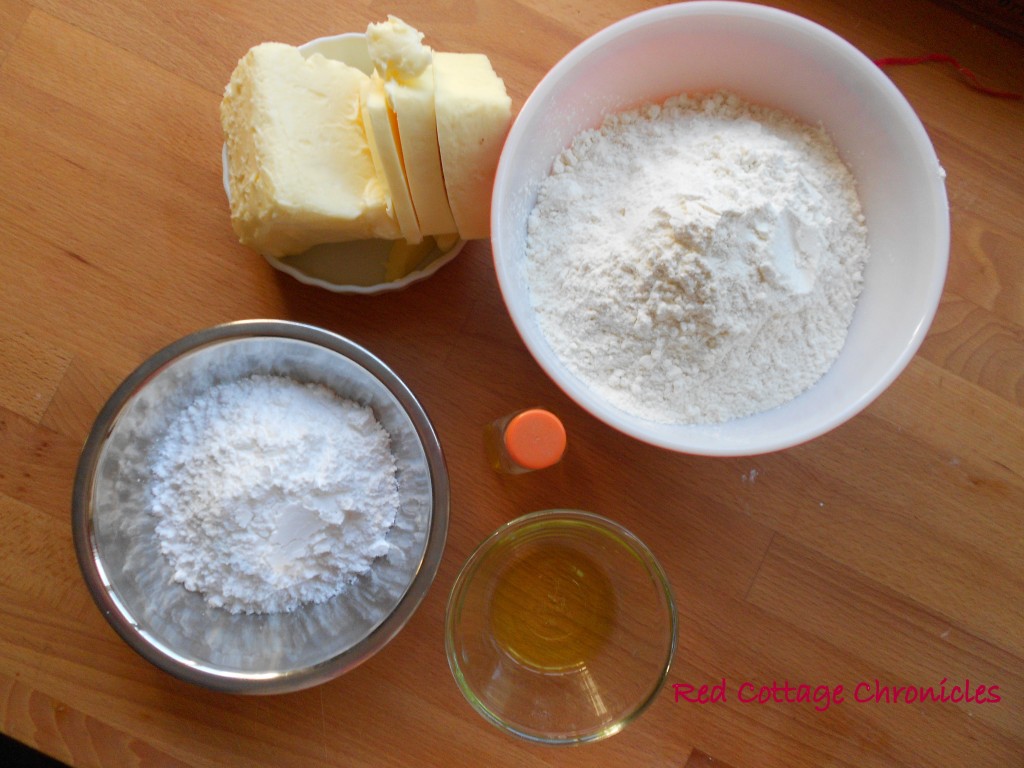
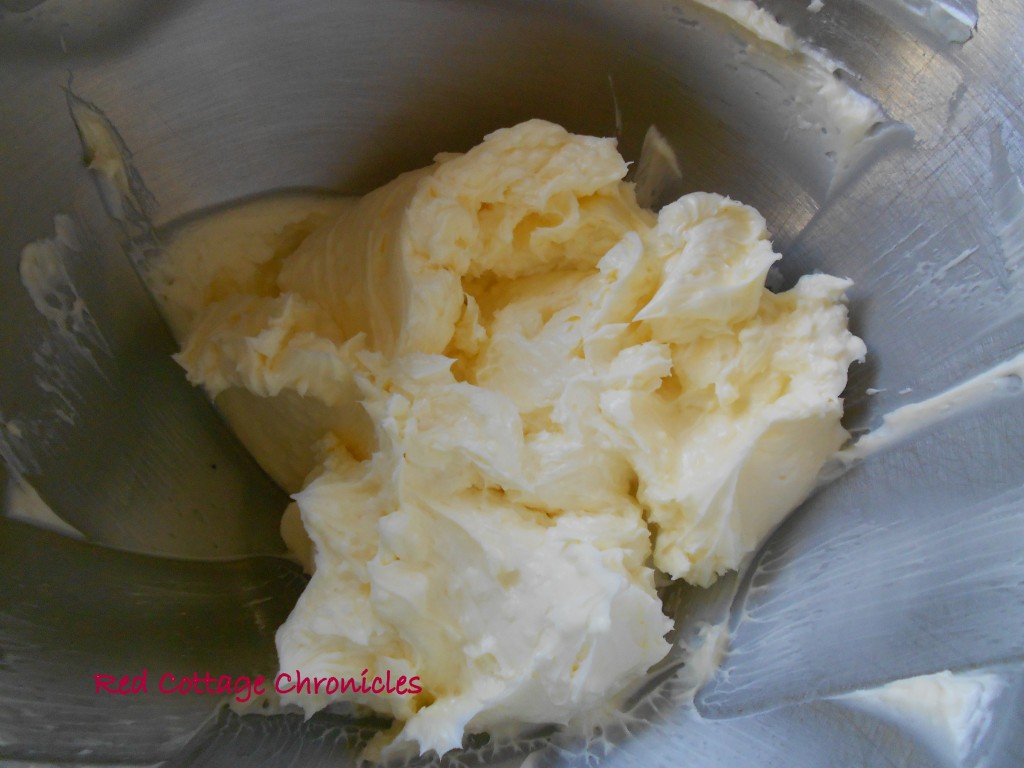
In the bowl of an electric mixer cream the 455 grams butter and 115 grams icing sugar until creamy and light
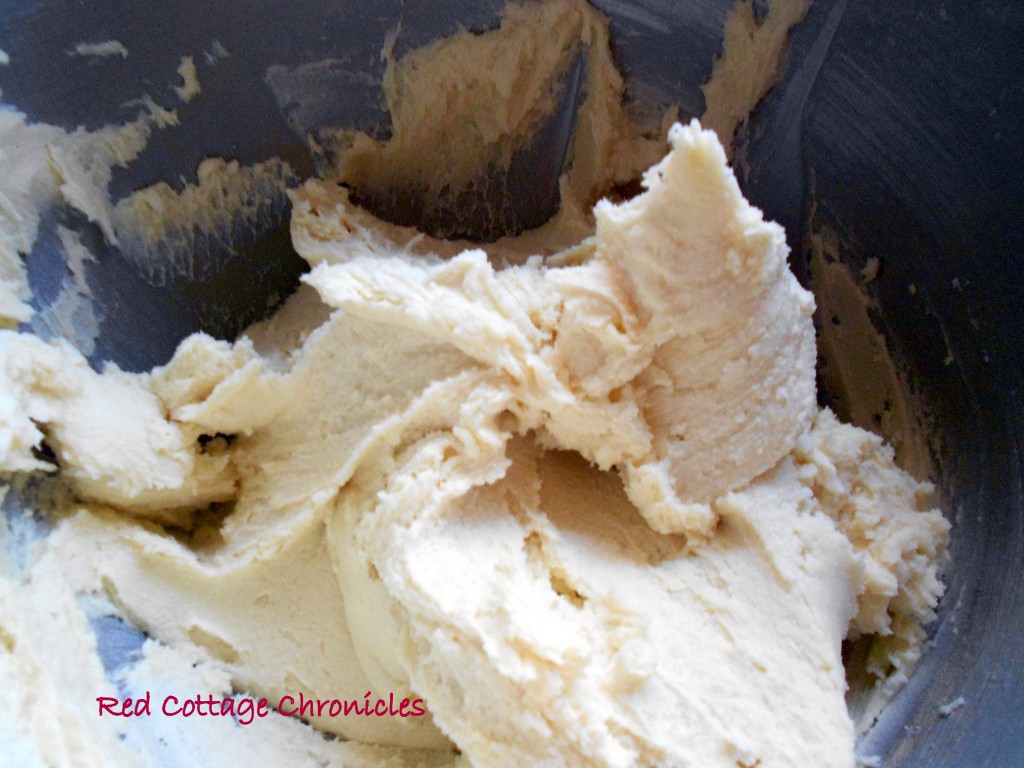
Sift in 455 grams of all purpose flour and continue to beat until well combined. Dough will be a bit sticky.
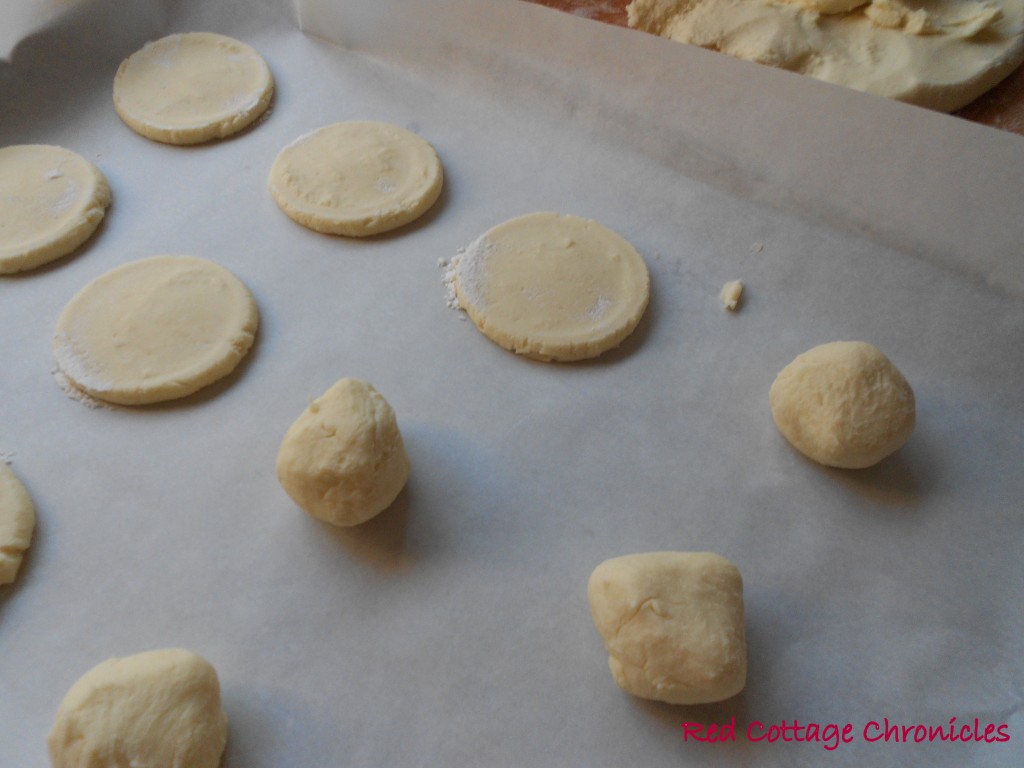
Roll dough into balls about 1 1/2 to 2 inch in diameter depending on how big you would like your final cookie. Press down with the bottom of a glass dipped into flour between each cookie. Brush off any excess flour before baking.
Bake in 375 degree oven for 12 to 15 minutes. Until bottom and edges are very lightly browned. Remove from oven and cool on wire rack. 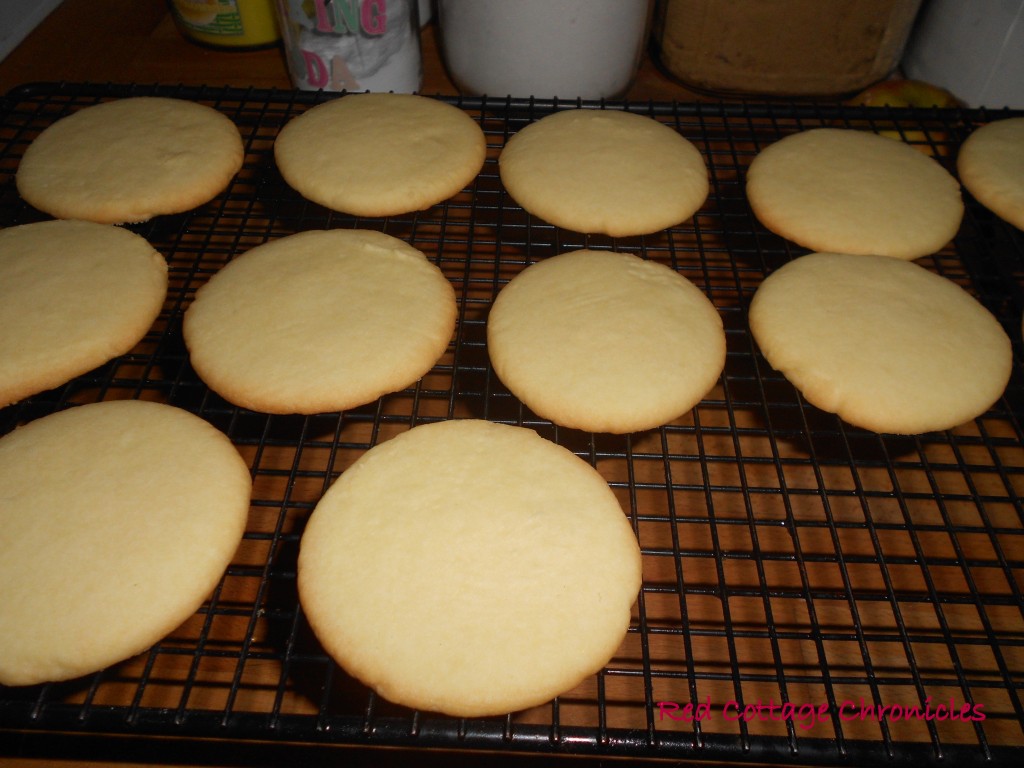
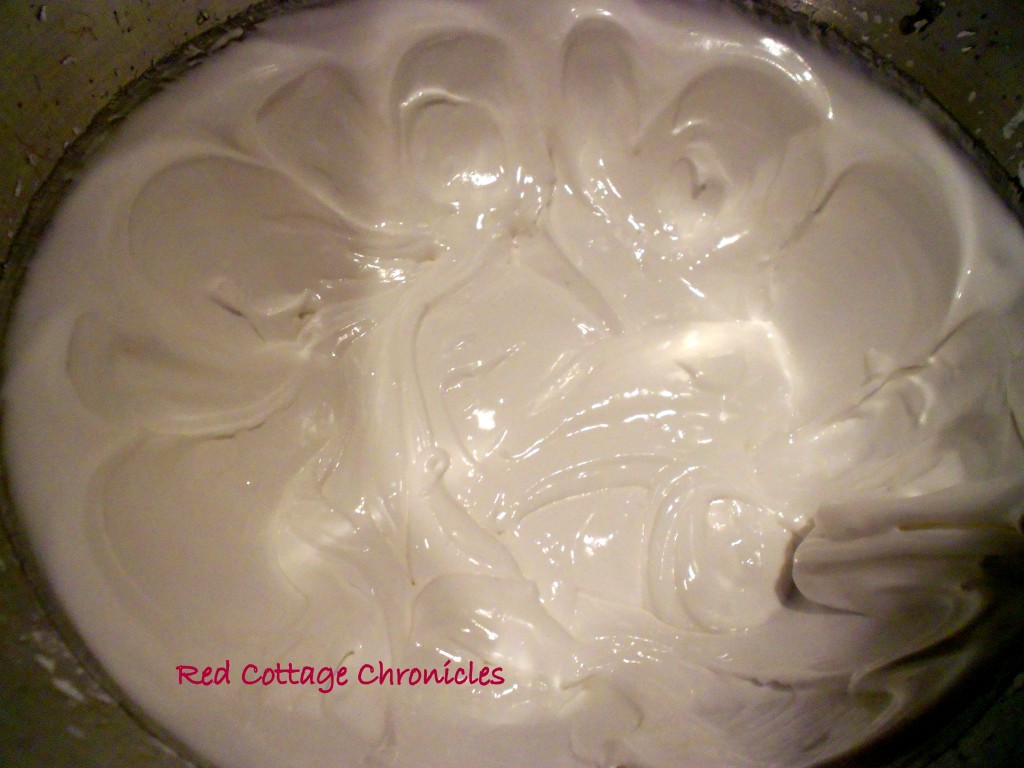
Meanwhile, prepare royal icing by adding 1/4 cup of merange powder into bowl of electric mixer fitted with paddle attachment. Add 1/2 warm water and beat until foamy, approximately 2 minutes. Add 4 2/3 cup icing sugar and beat for 9 minutes or until icing is shiny and stiff.
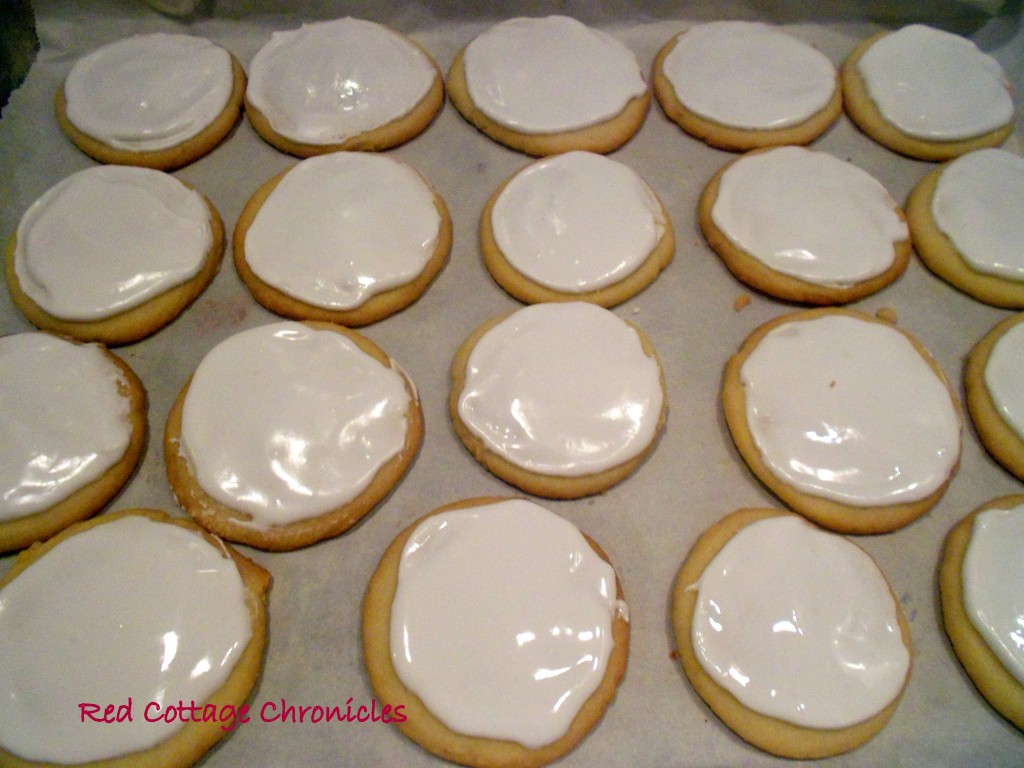
Ice each cookie with a narrow metal spatula. Dip spatula into warm water and smooth icing as best as possible. Allow to dry overnight for decorating.
 Now, as you scroll down you are about to see the most frightful thing you may see this Halloween season!
I’m keepin it real folks! This was my first and last two attempts with this stamping method.
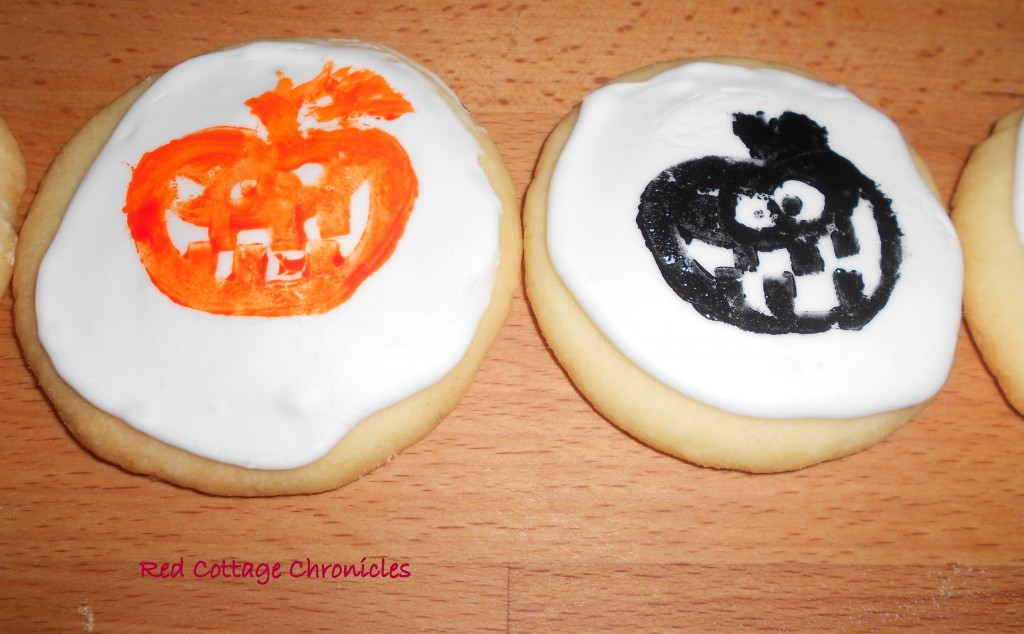 Pretty scary stuff, don’t yeah think!
I am not completely disappointed with the outcome as I think they are kind of quirky, but I do want to try and achieve more definitive lines.
So I will be popping by Michael’s today to pick up a couple more stamps, a paint brush and some fresh food coloring. I plan to paint the food coloring on the stamp and trying it that way. The method used above was folding up paper towels and spreading them with gel food coloring and hence using it as a stamp pad. Also, the method in the magazine suggested rocking the stencil back and forth, but again this was a little tricky because with the gel coloring against the hardened icing makes for a bit of a slippery surface.
I have heard there are all kinds of special food safe inks and edible papers you can use for a more perfect image, but I just want to keep it low cost and fun, but by all means if you just google edible inks, you will be given a plethora of choices.
Enjoy!

