One Room Challenge Week 4
One Room Challenge Week Four and what a week it has been. It seems we have 10 projects on the go and none are completely finished! I was having a bit of a melt down because it just doesn’t seem like we are making much progress, and it didn’t help that Tim not only worked the entire weekend but also had to put in extra hours at his workplace on weekdays too. This meant he wasn’t able to get as much done as far as “construction” projects. He reassured me the “heavy work” is pretty much done and things will come together quickly. He is right, but don’t tell him I said that!

If you are just stopping by for the first time and wonder what the heck I am talking about, The One Room Challenge(TM) is hosted twice a year by Linda from Calling It Home. Each Wednesday Linda hosts 20 featured bloggers who are transforming a room in just 6 short weeks! On Thursdays she hosts guest bloggers who are also participating in the challenge as the update their weekly progress! If you are looking for inspiration for your own renovation or just love home decor you really must click here to access links to over 200 participants!
As for my own One Room Challenge(TM) 6 week renovation, you can catch up through these links:
Week One | Week Two | Week Three
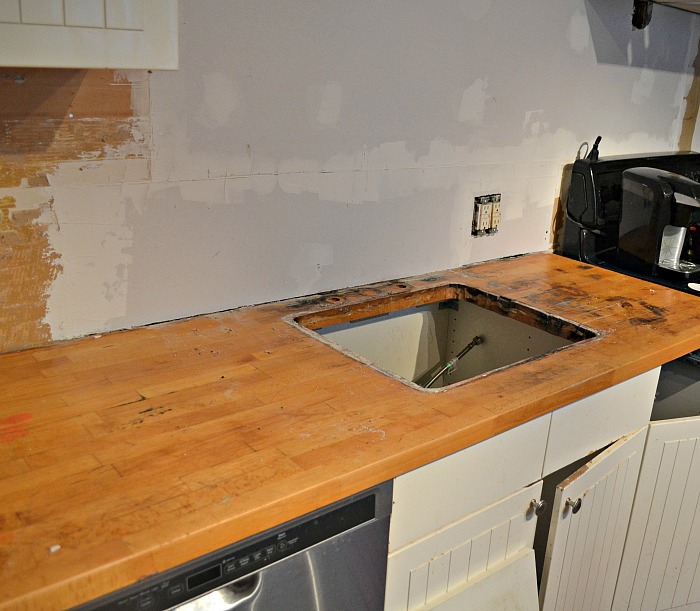
Currently we are living with a big hole in our old counter top where our sink used to be. No faucet or running water in the kitchen either. Thank goodness the dishwasher still works! We had hoped to have our new Blanco Silgranit sink all installed by this week, but that will be completed tonight. I cannot wait to show it off to you next week! Follow us on Instagram for a sneak peak!

You may remember I was so undecided about the countertop. Although budget played a part in our final decision, it was really my love of our current butcher block that I finally decided to stick with the butcher block. I really do love the look of it and think it is the best fit our style.
Since Ikea discontinued the butcher block counters we currently have and replaced them with a thinner solid butcher block, I had to find another source. A quick search of good old Google landed me at Lumber Liquidators. First, I didn’t even realize they were in Canada, let alone a location 30 minutes down the highway from us. The best part was the price! It happened to be on sale for only $209.00! Even the regular price was fantastic. We went to a different wood this time, Acacia, as I loved the tone and the variations in it. We purchased the Acacia Williamsburg Butcher Block countertops
I did get a good start on painting the kitchen cabinet doors. I could not find one good tutorial on how to paint Thermofoil cabinets. Many suggested to remove the old Thermofoil with a heat gun first. After doing a bit of research I decided to put my trust in Para Paints!

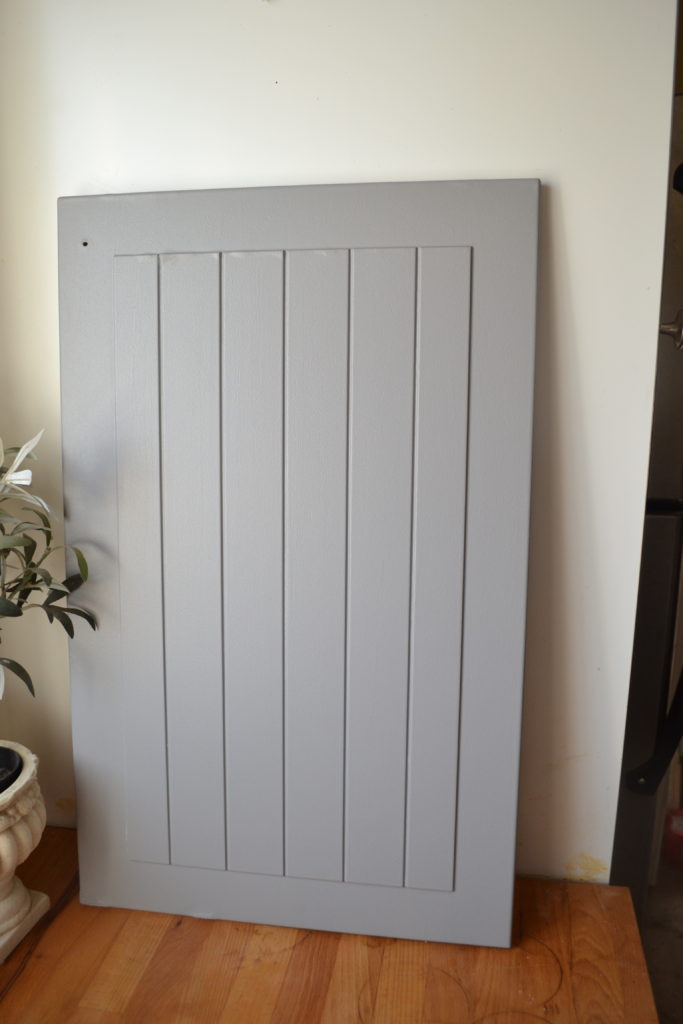
Each one got a good cleaning, sanding and the backs now are complete with two coats of primer and two finish coats. I am working on completing the fronts so we can get them back up on the weekend. Since the sink cabinet is being replaced by a custom one that Tim is building to accommodate our new apron front sink, I used one of the old doors as a sample as to how painting them would perform. Outstanding!
Again, I cleaned, lightly sanded, primed and top coated the front of one door. After letting it completely dry for 2 days both my and my daughter tried scratching it with our fingernails and I tried banging it up against a chair and the finish didn’t budge! I am so happy I decided to go with PARA Paint. It has exceeded my expectations.
After the challenge is over and the kitchen is complete I will post a step by step tutorial on how to paint Thermofoil cabinets.
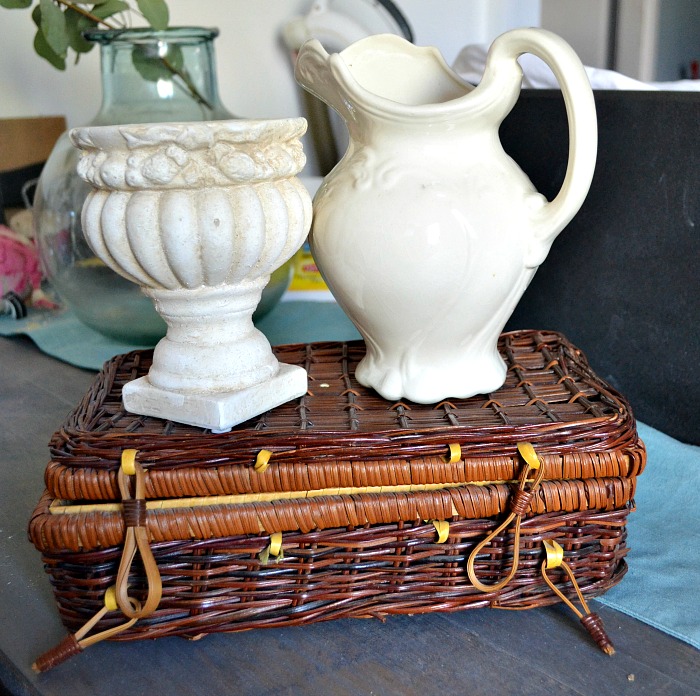
Since I don’t have any “pretty” pictures of the kitchen to share, I thought I would share some fun finds from the thrift store.

I spent less than $10 total. The mini concrete urn will get a bit of a refresh and hold a faux olive tree topiary. The white pitcher will either be put to use holding my wooden spoons stove side, or just as vessel for fresh flowers.
Tomorrow is our monthly Thrift Store Upcycle Challenge. Click here to see what I did with the mini wicker picnic basket to give it a bit of French country style.
Oh, and don’t forget to ssubscribe to Red Cottage Chronicles so you won’t miss the big reveal in two weeks, plus all the other fun projects and recipes!
Until next time…..

* PARA Paints provided me with the primer and paint for my kitchen cabinets and walls. My experience and opinion are completely my own.


Dying to see the sink and how the painted cabinet doors look on the cabinets!
We got the sink installed yesterday! Will be posting a sneak peek on Instagram. To say that I love it is an understatement 🙂
I’m so impressed with folks who see beyond the obvious and into the next life for accessories. You have such treasures here! Can’t wait to see them coming together in Week 6! Susie from The Chelsea Project