Cupboard Door Chalkboard
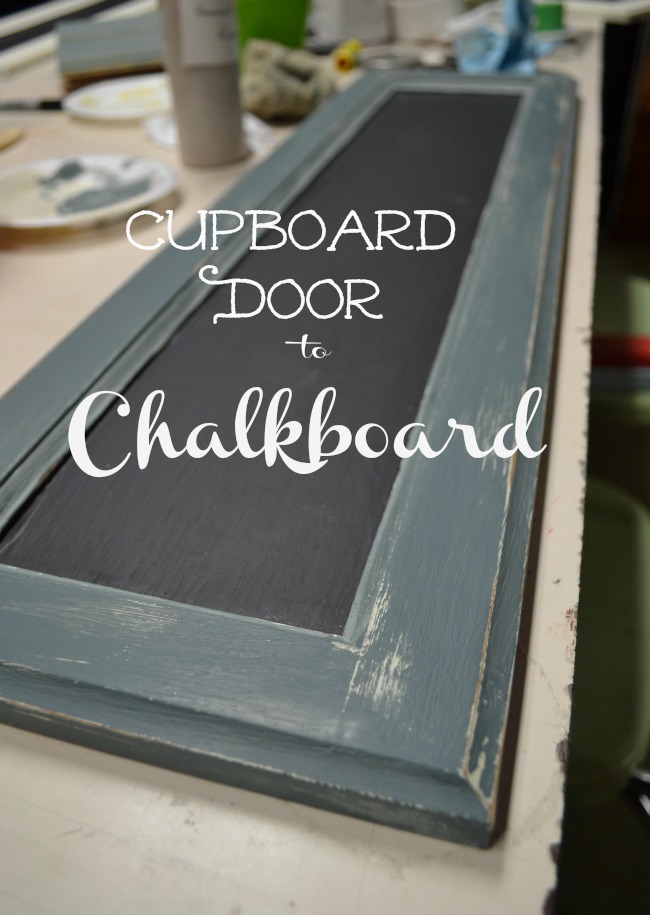
Have you ever been intimidated to try something new, but then when you did try it you wondered what the heck you were afraid of! That was me with chalk paint. Unless you have been living under a rock, you know that some pretty amazing projects are being created using chalk paint.
I think it was the waxing part that kept me from trying it sooner. That, and the fact that it wasn’t easy to find around here.
Then I found out a cute little shop right in my neighbourhood not only started carrying chalk paint, but also was offering classes!
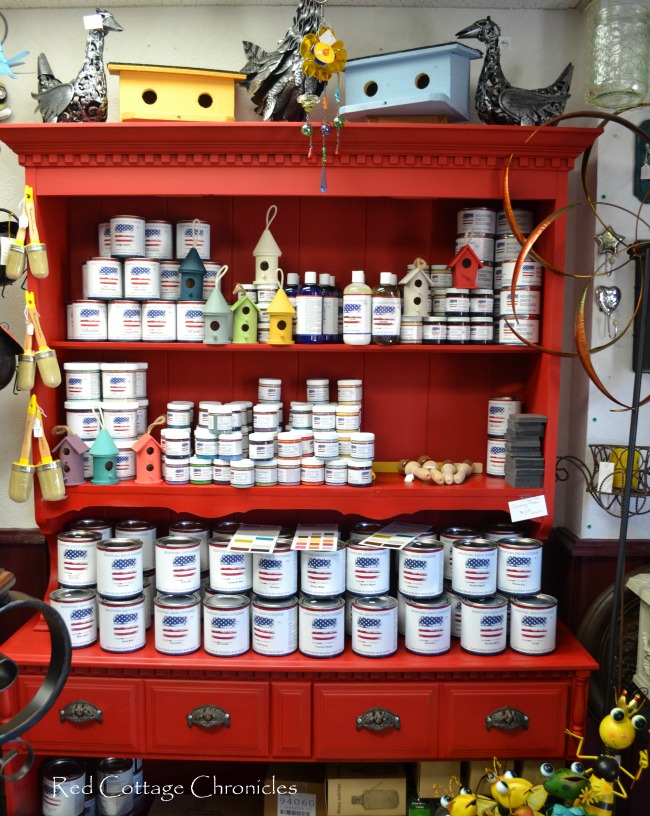
On Sunday myself and three other lovely ladies spent the afternoon with Janet at Victorian Porch and had a great lesson in chalk painting. I think I have created a monster! My head is spinning and no piece of wood furniture in my home is safe from a good chalk paint makeover.
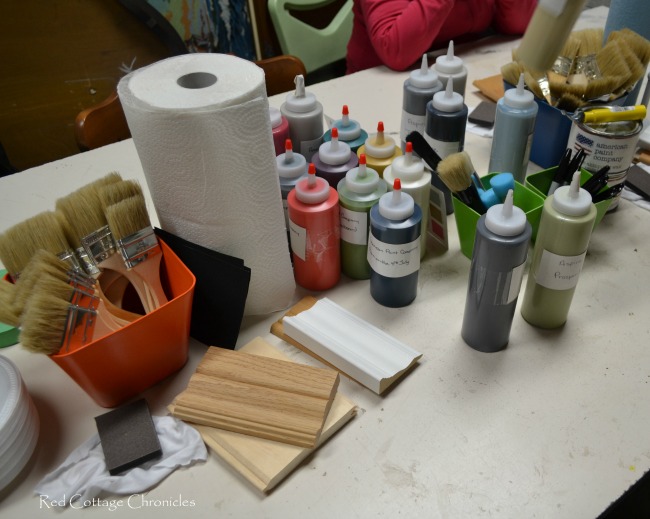
She carries chalk paint from the American Paint Company and Aspire Mineral paint. Which I absolutely love because they are natural based paints, zero VOC and solvent free!
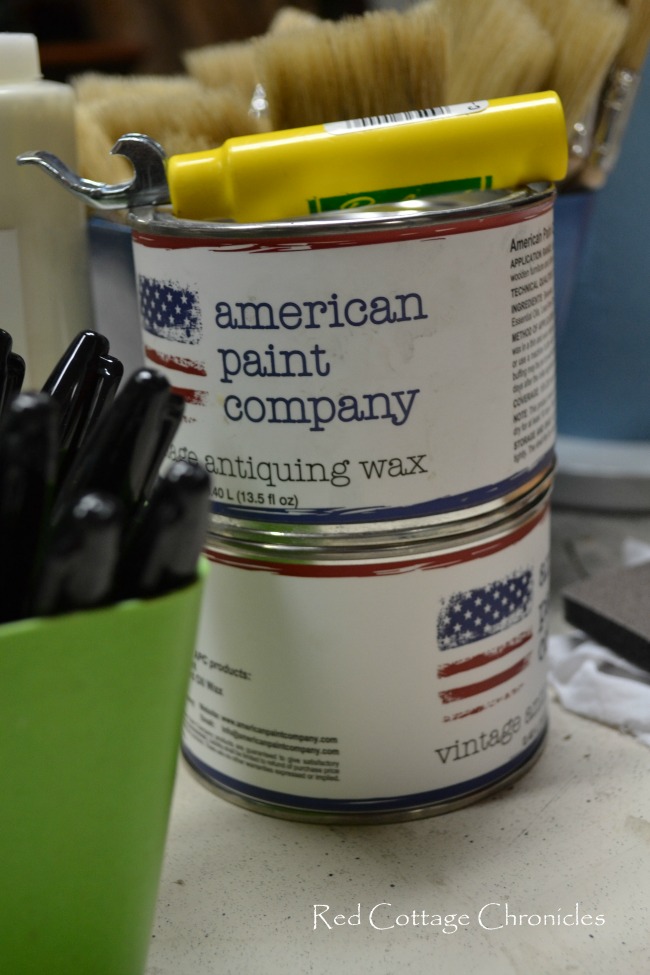
While I have had no experience with wax before, from what I hear it can be pretty smelly. APC’s wax has no odor, and goes on like butter.
The first lesson I learned is that the hardest part of chalk painting is choosing the colors. Oh, the colors!!
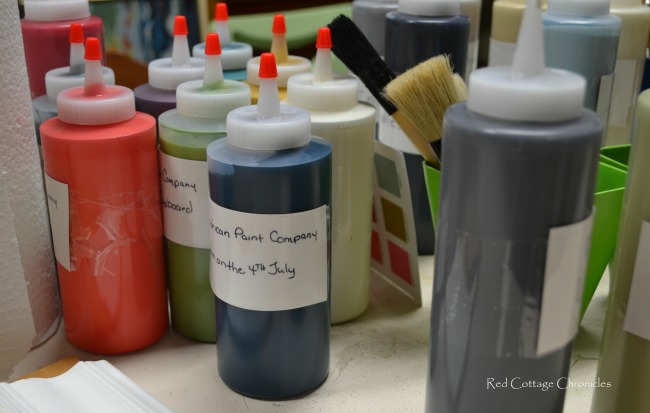
We started the class by picking a cupboard door from a selection of sizes. I chose a long narrow one. We then painted the centre with plain black chalkboard paint (not chalk paint), and set it aside to dry while we learned a few chalk paint techniques.

It probably took me 10 minutes just to choose the colors for these little sample projects!
The first one is a simple smooth finish of chalk paint, two coats with a very light sanding in between and the second coat slightly thinned with water. We then waxed in clear wax, and just to get an idea of how the dark wax changes the color, we taped it off and waxed the other end with the dark.
We also did a really rustic finish, which at first I didn’t really like but it has grown on me. Next we did a more transparent smooth finish by watering down the paint, and then finally the distressed finish with two colors.
I fell in love with the color called Dollar Bill. Just the perfect mix of grey, green and a hint of blue undertone.
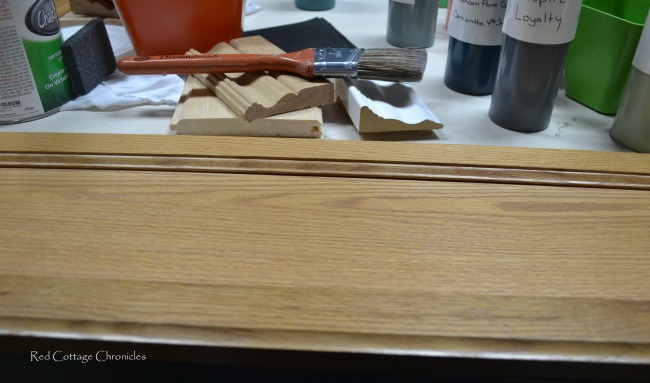
Here is the cupboard door I choose prior to applying any paint. Absolutely no sanding or priming required before painting! For the “frame” we were using the distressing with two colours technique.
I used the Aspire brand Modesty as the base coat, allowed it to dry and then used American Paint Company Dollar Bill on top. After allowing it to dry, I distressed it with a sanding block, going down to the wood in a few spots. Then a coat of clear wax and I am in love!
And here is my Cupboard Door Chalkboard all finished! I can’t wait until it is hung up in my screen porch.
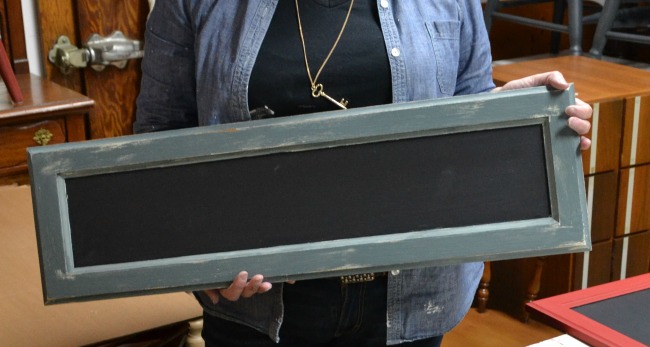
Don’t you think it looks like it could have been hanging outside somewhere near the sea getting all weathered?!
Until next time…..
Maureen


I am right there with you. I was scared to try the chalk paint and it is hard to find in my area as well. A Hobby Lobby opened up about 1/2 hr away and they carry a brand so I got some. It would have been nice to take a class like you did. Your cupboard turned out so good and I can’t wait to see it on your screened porch too. Thanks for sharing. That store looks so fun!
Thank you Michelle! Will sharing some photo’s of the screen porch soon. Victorian Porch is a great shop filled with a mix of antiques and new!
Every time I think I can do a project like this I realize I really just don’t have the patience…Maybe I need to take a class! What a cute sign that’ll make!
Meaghan, I know if I didn’t have a chance to take this class, I would still be way to intimated to try chalk painting. It made all the difference. But, now I wonder what on earth I was waiting for! I bet you could do it, no problem!
That looks like a great project. I love the way yours turned out and does look like it has weathered outdoors. So trying this.
Thank you Kim!