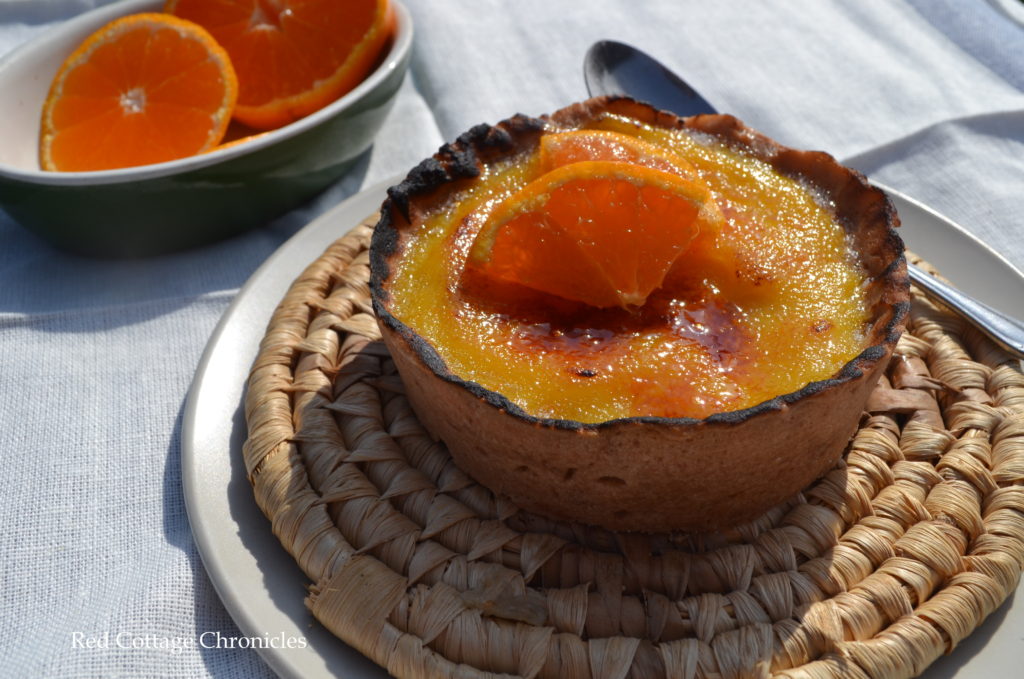
Tangerine Creme Brulee Tart
I remember not too long ago when I would have looked at a dessert like this one and would not have had the confidence to try and replicate it myself.
I am so glad I am over that! This Tangerine Creme Brulee Tart looked way too good not to try.
I am so much more relaxed now about whether or not my attempts to try new recipes turn out or not. Maybe it is because I know I can always try again and eventually will get it right. Or maybe that is the key to getting it right after all…..just relax and go with it! All I know is the more challenging it looks, the more excited I am to try. I used to read a recipe and if it had any cooking involved other than just the baking part it was a no-go! Through lots of practice I now don’t give it a second thought. Such as with this yummy tart.
It is nice to have pictures to reference each step. That way you know what the recipe looks like at each stage. After all, one persons “heat until thickened” could be completely different than what you might think thickened is!
To make the tart shells:
In the bowl of an electric mixer cream 1 stick of butter and 3/4 cup sifted confectioners sugar
Add one large egg and mix until combined.
Add 1 1/2 cup all purpose flour, 1/2 tsp cinnamon and 1 tablespoon cocoa powder and blend just until ingredients just come together. Drop the dough out onto a lightly floured surface and flatten into a disk. Wrap in plastic wrap and refrigerate for at least one hour.
While the dough is resting in the fridge it is time to make the Tangerine creme brulee filling.
In a large bowl whisk 6 egg yolks and 3 whole eggs and 2/3 cup sugar until pale. Add 3 tbsp all purpose flour and one stick of butter which has been melted and cooled. Whisk until incorporated.
Add 2/3 cup tangerine juice (it only took 2 tangerines to get this much juice for me!) and the zest of two tangerines and whisk until combined. Pour this mixture into a saucepan and heat over medium heat, stirring constantly, until thickened. Do not let it boil. This took me about 10 minutes. Remove from heat and lay plastic wrap directly on top of mixture to prevent skin from forming. Allow to cool to room temperature.
When dough is very cold it is ready to roll and prepare tart shells. I worked on a very warm day and only kept a portion of the dough out at a time and returned the rest to the fridge until I was ready to use.
Roll dough on lightly floured surface. I found it rolled best if I covered it with plastic wrap and rolled to about 1/8 inch thickness but it doesn’t have to be exact. The original recipe calls for either fluted tart pans or tart rings, or a combination of both. I choose to use disposable tart cups because I was giving some of these away and it made for more sturdy travelling! Line baking dishes with dough and insert a piece of parchment into each. Fill with pie weights (I use dried beans). Bake at 350 degrees for 10 to 12 minutes. Remove from oven and allow to cool.
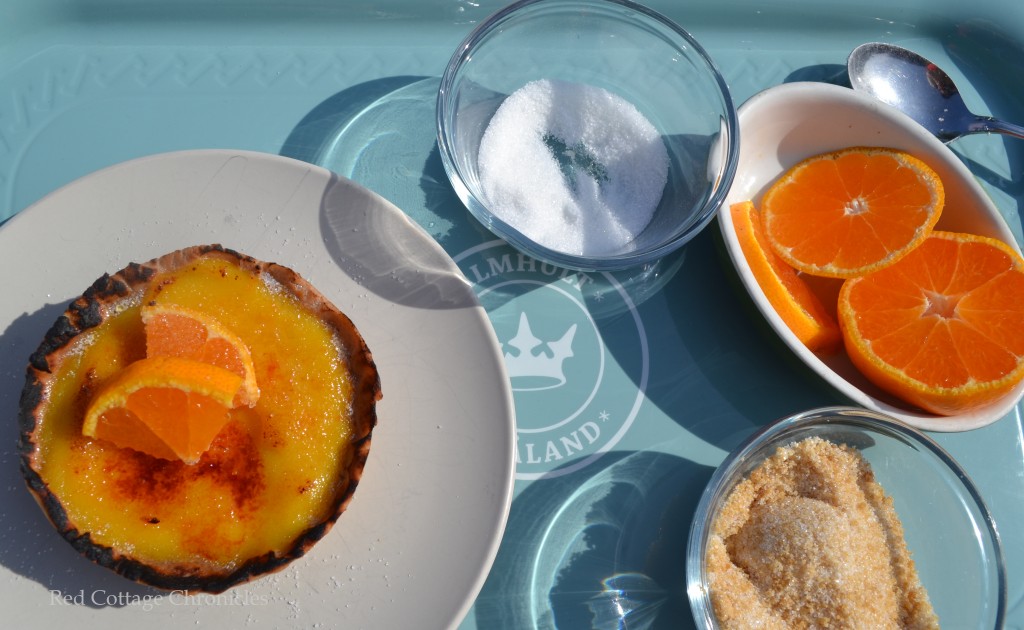
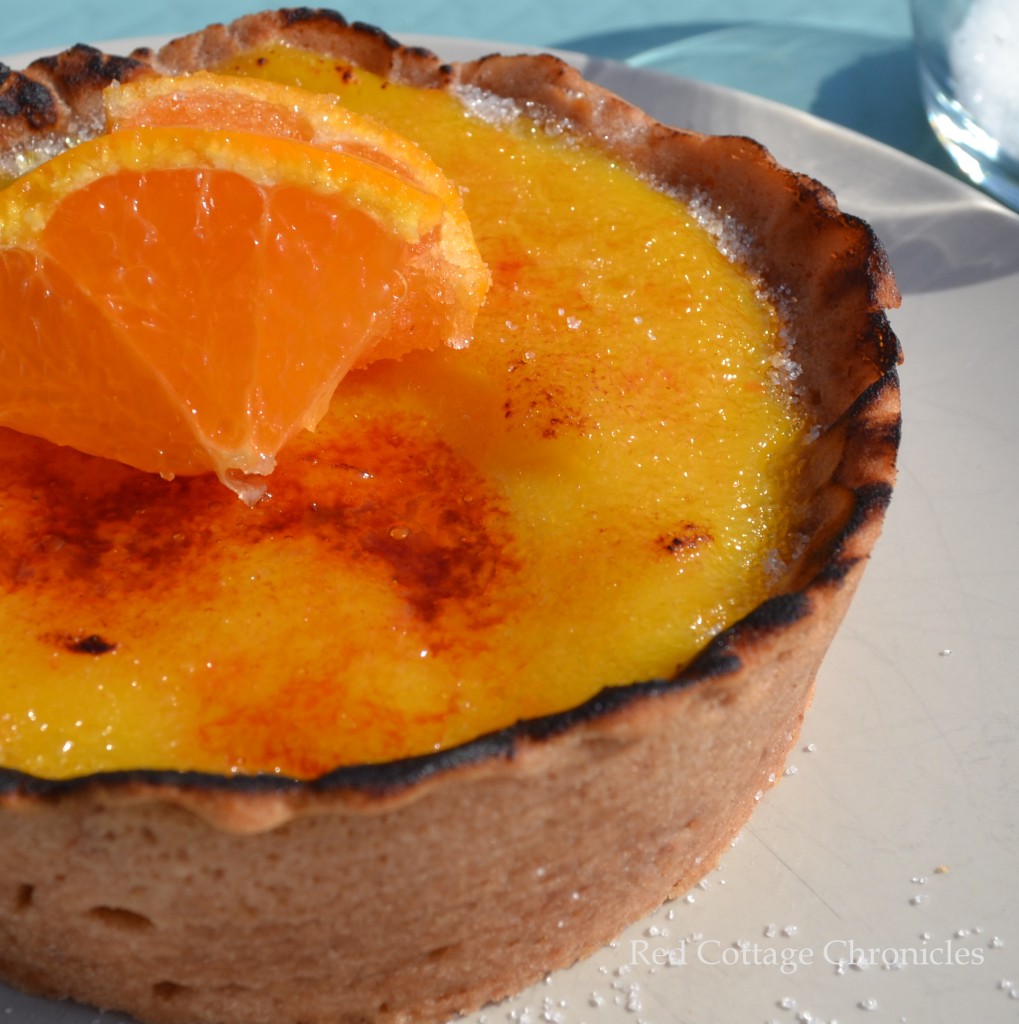
To assemble tart fill each baked and cooled shell with tangerine creme. Refrigerate for 30 minutes. Just prior to serving sprinkle the top of each tart with a fine layer of granulated sugar. Using a kitchen torch carefully melt the sugar to create that crisp sugary coating! If you don’t have a kitchen torch just place the sugar coated tarts on a tray under the broiler set on high, watching carefully to prevent burning, until the sugar has melted and is bubbly.
Top with fresh tangerine wedges.
The original recipe can be found here at Tartelette!
Enjoy!!
I would love to have you join the Red Cottage Chronicle Cottage family. Subscribe below to receive timely emails only when I add a new post.


I love step by step pictures! It looks wonderful….but then again all your posts do!
Thank you Kim! After I am all finished I am always so afraid I forgot to photograph a crucial step!
You had me at Creme Brulee. This look samazing!!
Thanks Lori! I thought the same thing when I first saw it!
Wishing you a peaceful Memorial Day Weekend and thank you so much for sharing with Full Plate Thursday.
Come Back Soon,
Miz Helen
G’day! Always like seeing step by step photos, TRUE!
They reallu do inspire me to put recipes on the list too!
Cheers! Joanne
What’s On The List
http://www.whatsonthelist.net
Thanks Joanne! So happy you stopped by!! I try to do step by step as often as I can, although sometimes I get so wrapped up in the recipe I forget a step or two 🙂
Congratulations!
Your recipe is featured on Full Plate Thursday this week. Hope you have a great weekend and enjoy your new Red Plate!
Come Back Soon,
Miz Helen
YEAH!! Thank you so much! I love linking up each Thursday!