Thrift Store Decor Upcycle Challenge
It’s a New Year and a new Thrift Store Decor Upcycle Challenge! We took a few months off for the holidays, but we are back to show you more upcycled thrift ideas! This time we have joined forces with even more bloggers and have tons of thrifty upcycle ideas to get those wheels spinning.

The Rules:
- Upcycle an item(s) from a thrift store, resale store, or garage sale into a new piece of decor.
- There’s no monthly theme.
- There’s no budget to stick to.
Meet the Hosts
Amanda | Red Cottage Chronicles Kim | Made in a Day
Dru | Polka Dot Poplars Erlene | My Pinterventures Colleen | Life on Kaydeross Creek Pili | Sweet Things
Shirley | Intelligent Domestications Ann | Duct Tape and Denim Debra | Shoppe No. 5 Marie | DIY Adulation
Chelsea | The Johnsons Plus Dog Jes | My DIY Envy Lindsay | Crazy Organized
Molly | Just a Little Creativity Ashley | 3 Little Greenwoods Kimm | Reinvented Michelle | Our Crafty Mom
Ali | Home Crafts by Ali Sue | A Purdy Little House Sara | Twelve on Main
Claire | Pillar Box Blue Chelc | Inside the Fox Den Kim | Farmhouse Made Victoria | Dazzle While Frazzled
Sherry | Savvy Apron Jennifer and Vicki | 2 Bees in a Pod Lora | Craftivity Designs Megan | C’mon Get Crafty
Denise | My Thrifty House Toni | Small Home Soul Deborah | Salvage Sister and Mister
Make sure you follow our board on Pinterest for more upcycled decor inspiration!
Farmhouse Candle Wall Sconce
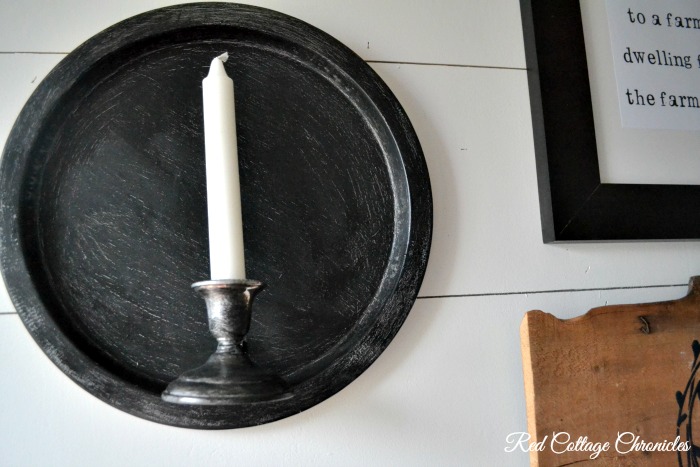
If you visited Red Cottage Chronicles recently you may have seen the reveal of my farmhouse dining room. The budget to makeover our room was only $100, and the bulk of that went towards faux shiplap and paint, so I had to be really creative when it came to accessories. I mostly shopped our house for things I already had, but did hit the local thrift shops for some fun finds.
Sometimes I go into the thrift store with an idea in mind, but other times I walk around aimlessly until something catches my eye. The latter is how I decided on this vintagey (not a word, I know) farmhouse style candle wall sconce.
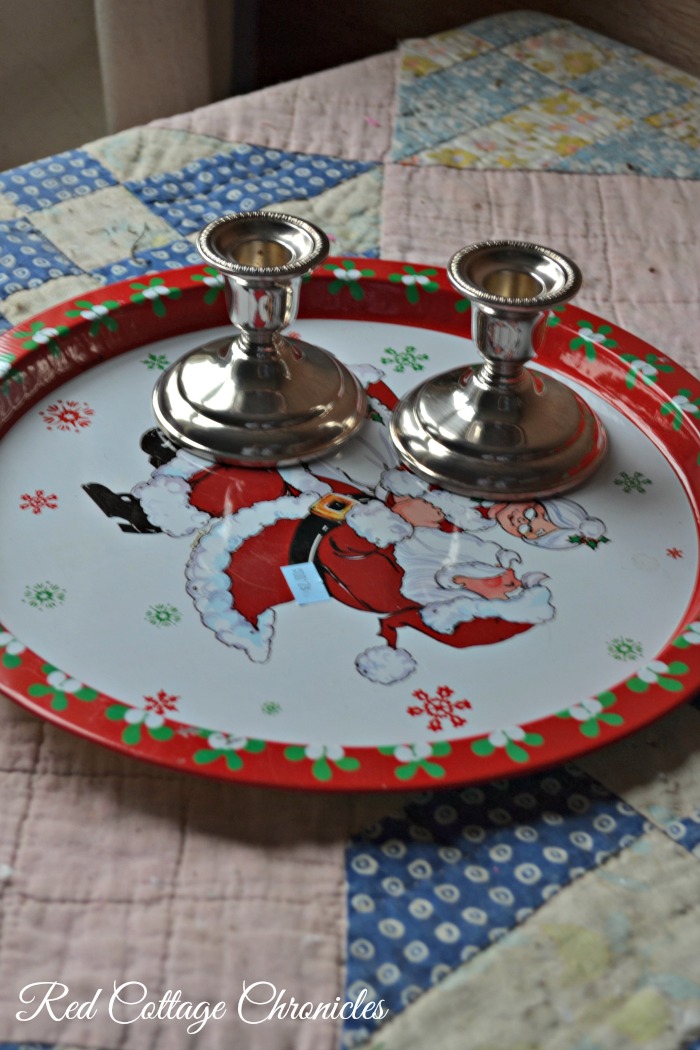
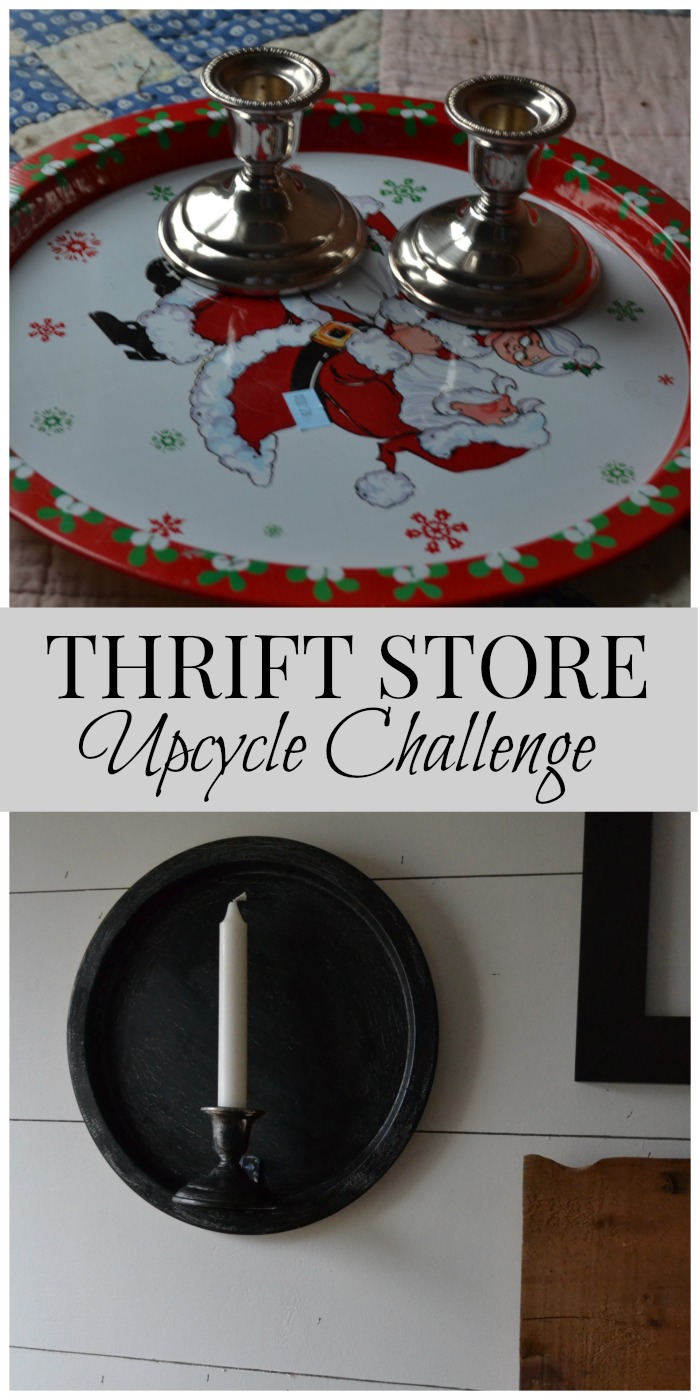
This Christmas tray was only a dollar, and a set of silver candlesticks were $5.00. The candle sticks are real silver so I felt a bit guilty about painting one of them for this project, but that lasted only for a minute!
I really had no idea how to achieve the finish that I wanted, so I just layered on paint I already had to create kind of a pewter finish with an aged patina.
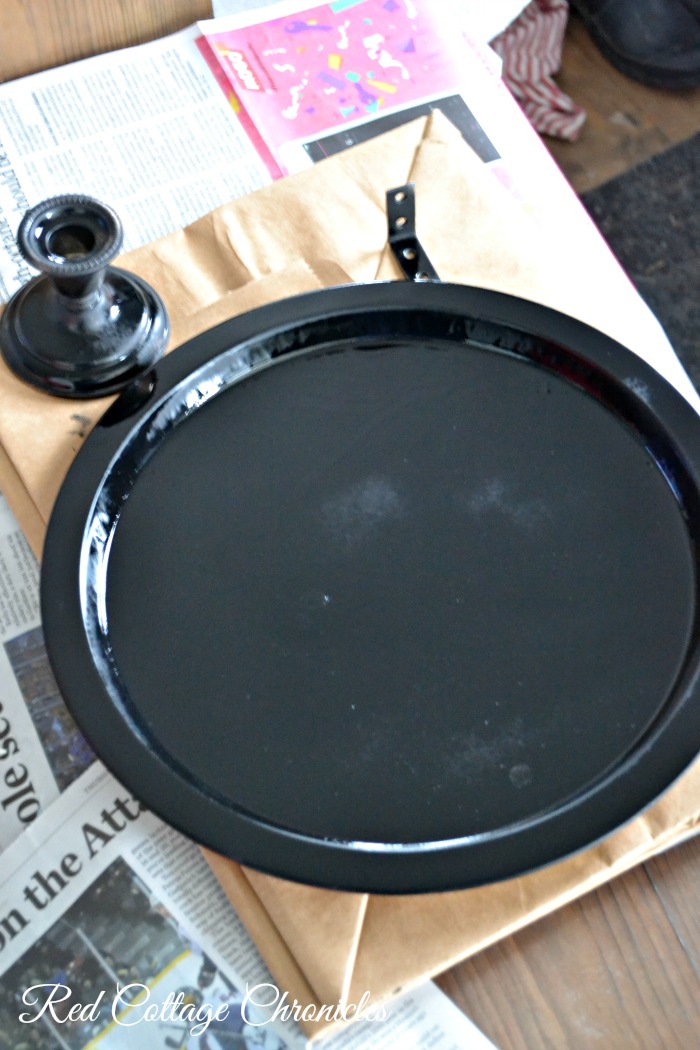
After giving each piece a good cleaning, I sprayed them with a light coat of black chalkboard paint and let it dry. It goes on really shiny, but dries to a nice smooth, mat finish.
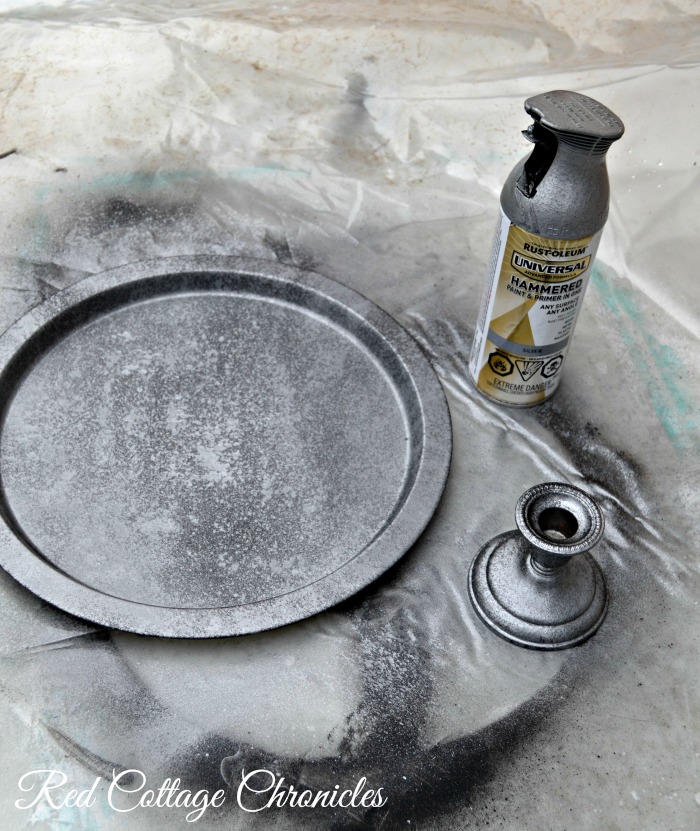
Next I sprayed on a light coat of Rust-Oleum Universal Hammered Paint & Primer in silver, leaving some of the black showing through. I like the hammered finish as it adds a bit of a texture of old pitted metal.
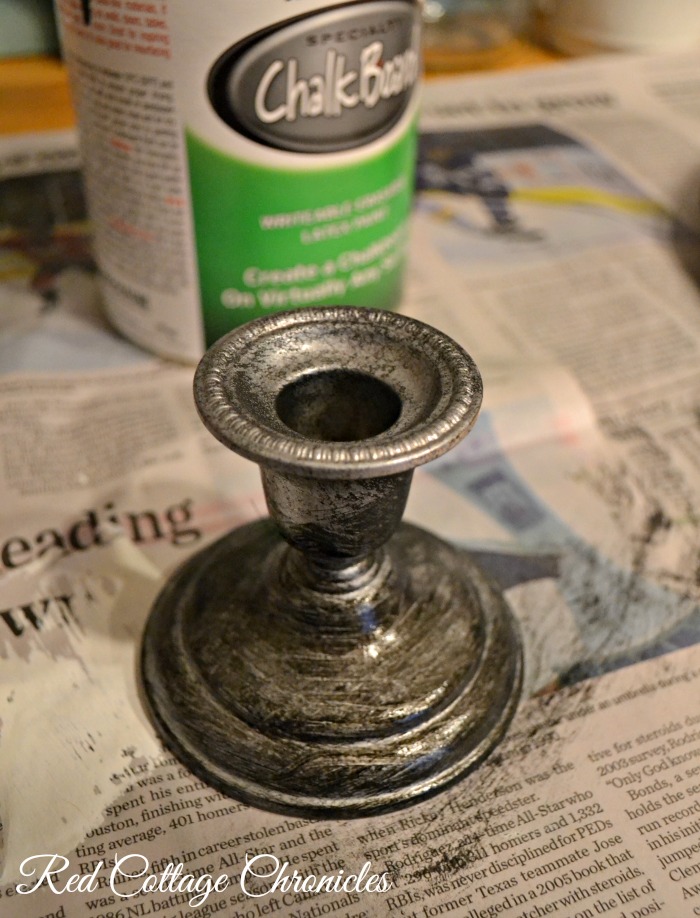
Finally I used a can of chalkboard paint and a paint brush to layer on more black chalkboard paint. I left more of the silver showing through actual candle holder. On the tray I built up layers allowing each to dry in between coat until I achieved the look I wanted.
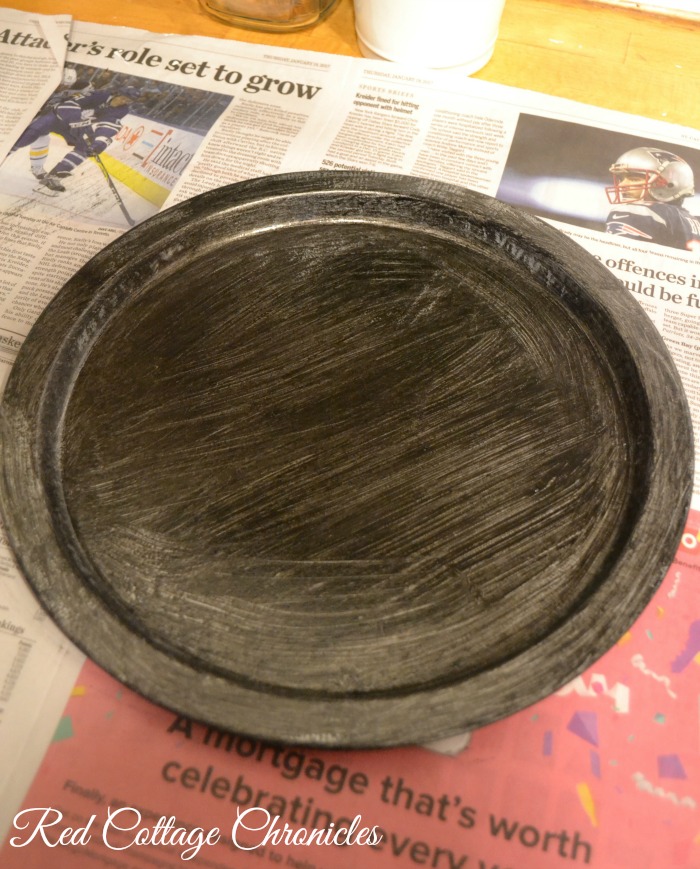
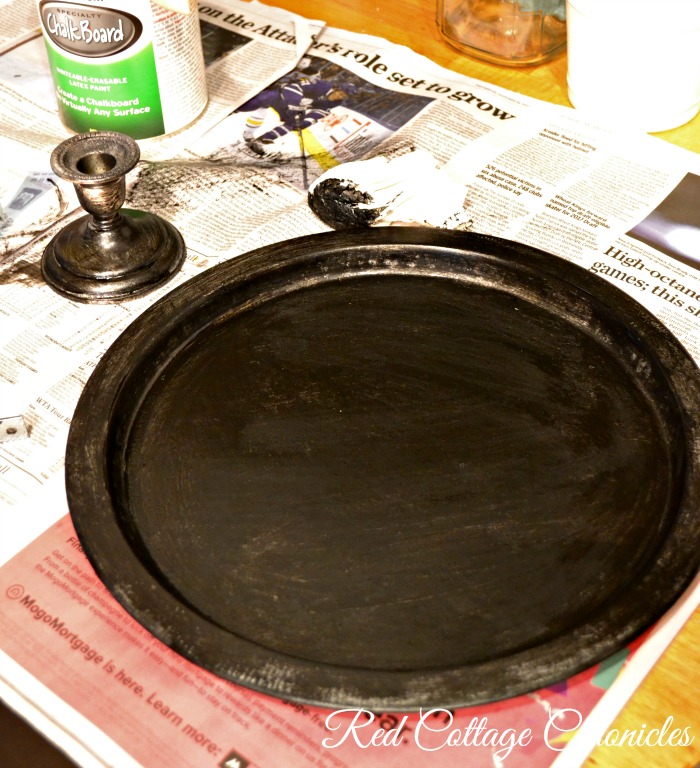
I actually used a paper towel to kind of smudge the last coat and eliminate some of the brush strokes, giving it a bit of a softer patina.
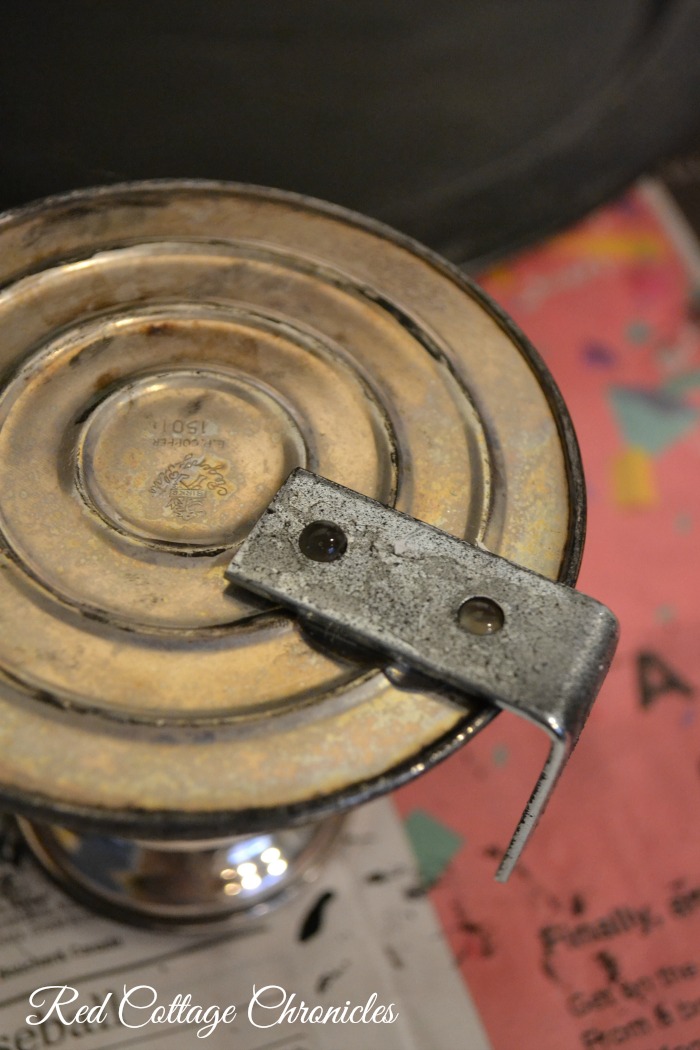
I used a 1 1/2 inch angle bracket to mount the candle stick to the tray using hot glue. First gluing the bracket to the bottom of the candlestick.
NOTE: I won’t ever light a candle in this faux vintage wall sconce as it was constructed for decorate purposes only, so I was okay with the level of hold the hot glue offers.
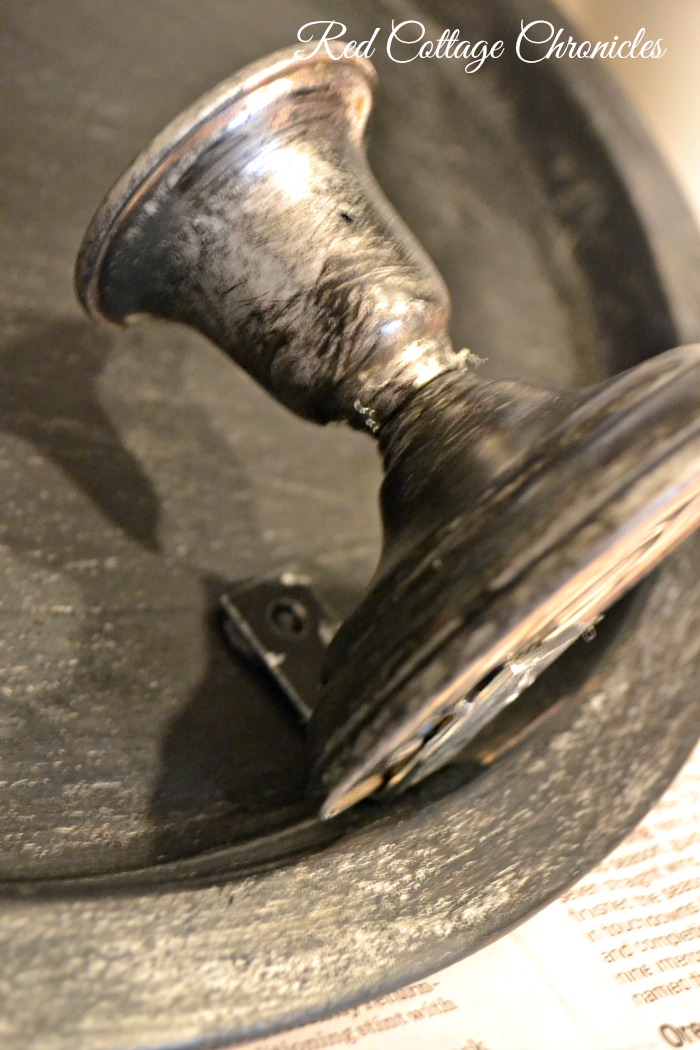
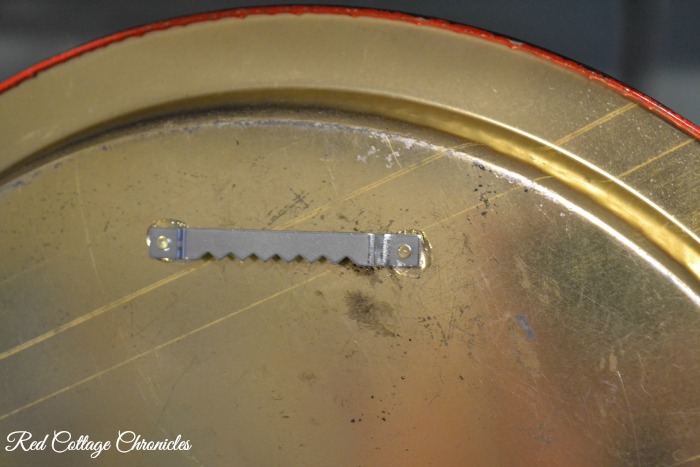
Again using hot glue, I fastened the candlestick onto the tray. Finally I hot glued a “tooth” type wall hanging thingy to the back of the tray. I know, very high tech terminology!
For a grand total of $5.50 this farmhouse wall sconce is the perfect addition to the gallery wall of our newly updated dining room.
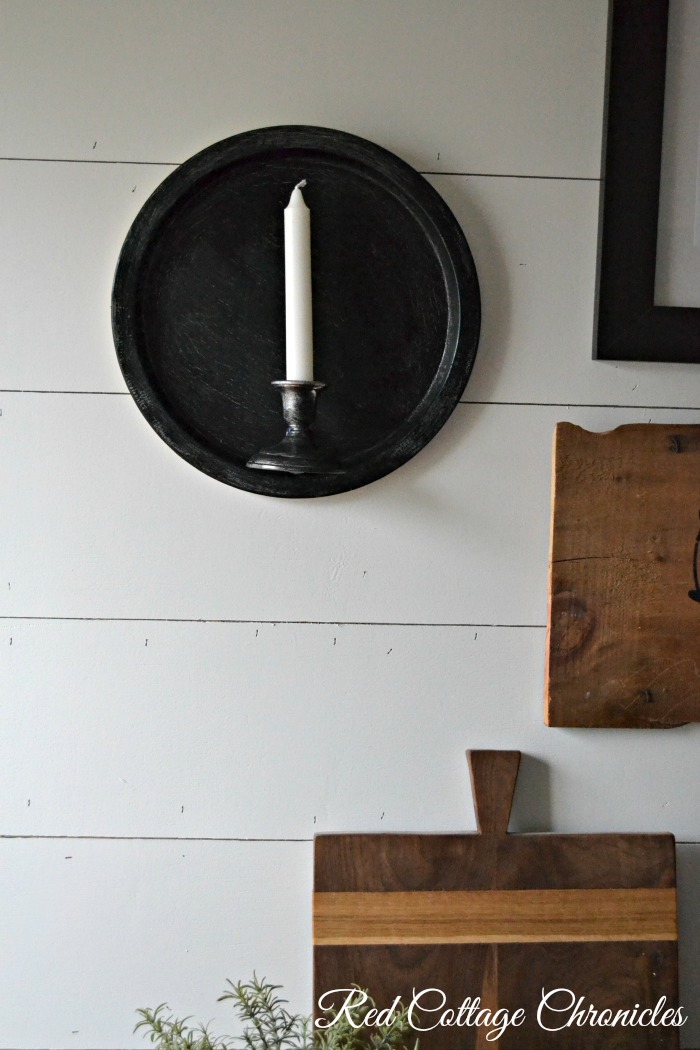
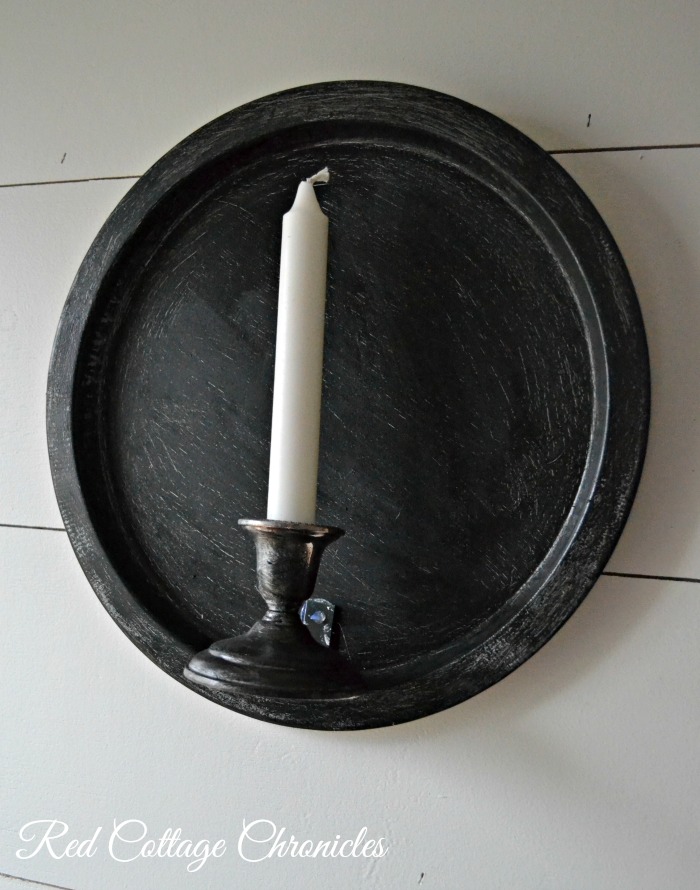
Although I am not sure if this is what aged pewter really looks like, I am really please with how it turned out!
For even more thrift store upcycle ideas be sure to scroll down and visit all the participating bloggers!
Until next time….

And now for more thrifty goodness!
Check out what my fellow upcyclers created below!


I think your antique pewter finish is perfect! It looks great hanging on your ship-lap walls too!
What a great idea!! I was wondering how you managed to add the candle stick to the tray, I would have never thought about that solution!
How fun is this? What a great upcycle!
I just love this!! It looks so pretty with the paint you used!!
What a clever upcycle. I absolutely love this idea. I can’t believe that used to be a Christmas platter!!!
I absolutely love this idea! Thanks!
I never would have guess at first glance that the sconce didn’t come that way. And a cheap tin tray that you turned into something lovely. So awesome! And I love your paint layer technique, it looks great!
Looks great. I added layer after layer before, sometimes the color just needs encouragement to show up! Love it.
Kim
This is very clever. I wondered how you got the candlestick on the tray and then how to hang it. It looks great.
This is really clever, I would never have thought of it! I’m always a fan of something to hang on the wall, too, that isn’t flat to add dimension.
Now that took some serious vision! Love how you turned that cheapy Santa tray into such a great piece of farmhouse decor!
Thanks so much for the DIY inspiration!
{BIG hugs}
~ Ashley
What a genius idea! I love the paint layers and the huge graphic impact it makes on your wall! Nicely done!!
Thank you Kimm! I love how a bit of paint can completely change things 🙂
I really love this upcycle. the candlestick looks very farmhouse now.
Thank you Sherry! It kind of reminds me of Little House on The Prairie 🙂
I love the way this turned out!! Really awesome upcycle program.
Thank you Chelsea!
Now that is an amazing idea! I love your aged pewter finish!!
Ok, I feel your pain on painting silver – but I would have too. 😉 Very clever hack, Santa never looked so good!